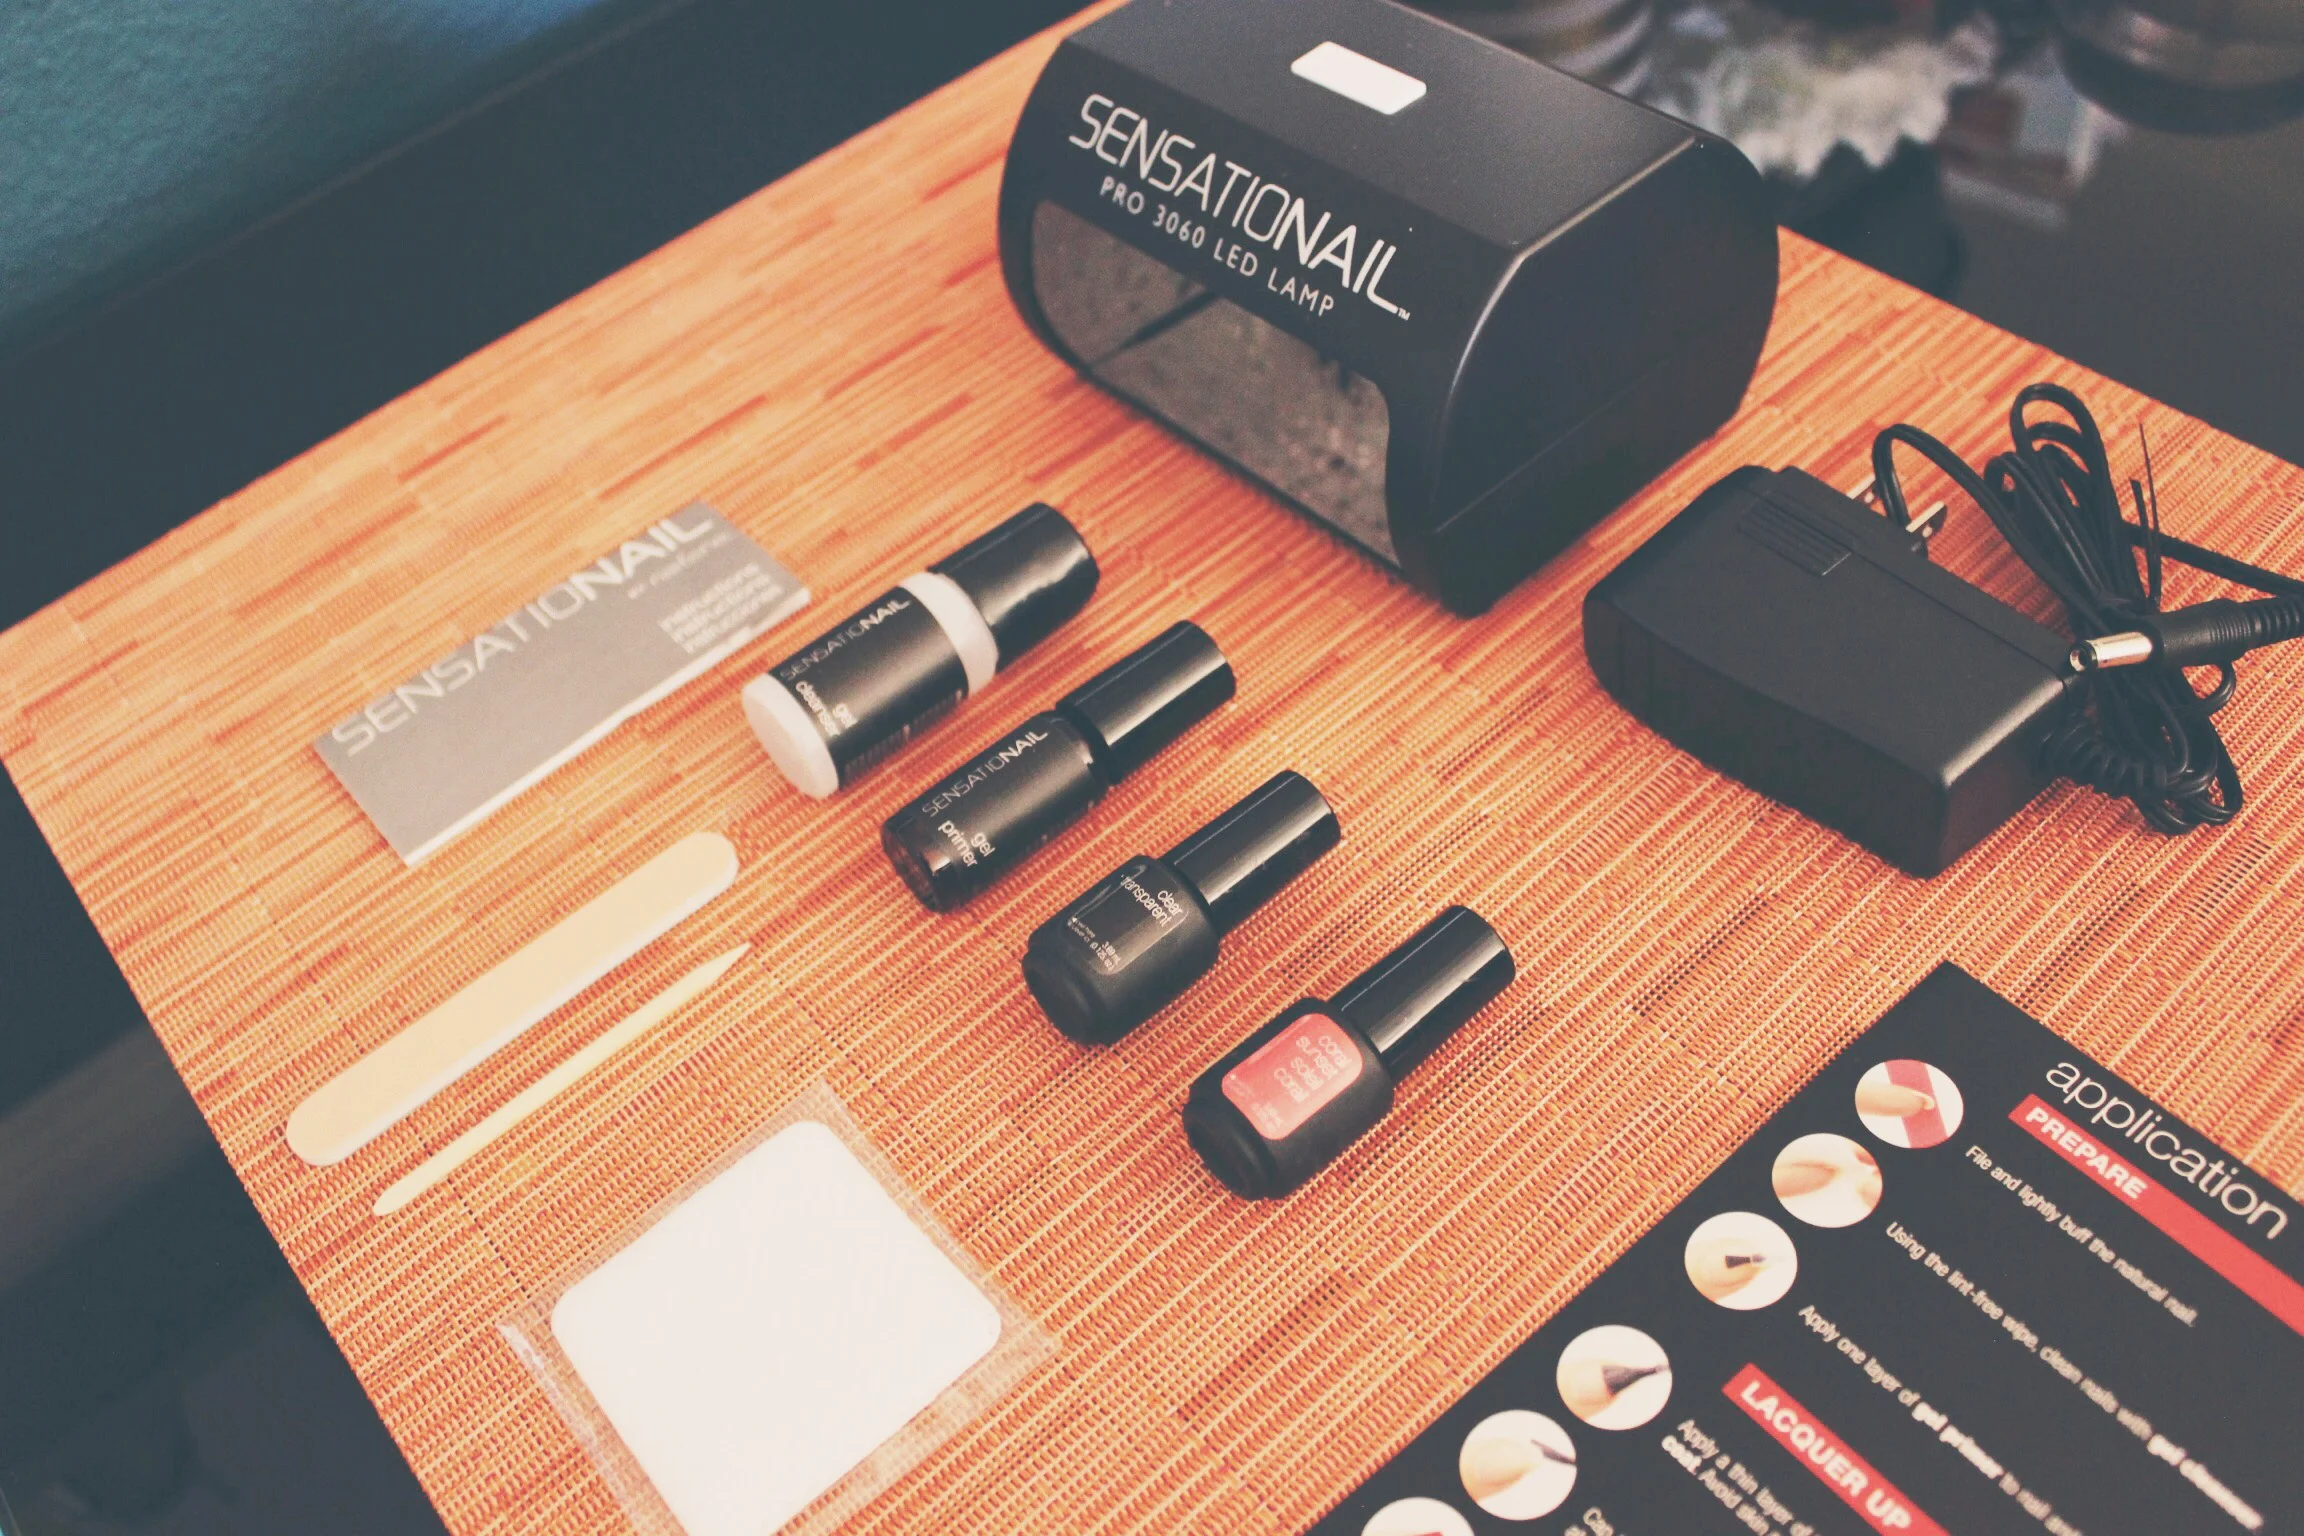

I have always loved a great mani and pedi, and so when I discovered that it was possible to do my own gel manicure at home, I was in. However, I was always skeptical. Did it really work? Was it worth the initial investment? I did like the idea that I could maintain a fresh-looking manicure for two weeks or more, be able to do it myself, save money, all the while getting professional results. So, after researching the many gel kits available, I found that Sensationail was actually one of the better ones out there in terms of price, performance, and ease of use. So, I decided to give it a try. This mommy bear was ready for a new set of paws!
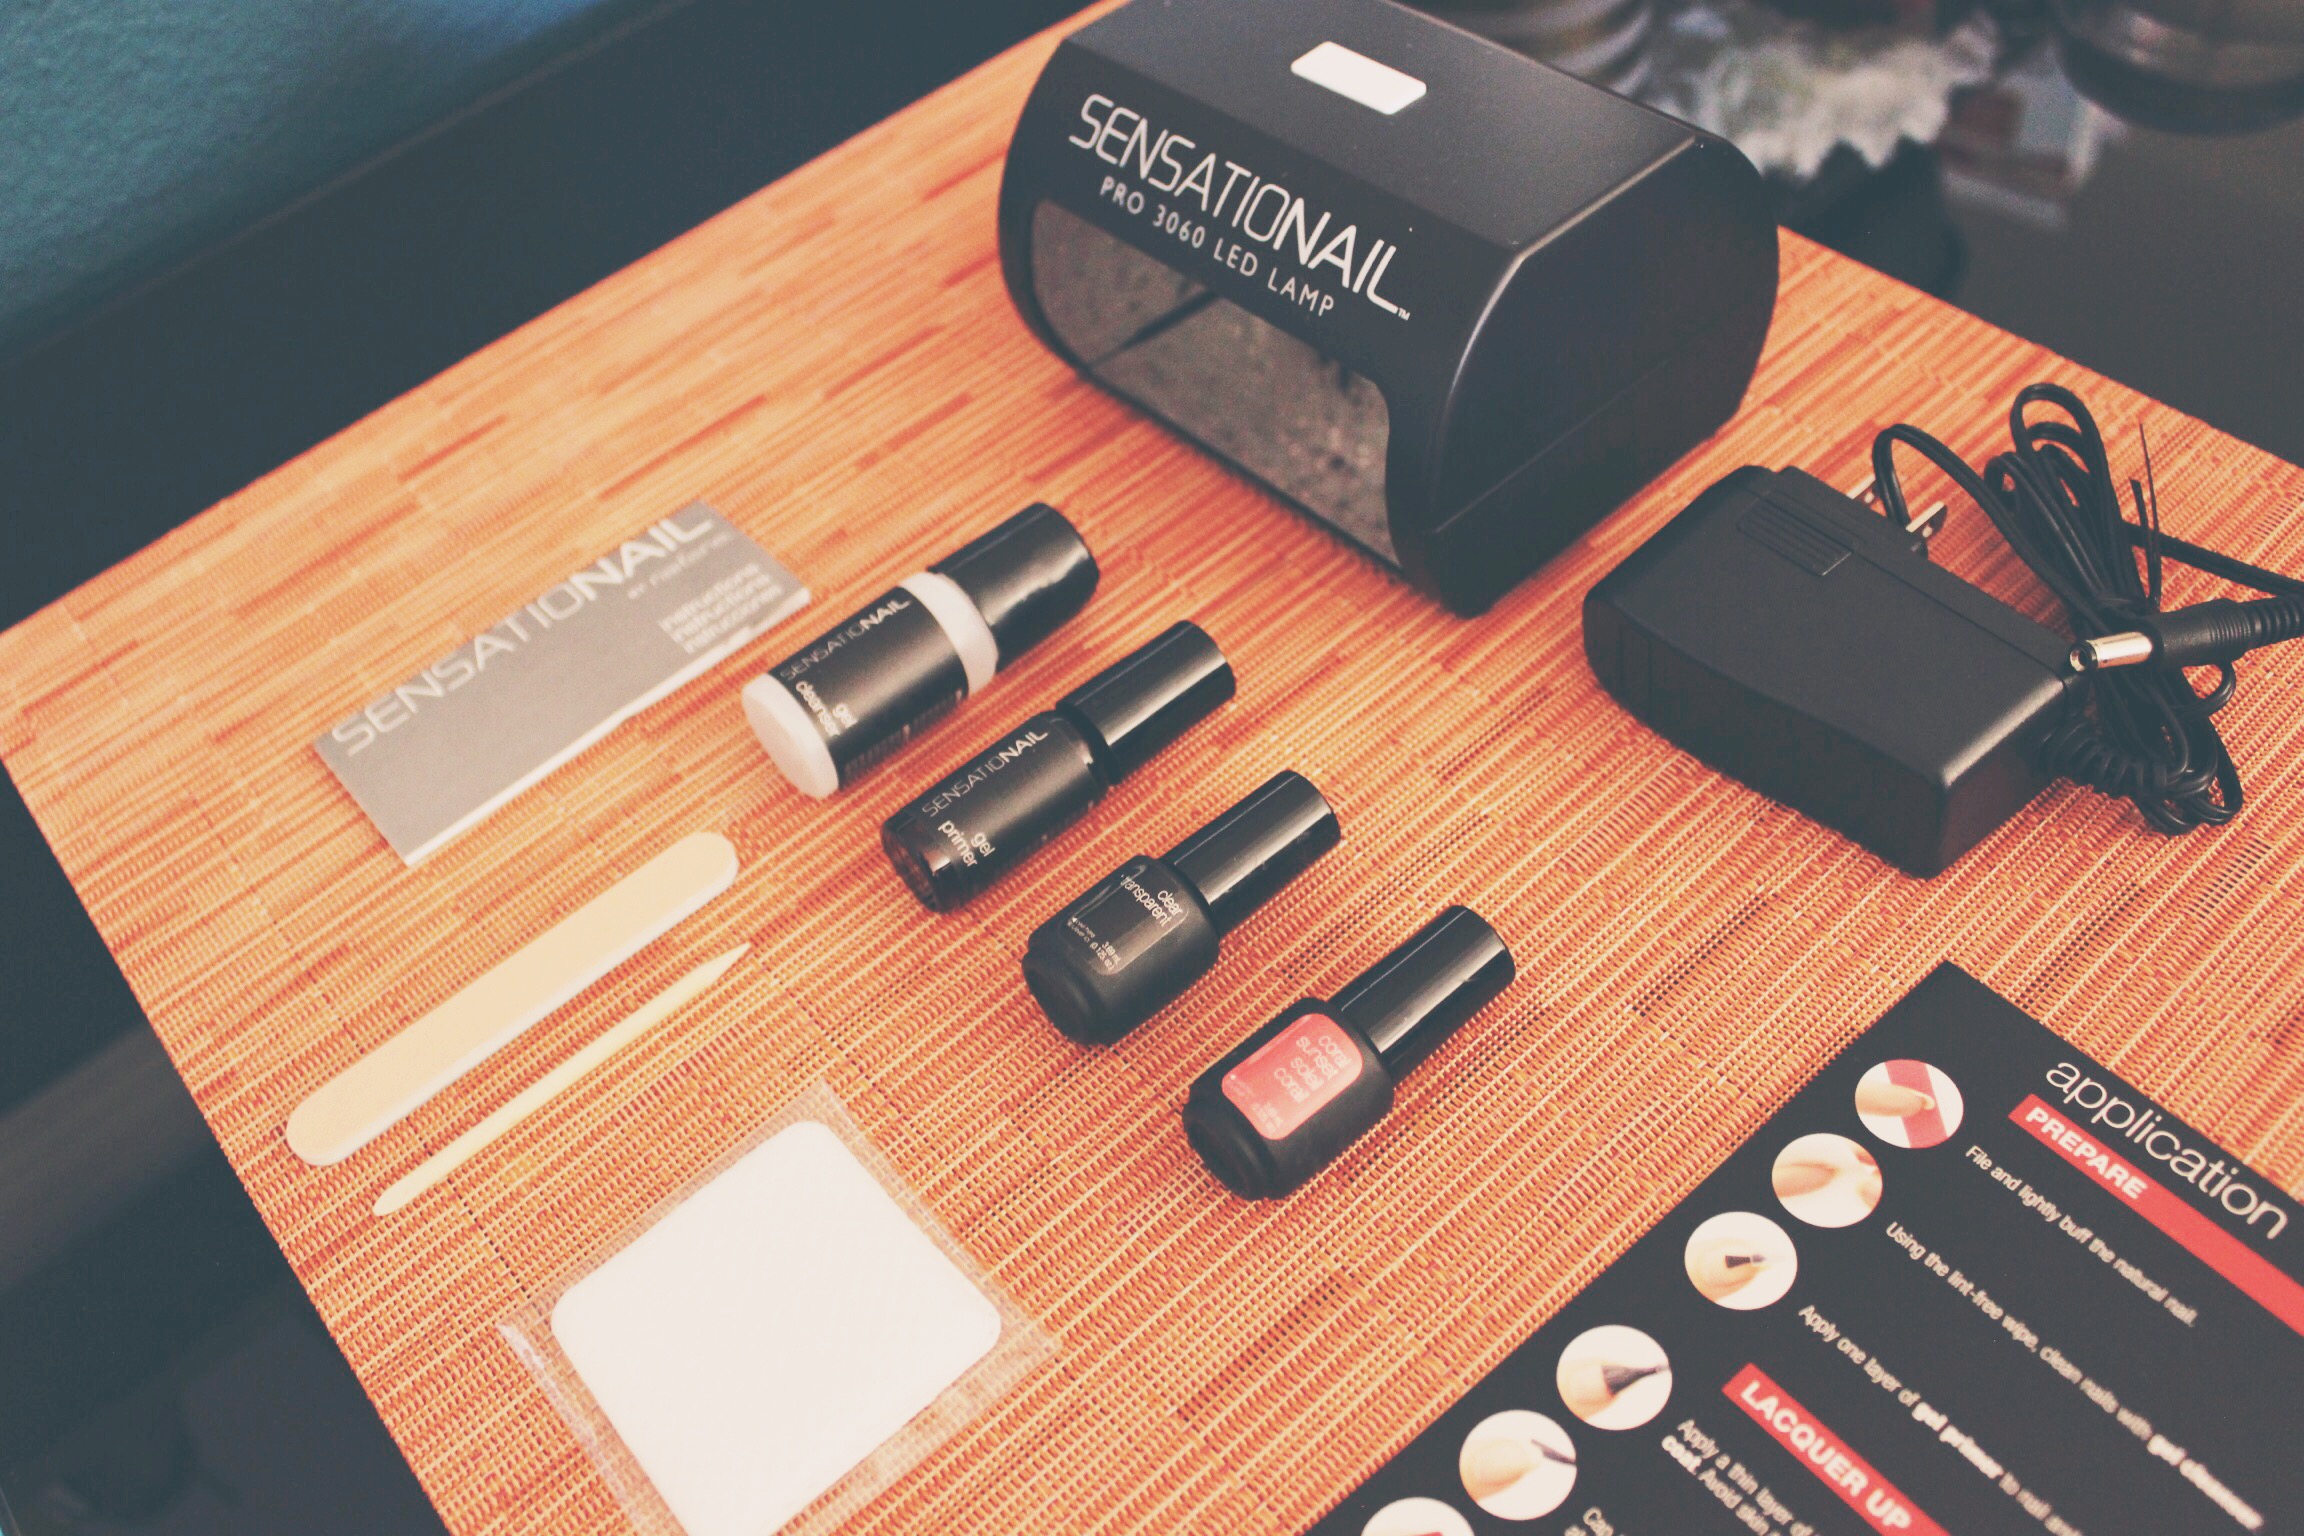
purchased at: Target
price: gel kit $49.99 | gel color $9.99-$11.99
Rating: 4.5/5 on Amazon.com and sensationail.com
Set Includes:
Pro 3060 LED Lamp
Gel Cleanser
Gel Primer
Gel Base & Top Coat
Gel Polish
Lint-free Wipes
Double-sided Nail Buffer
Manicure Stick
Detailed instruction sheet
The kit comes with everything you need to get started and is supposed to last you 10 manicures. After that, simply purchase the Essentials Kit and gel color, and you're set to go for more! Although there are many steps involved, the process was simple and quick. Being that it was my first time, it did take a little longer for me to complete, but that was because I kept referring back to the instructions to make sure I was doing it properly. Generally, it should only take 15 minutes to complete. The gel color looked amazingly pigmented, and everything in the kit looked very high quality.
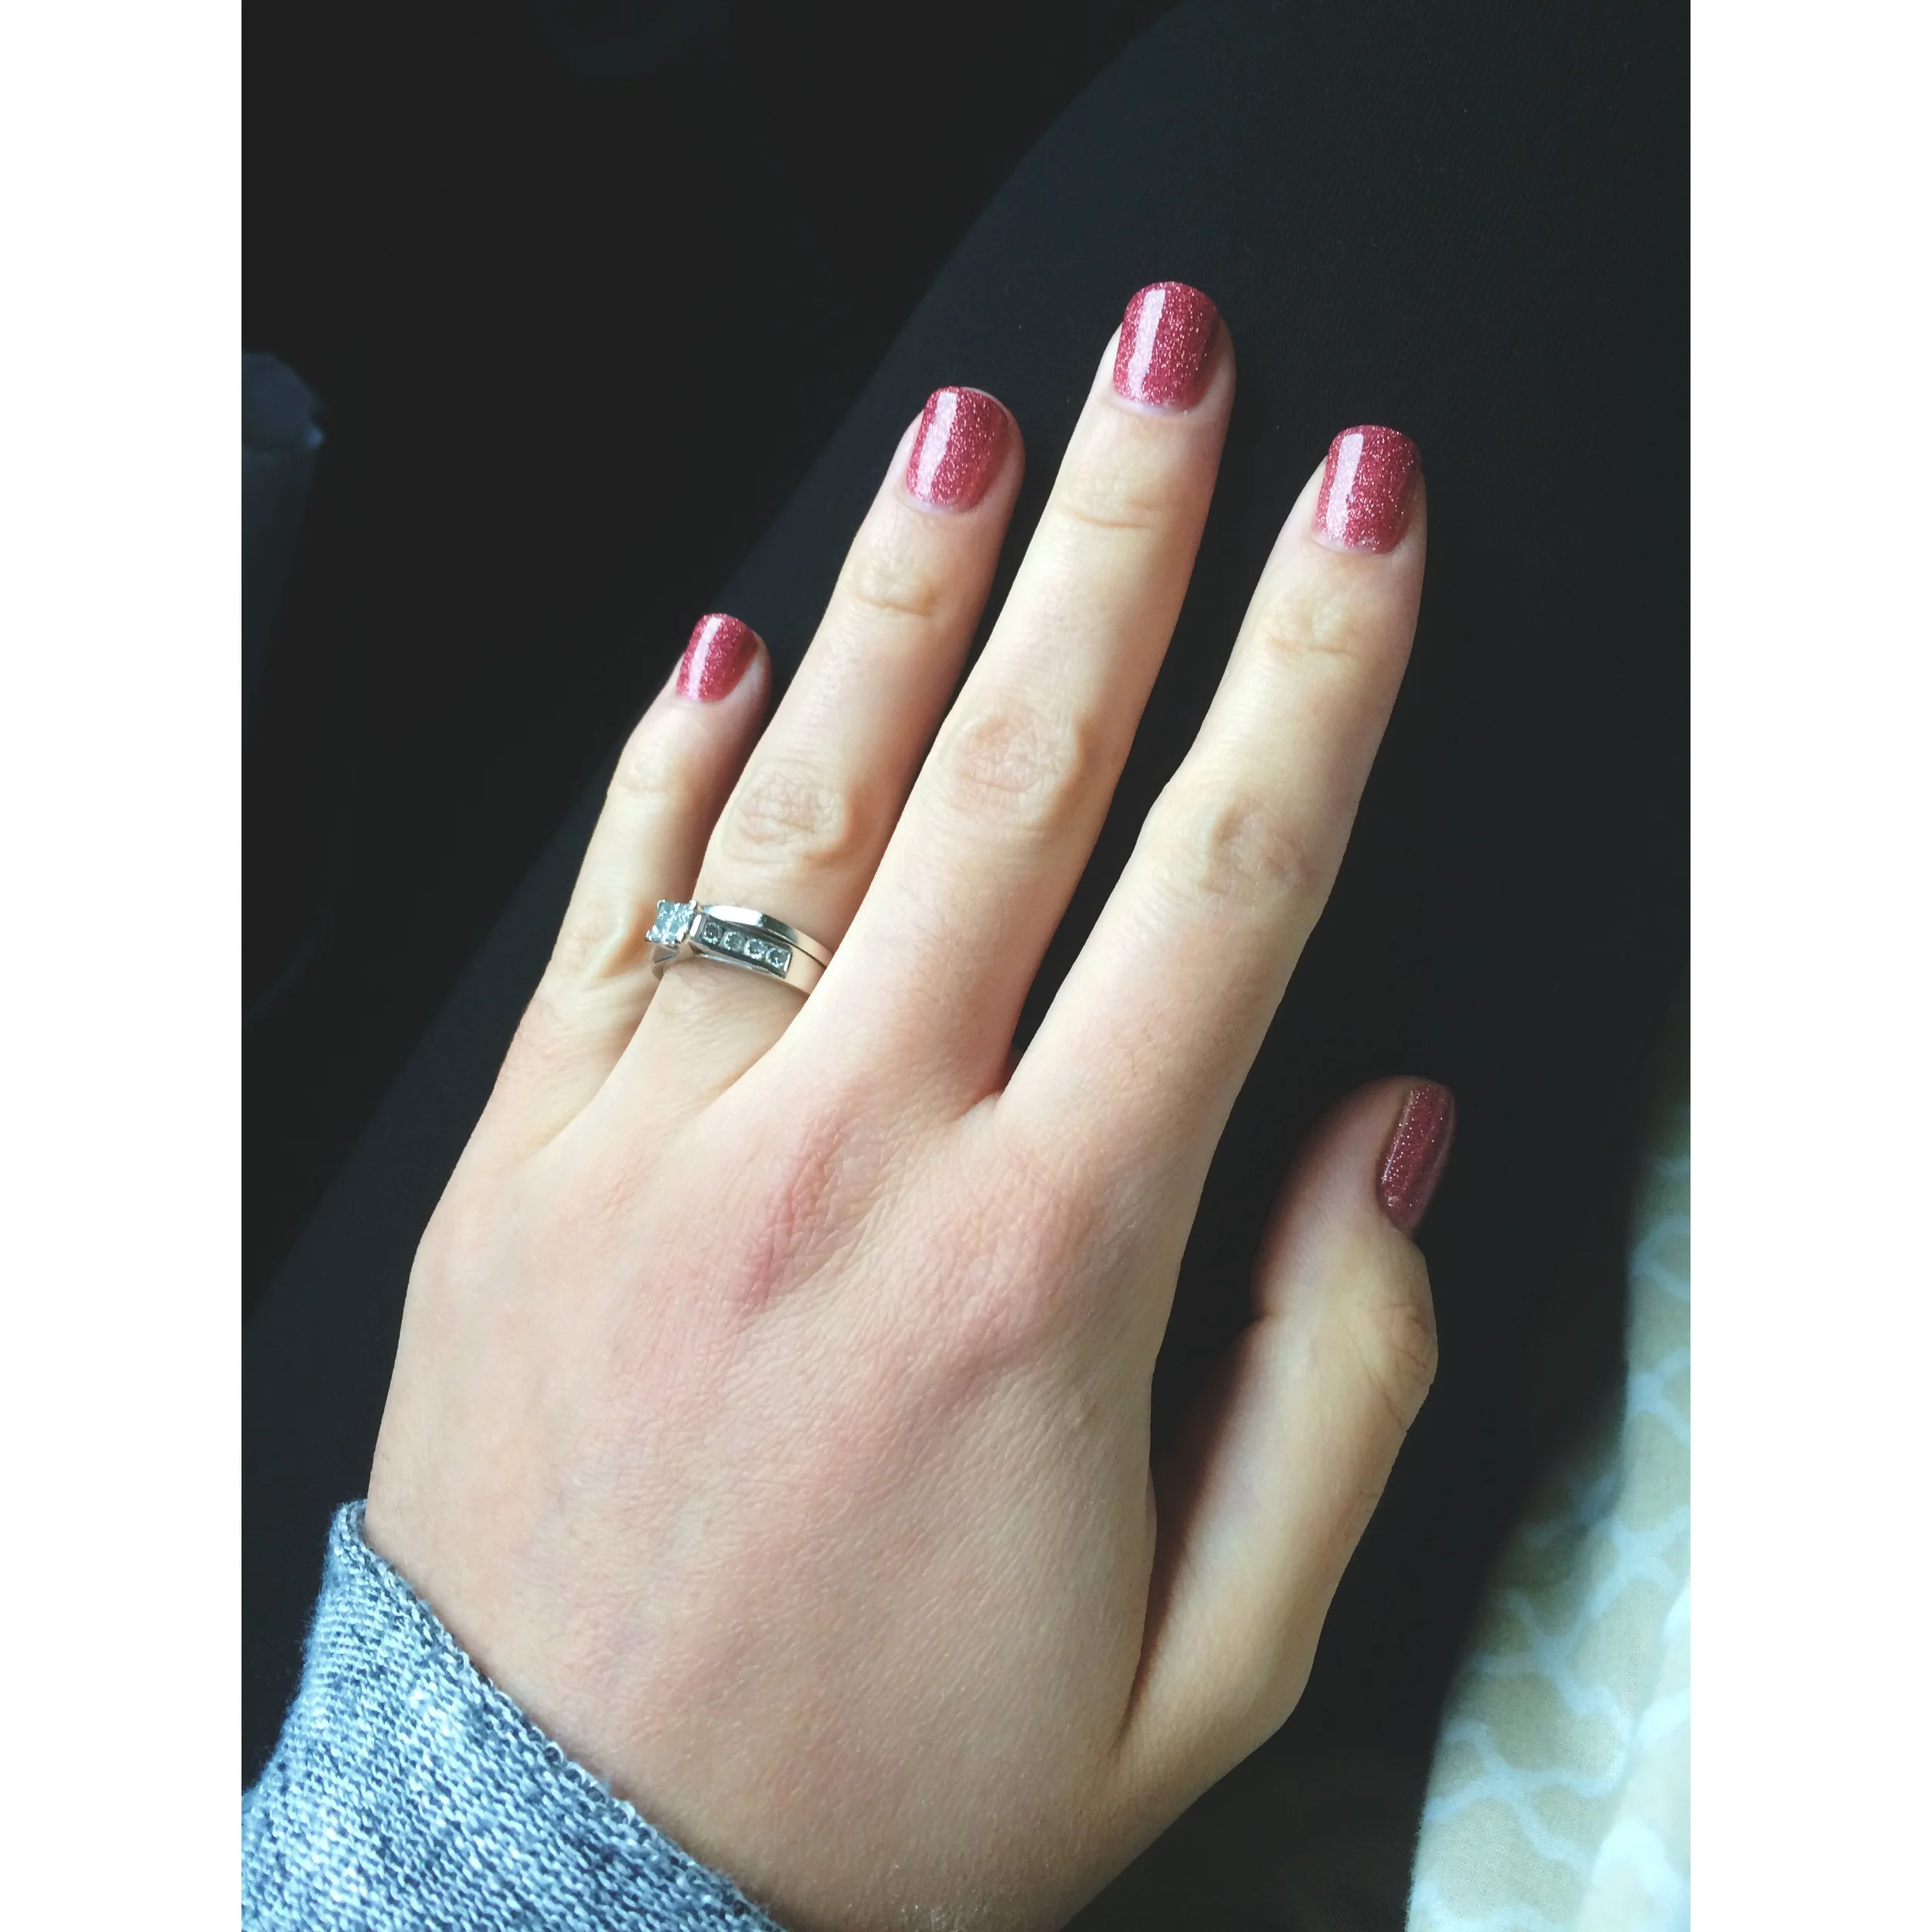
The gel color that I used was rose gold glitter, and when applied, it was a little blotchy and uneven, so I had to go over it several times to make it as evenly distributed as possible. Maybe this was due to the glitter content, so I will have to see if the solid colors apply better. The brush was a bit small and stiff, too, so that could also have contributed to it being hard to evenly coat the nails. I also experienced some slight burning on my nails when I put my nails under the LED light during curing. This scared me at first, but since it didn't last too long - only the first few seconds of each round of curing - I didn't mind it. Other than that, I found the process to be fast and foolproof.

Rose Gold Glitter

Taken in direct sunlight.
MY RATING: 4.5/5 (.5 off due to the brush being stiff)

PROS
Professional, salon-quality results
Lasts for up to two weeks or more, low maintenance
Glossy, long-lasting color and mirror-like shine
Damage-proof and does not chip
Save hundreds compared to salon visits
Safer than UV nails and cures faster
Easy to use
Fast application, zero dry time
CONS
May be damaging to nails
Nails burn slightly under LED light
Time-consuming removal process
The gel color was a bit thick when applied
Stiff brushes
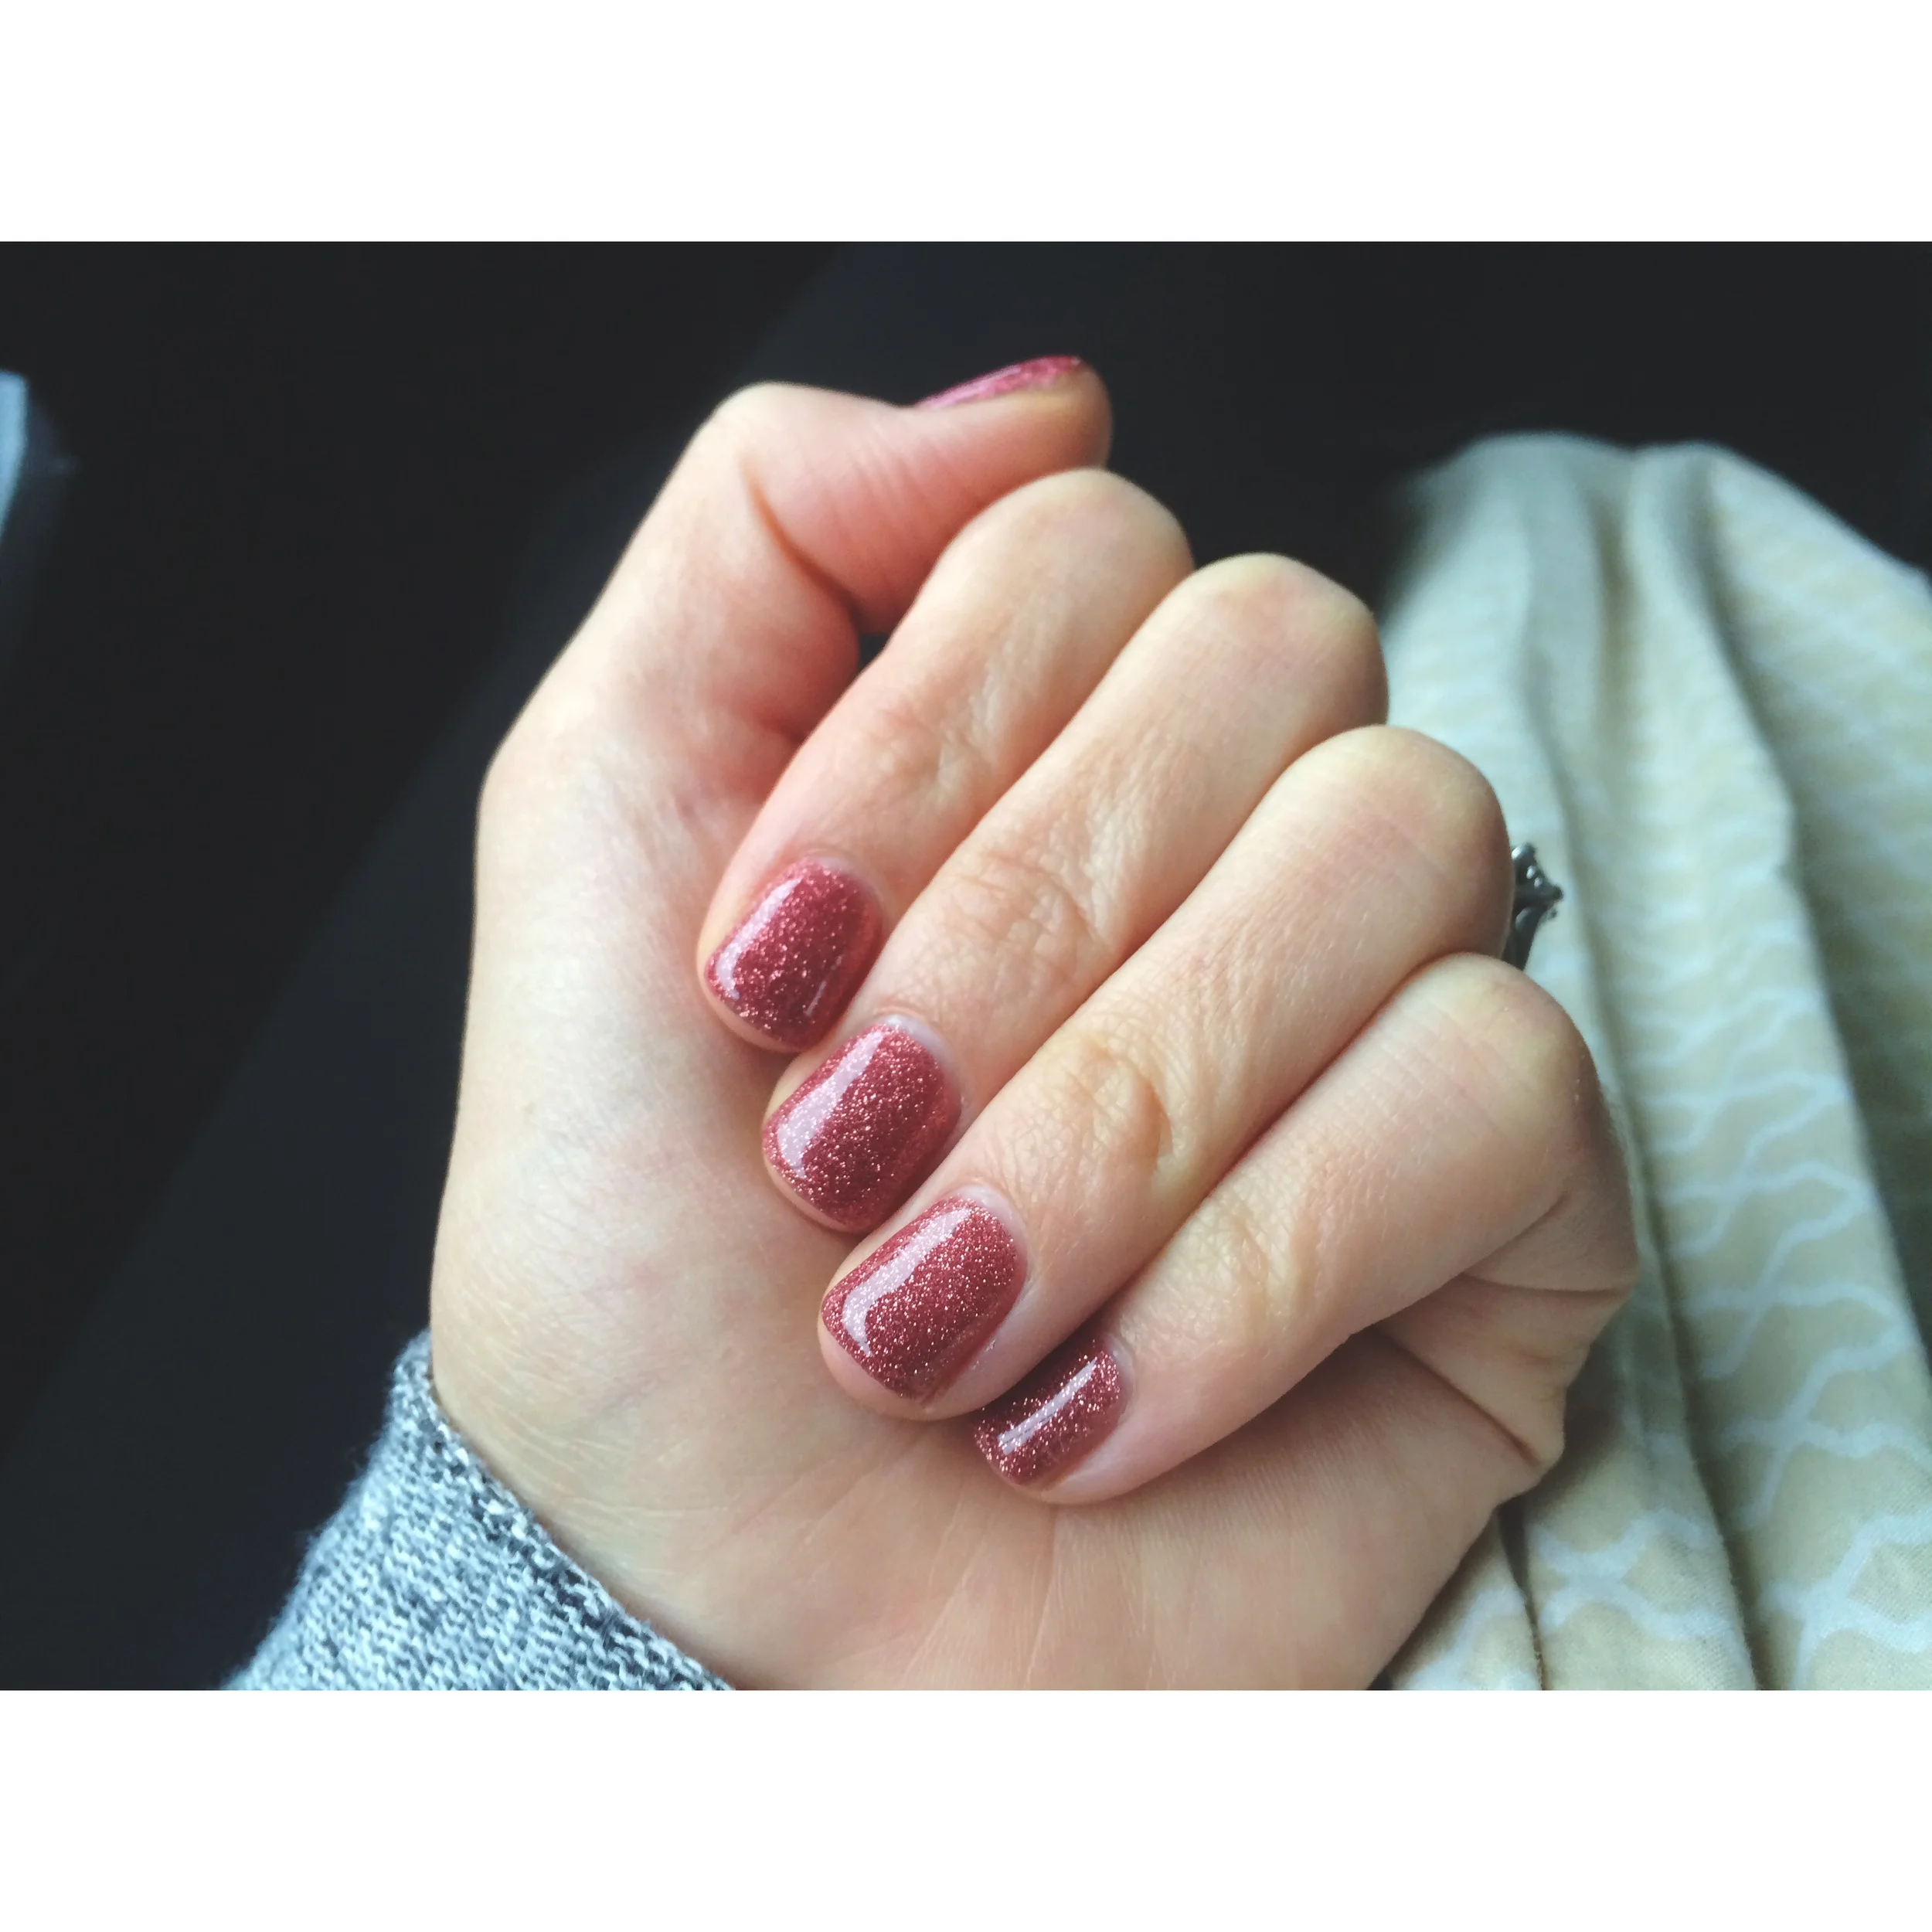
Taken in the shade. Shiny, glossy...everything!
Tip: I do recommend taking breaks in between manicures to let your nails breathe and recover, because constant use can cause nails to become weak and brittle.
This gel kit lived up to my expectations, and I am so pleased with the results. My nails turned out glossy, shiny, and sparkly. I was immediately able to do things and not worry about damaging my nails. It's perfect for anyone who doesn't have the time to do their nails every 3-5 days (did I mention the dreaded drying time), who hates having to deal with chipped nails and smudges, and the frugal mama who loves to do-it-herself and save money. This kit is so worth it; I can finally enjoy fresh, salon-quality nails at home, and you can too!
So sparklaaay!
THE VERDICT: ABSOLUTELY AMAZING!
I highly recommend this product and can't wait to try out more colors. Have fun, mamas! If you try it out, tag me on Instagram using #hellolovelyliving with a photo of your gel mani. I'd love to see it and hear about your experience.
xo, stina