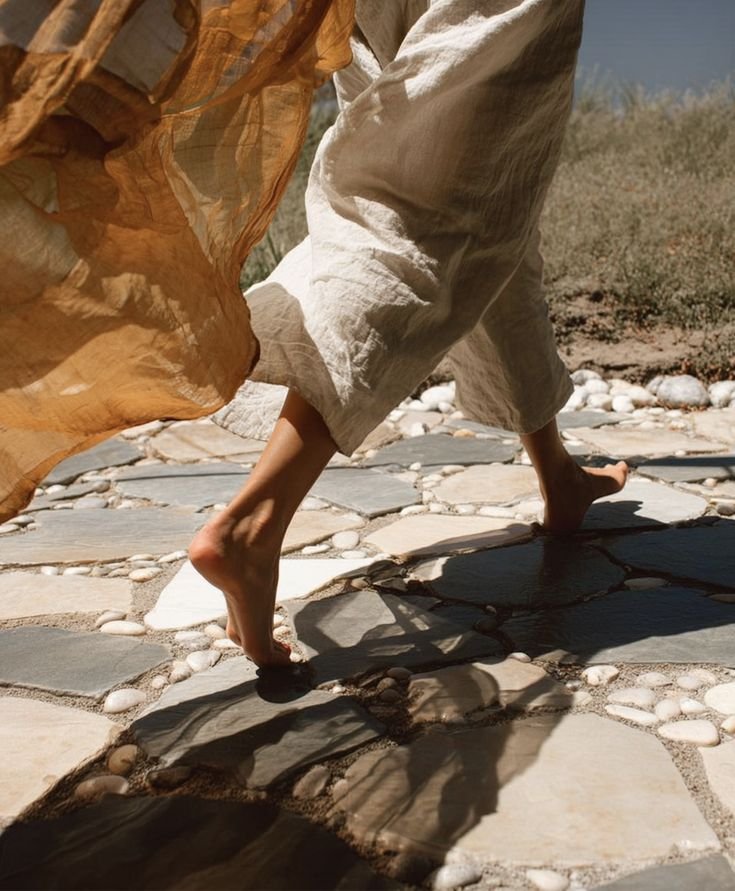
Bali has a way of making visitors feel like they should see everything at once. A single day can quickly turn into a race between temples, waterfalls, rice terraces, beaches, cafés, and sunset viewpoints, with barely enough time to absorb any of it. For travelers seeking something more personal and less rushed, bali private tours can offer the flexibility to slow down, linger in the places that resonate, and shape a trip around genuine interests rather than a rigid checklist.

In this article, we will explore what slow travel looks like in Bali, why it creates a more rewarding experience, and how to plan an itinerary that balances iconic sights with unhurried moments. The goal is not to do less for the sake of it, but to travel in a way that leaves you feeling present, connected, and genuinely refreshed.
No. 1
What Slow Travel in Bali Really Means
Slow travel does not require staying in one village for your entire trip, nor does it demand that you skip Bali’s best-known sites. It simply means being more intentional with time, energy, and attention.
Rather than squeezing ten activities into a day, a slow traveler might visit one temple in the morning, enjoy a relaxed lunch, take a short walk through a nearby village, and leave the afternoon open for discovery. The pace allows you to notice details that rushed itineraries tend to erase.
Key Principles of Slow Travel
Slow travel tends to follow a few consistent principles that can be applied to almost any Bali itinerary:
Focus on depth over volume, spending more time in fewer places
Build in unstructured time for rest, detours, and spontaneous stops
Choose experiences that encourage learning, not only sightseeing
Reduce long transfer days that are lost to traffic and logistical fatigue
Travel in a way that respects local culture, customs, and daily life
In Bali, those principles can translate into listening to the sounds of a ceremony, watching farmers work among rice fields, enjoying the changing light over a valley, or simply sitting with a coffee without checking the clock. These moments often become the most lasting memories.
No. 2
Choose Experiences Over Attractions
Bali is famous for visual beauty, but the island becomes far more compelling when you look beyond the most photographed viewpoints. A waterfall is not only a photo stop. A temple is not merely architecture. A rice terrace is not just a scenic backdrop.
Slow travel encourages visitors to understand the story behind places and to engage with them more thoughtfully.
For example, a visit to Tirta Empul Temple can become an opportunity to learn about Balinese Hindu purification traditions. At Saraswati Temple in Ubud, visitors can appreciate not only the lotus-filled setting but also the cultural significance of the temple and its connection to the goddess of knowledge. Likewise, exploring the rice terraces around Ubud can offer insight into the traditional subak irrigation system, a cooperative agricultural practice deeply connected to Balinese identity.
Ways to Turn Sightseeing Into a Real Experience
To move beyond quick photo stops, consider building your day around one core theme:
Culture: temple visits, etiquette learning, local markets, crafts, performances
Nature: one hike, one viewpoint, one slow scenic walk, one quiet rest period
Food: a market visit, a cooking class, or a long lunch focused on local dishes
Wellness: self-care, spa treatments, and time in green landscapes with minimal errands
When you understand the meaning behind a destination, it tends to feel richer, even if you visit fewer places.
No. 3
Spend More Time in Fewer Places
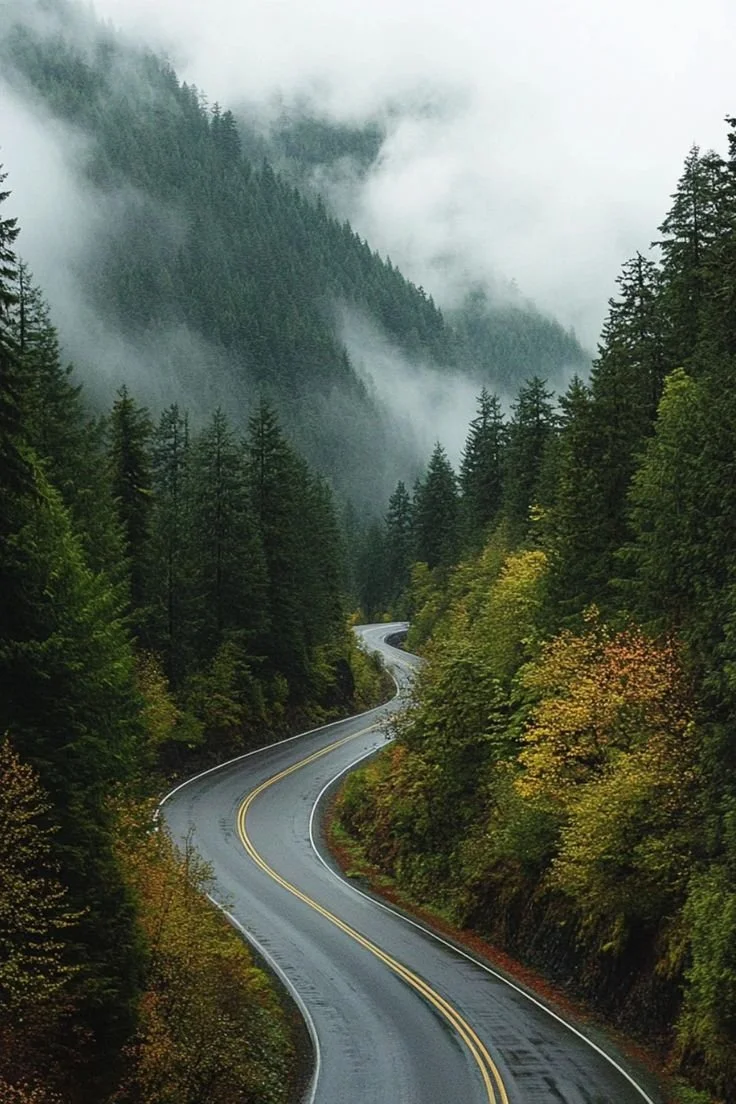
One of the most common mistakes travelers make in Bali is underestimating travel time. Traffic, narrow roads, weather changes, and congestion around popular areas can turn a short-looking journey into a major part of the day. An itinerary that looks efficient on a map can feel draining in reality.
Slow travel accounts for this upfront. Instead of hopping between distant regions daily, you can choose a few base areas and explore them more deeply.
A Practical Way to Structure a Slower Bali Trip
A simple approach is to select two or three “bases” rather than changing locations constantly:
South Bali for beaches, cafés, and easy day trips
Ubud and surrounding areas for culture, rice terraces, art, and wellness
North or East Bali for quieter landscapes, temples, and scenic drives
For instance, a few slower days in Ubud can include temples, art galleries, traditional markets, wellness treatments, nature walks, cafés, and calm rural pockets nearby. The trip feels less like commuting between attractions and more like actually being in Bali.
Signs Your Itinerary Is Too Packed
If you notice these red flags, slowing down will likely improve the entire experience:
You are in the car more than you are exploring on foot
Meals feel rushed or are reduced to “whatever is fastest”
You feel pressure to “keep going” even when a place feels special
You spend more time planning than enjoying what is in front of you
Every day ends with exhaustion rather than satisfaction
No. 4
Make Space for Bali’s Temples and Spiritual Traditions
Bali’s temples are among its most important cultural landmarks, but they deserve more than a quick stop. There are thousands across the island, ranging from small neighborhood shrines to major complexes such as Besakih Temple, Tirta Empul, Ulun Danu Beratan, and Tanah Lot.
A slower approach gives you time to observe respectfully and understand what you are seeing. It also reduces the “temple fatigue” that can happen when you try to visit too many in one day.
Temple Etiquette That Supports Respectful Travel
Because temples are active places of worship, slow travel includes cultural awareness.
Keep these practices in mind:
Dress appropriately and follow local guidance on sarongs and sashes
Avoid intrusive photography, especially during ceremonies
Stay quiet, move gently, and do not block walkways or entrances
Pay attention to signage and local requests, even if others ignore them
Ask before entering restricted areas or participating in rituals
This is one of the most rewarding aspects of traveling slowly: the experience becomes a respectful exchange rather than something you “consume” quickly.
No. 5
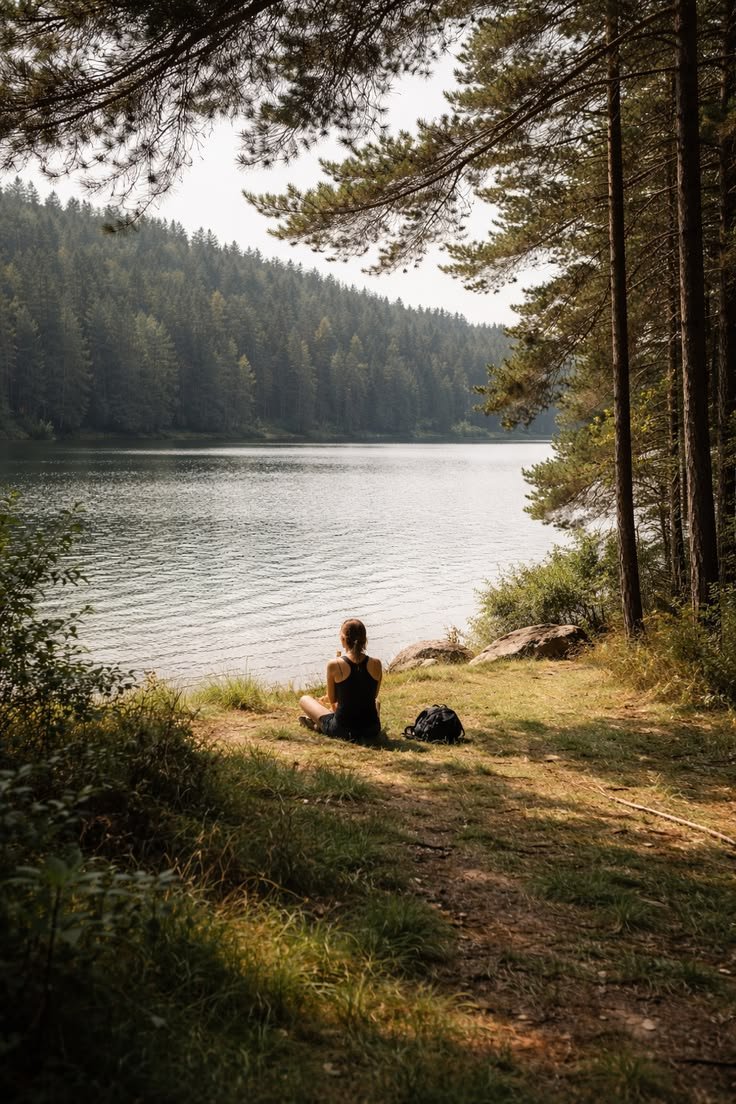
Let Nature Set the Pace
Bali’s landscapes offer a powerful reason to slow down. The island includes volcanic mountains, forests, waterfalls, lakes, beaches, and rice terraces, and you do not need to check off every category to feel that diversity.
A slower pace allows nature to be more than a backdrop. It becomes part of the rhythm of the day.
Low-Stress Nature Experiences That Still Feel Memorable
Instead of stacking multiple nature stops into one day, pick one or two and give them time:
A morning walk through the countryside around Ubud
A relaxed viewpoint session over Lake Batur with time for tea or coffee
Sunrise from the foothills of Mount Batur without rushing straight to the next stop
A quieter waterfall visit in North Bali with time to sit and listen
An hour of doing nothing in greenery, with no phone and no agenda
For travelers used to tightly scheduled vacations, doing nothing can feel unproductive at first. In Bali, that empty space often becomes the part of the trip you remember most clearly.
No. 6
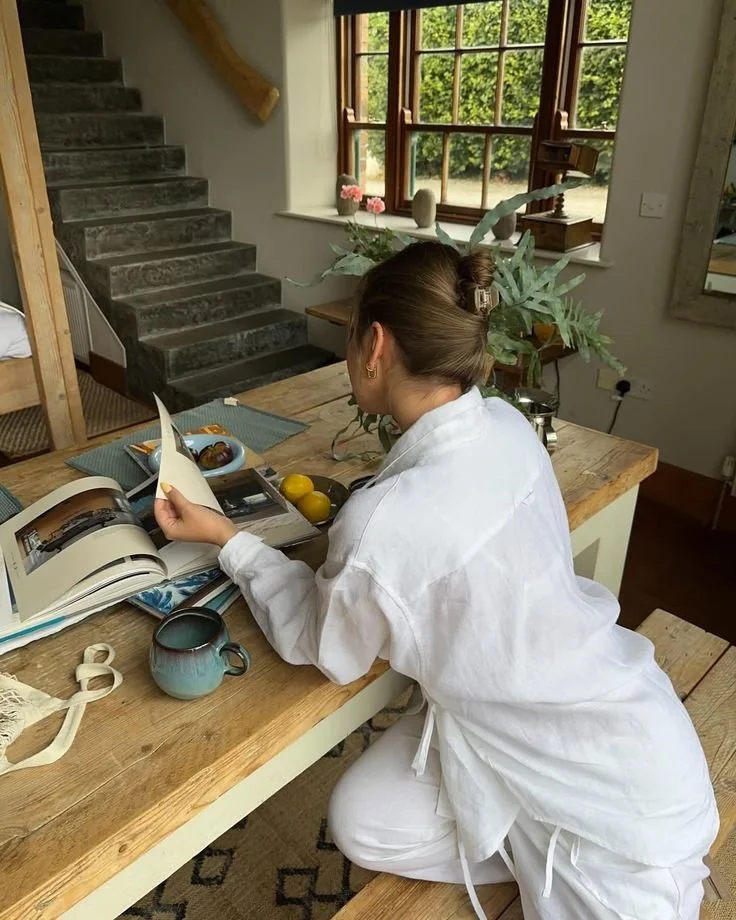
Add Wellness Without Overcomplicating Your Trip
Bali has long attracted travelers seeking rest, renewal, and personal wellbeing. Ubud in particular is associated with fitness, meditation, healthy cuisine, spa treatments, and nature-based retreats. However, wellness travel does not need an expensive package to be effective.
A balanced itinerary can include simple, consistent choices that make the trip feel restorative rather than exhausting.
Easy Ways to Build Wellness Into a Bali Itinerary
These additions are realistic for most travelers:
A morning retreat followed by a relaxed breakfast
An afternoon stroll through rice fields instead of another long drive
A traditional Balinese massage in the evening
A slower dinner with early sleep, especially after travel days
Hydration and light, locally sourced meals that support energy levels
The best itinerary is not always the one with the most activities. Often, it is the one that leaves you feeling better at the end than you did at the beginning.
No. 7
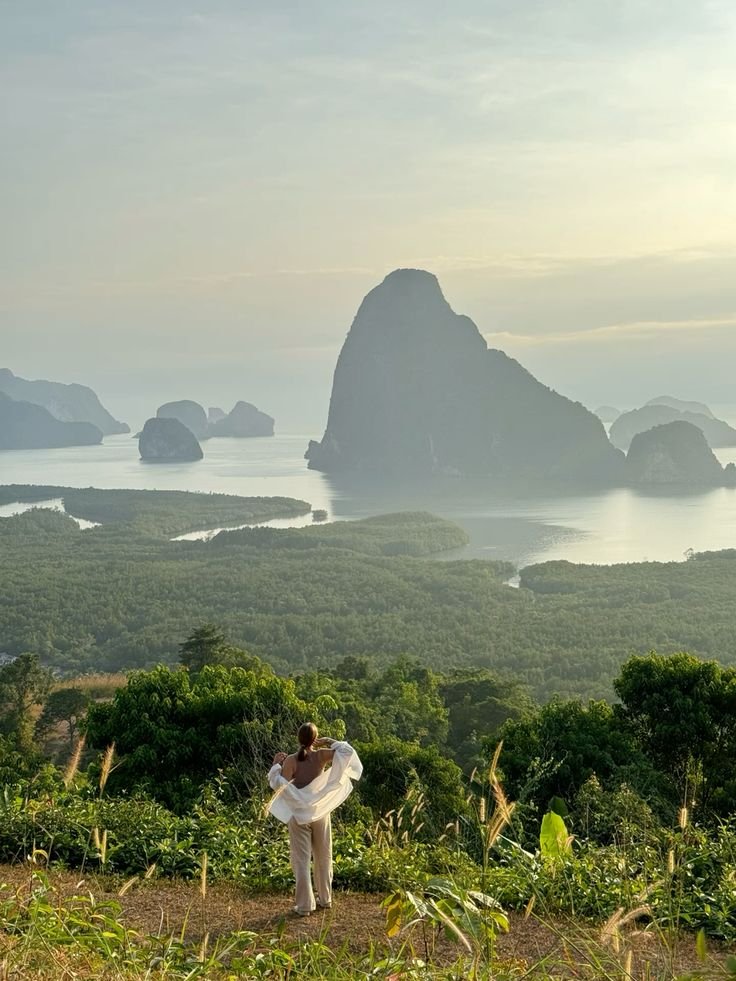
Explore Beyond the Most Popular Tourist Areas
Bali’s most famous destinations are popular for good reason, but travelers who venture beyond the busiest areas often experience a quieter, more nuanced side of the island.
North Bali offers waterfalls, mountain scenery, coffee plantations, lakes, and less crowded coastlines. East Bali combines dramatic landscapes with temples, traditional villages, rice fields, and views toward Mount Agung. Around Ubud, it is easy to step beyond the central streets and find rural calm within a short drive.
Timing Strategies That Make Busy Places Feel Calm
Slow travel is not always about finding hidden locations.
Sometimes it is about visiting well-known places at the right time:
Go early in the morning for cooler weather and fewer crowds
Visit late afternoon for softer light and a more relaxed atmosphere
Avoid stacking multiple “popular” sites on weekends and holidays
Plan one major sight per day, then fill the rest with flexible time
Even familiar places can feel different when you experience them without rushing.
No. 8
Why Flexibility Matters When You Travel Slowly
A slower itinerary creates room for the best parts of travel: unexpected discoveries. Maybe you find a café you love and stay longer. Maybe a temple visit sparks curiosity and you want to learn more. Perhaps you come across a viewpoint and decide the afternoon belongs there.
Rigid schedules do not make room for these moments. Flexible plans do.
Transportation choices can support that flexibility. Having a private driver or customized tour arrangement can make it easier to adjust the day’s schedule, reduce unnecessary transfers, and focus on experiences that genuinely match your interests. The principle is simple: your itinerary should serve you, not the other way around.
What a Flexible Day Can Look Like
A practical “slow day” structure often includes:
One anchor experience you care about most
One optional activity nearby if you feel energized
One unplanned block for rest, detours, or a longer meal
A realistic buffer for traffic, weather, and curiosity
This structure keeps your trip purposeful without turning it into a marathon.
No. 9
Build a Bali Itinerary Around How You Want to Feel
Before planning, decide what you want to take home emotionally. Do you want to feel rested, inspired, connected to nature, more curious about Balinese culture, or more present?
That answer can shape every decision, from where you stay to how you structure your days.
Example Itinerary Priorities by Travel Style
Use these as planning templates:
Relaxation-focused: Ubud, spa treatments, mind-body exercises, slow cafés, gentle nature walks
Culture-focused: temples, traditional villages, local markets, crafts, performances
Nature-focused: waterfalls, rice terraces, volcanic landscapes, lakes in Central and North Bali
Balanced: one cultural experience, one nature experience, and one wellness element per day
There is no single definition of the perfect Bali trip, and that is precisely the point. Bali rewards personalization.
No. 10
Slow Travel Can Make Bali Feel Bigger, Not Smaller
At first, slow travel can sound like doing less. In reality, it can help you experience more. When you stop rushing, you notice details that would otherwise disappear: the architecture of a temple, the sound of water moving through an irrigation channel, the way light changes across the landscape at sunset.
Travel is not only about where you go. It is also about how you move through a place.
Bali especially rewards that mindset because the island is layered: culture, spirituality, craftsmanship, food, landscape, and daily ritual exist side by side. Those layers cannot be absorbed in ten-minute bursts between car rides.
Takeaways
Slow travel in Bali is about intentional pacing, choosing depth over a checklist, and giving yourself time to notice what makes the island unique. It creates space for meaningful cultural experiences, calmer logistics, and more personal discoveries.
Planning fewer bases and fewer daily “must-sees” can reduce time lost to traffic and increase time spent actually enjoying where you are. Adding flexible time blocks also makes it easier to follow curiosity, rest when needed, and stay present.
Bali’s temples, landscapes, and wellness traditions feel more rewarding when you engage with them respectfully and unhurriedly. When you return home, the trip tends to be remembered not only for what you saw, but for how it made you feel.
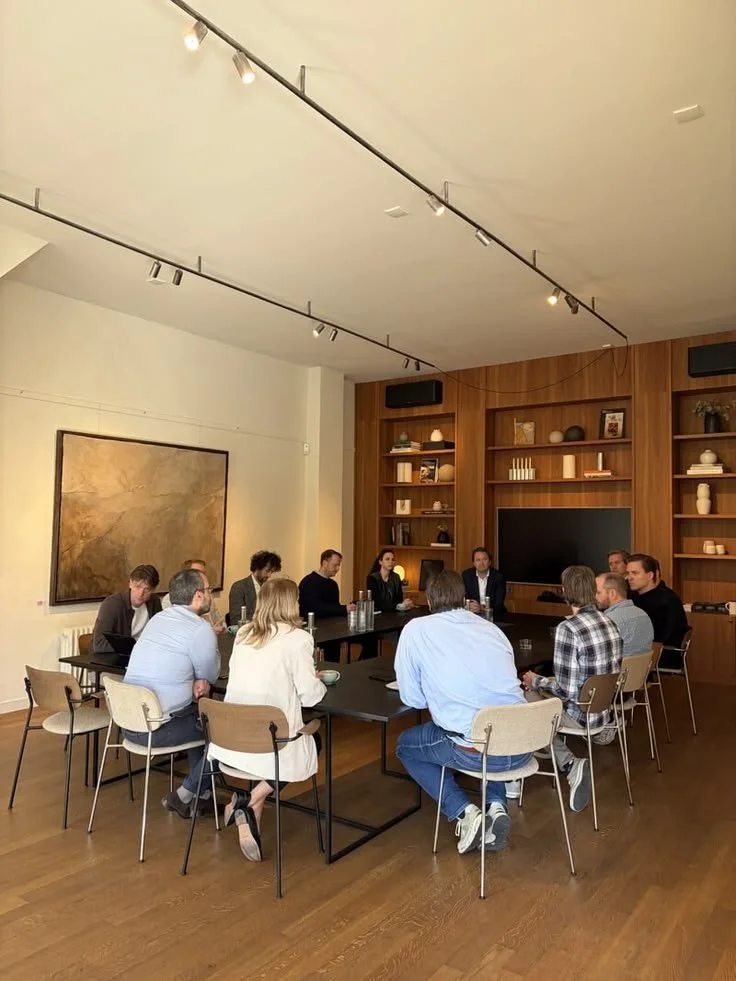
Looking for Business resources?
Are you seeking ways to elevate your business to new heights? Dive into the array of resources provided by our esteemed business partners designed to empower your ventures.