How To Build A Shed In Three Easy Steps
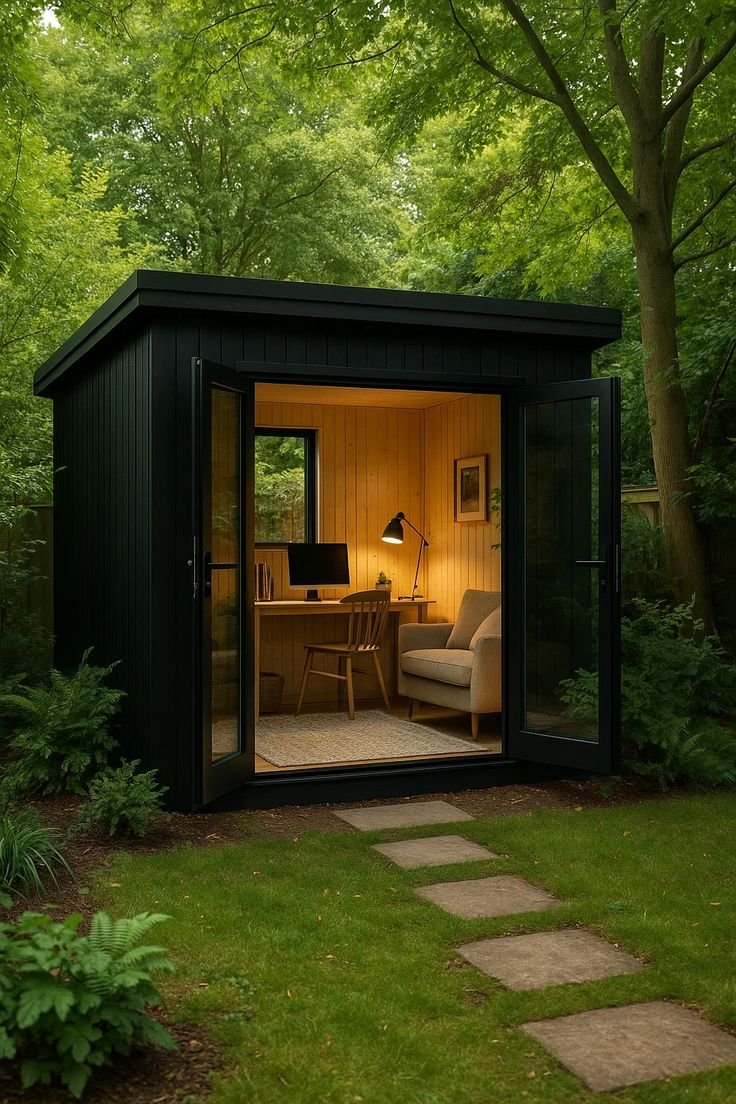
For many DIY enthusiasts, building a shed is the ultimate weekend DIY project. It’s a rewarding endeavor that strikes the perfect balance between complexity and practicality—challenging enough to be satisfying, yet accessible enough for those ready to graduate from shelving units and cabinet repairs.
While there are countless great tutorials online that walk you through the process step-by-step, it’s important to understand the foundational principles before diving into construction. In this article, we break down the basics into three simple stages, giving you a solid overview of what to expect and how to prepare for building a shed. By the end, you’ll have a clear roadmap to guide your shed-building journey with confidence.
No. 1
The Planning Stage
As the old saying goes: “Fail to prepare, prepare to fail.” Nowhere is this more true than in shed construction. Planning is arguably the most critical phase of the entire project. The last thing you want is to get halfway through the build only to realize you’ve made a costly mistake—or worse, need to start over entirely.
Start by checking your local building regulations. Some areas have restrictions on the size, placement, or type of structure you can build. A quick call to your local authority will clarify what’s allowed.
Next, choose the shed model that suits your needs and skill level. Once you’ve selected a design, price out all the materials and tools you’ll need. Then, designate the area in your garden where the shed will be built. Carefully measure the space—always measure twice to avoid costly errors later.
No. 2
Set the Foundation
A solid foundation is the backbone of any durable shed. Even the most well-constructed walls and roof won’t hold up if they’re built on uneven or unstable ground.
Shed base plastic is often the best option for beginners. These bases are engineered to distribute the structure’s weight evenly and act as a protective barrier between the shed and the ground.
Before laying the base, level the ground thoroughly. Rake the area, tamp down the soil, and use a spirit level to ensure the surface is even. Once the ground is prepped, use stakes and string lines to outline the shed’s perimeter. This will guide you as you lay the base and begin construction.
Rejuvenation
Jumpstart your next home project with Rejuvenation's Home Project Guides!
Expert tips, inspiration, and resources to bring your vision to life. Start planning today!
No. 3
Building the Shed
Now comes the exciting part—building the shed itself. Start by installing the main joists in the positions you’ve marked with your string lines. These will serve as the structural framework for your shed.
Next, lay the shed flooring on top of the base. This step provides a stable platform for attaching the wall frames. Depending on your chosen model, there are several ways to secure the walls to the base frame. Follow the specific instructions provided with your shed kit or design.
Once the walls are firmly in place, it’s time to install the roof frame. This will later be covered with your chosen weatherproofing material—whether that’s shingles, metal panels, or waterproof sheeting.
Finally, install the windows and doors. If this is your first shed build, opt for pre-hung doors and easy-fit windows to simplify the process. These components are designed for straightforward installation and will save you time and frustration.
Takeaways
Building a shed is a fulfilling and practical DIY project that adds value to your property and satisfaction to your skillset. While this article doesn’t serve as a full tutorial, it gives you a clear overview of the essential steps: planning thoroughly, laying a solid foundation, and assembling the structure with care.
Take your time, follow the instructions for your specific model, and don’t be afraid to ask for help or consult more detailed guides as needed. With patience and preparation, you’ll not only build a shed—you’ll build confidence in your DIY abilities.
So grab your tools, roll up your sleeves, and enjoy the process. Happy building!
Looking for Home resources?
Looking to enhance your living space and create a sanctuary that supports your well-being? Explore our home partners who offer a wide range of resources to elevate your home environment.
