Posts tagged home decorating ideas
DIY Minimalist Floating Wood Shelf

For a while now, I’ve been shopping for a minimal raw wood floating shelf, but to no success. Knowing that adding shelving to your walls will enhance your space, I always make it an effort to do so. I have always loved floating wood shelves in particular. So, I decided to take it into my own hands and design one that was not only pretty and the exact aesthetic I was going for, but inexpensive and easy to make.

This post is meant to provide the exact measurements and supplies that you will need. I also filmed a video of me making this exact shelf from start to finish so that you can easily visualize each step and refer back to it if you decide to make one for yourself.

Hello Lovely Living

All supplies besides the drill set (which was purchased at Ikea) where purchased at Home Depot, so this is an easy one-stop project. It is a very affordable project as well at under $15 for all supplies, and you could easily make multiple shelves for under $10 with leftover supplies.

Watch the video below for a quick tutorial on how to make this floating shelf!

SUPPLIES


• 1 - 0.75” depth x 5.5” width x 24” length piece of maple wood board

• 60 sandpaper for wood (comes in pack of 5 sheets)

• 2 - #10x3” phillips wood screws (comes in pack of 2)

• 2 - EZ Ancor drywall anchor that hangs up to 75lbs (comes in pack of 4)

• #12-24 Everbilt machine screw nuts (comes in pack of 10)

• 3/4” diameter x 48” length wooden dowel (cut down to 2 - 7” pieces.

• Drill bit and phillips screwdriver

INSTRUCTIONS


STEP 1

Cut dowels

Home Depot has a saw station that you can use to cut down your wooden dowels. Cut 2 - 7” pieces. With remaining wood, you could easily make 4 more pieces depending on if you are making multiple shelves. Of course, you’d need to adjust your amount of supplies if that is the case.


STEP 2

Sand dowels

Sand down the ends of the wooden dowels until smooth.


STEP 3

Drill dowels

Drill one side of each dowel 2” deep and at a circumference that allows for the head of the phillips screw to be completely inserted. I drilled my holes to a width of 1.25 cm since my screws had a lip that wide.


STEP 4

measure your wall

Measure the width of the wall you are planning to hang your shelf on. Since the piece of wood is 24” in length, you will need to leave an equal amount of space at each end in order to center it on the wall. This amount will depend on your individual space. Once you’ve identified how much space you need for each side, measure 3.25” from each edge of the piece of wood. This is where your wooden dowels will be placed and where you will place your holes in your wall. Use a leveler to make sure that everything is even before drilling your holes. I just downloaded a leveler in the app store and used my phone to do this.


STEP 5

Install drywall anchors and screws

With your drill bit, drill your holes into the wall and then screw the drywall anchors in place with a phillips screwdriver. Take your phillips screws and run a screw nut through each before you install them. Screw in until secured and tight (about 1”). Leave a 2” allowance to insert the wooden dowels into.

STEP 6

Insert wooden dowels and hang

Insert the wooden dowels into the screw and nut until secure. Hang shelf and then style with finishing touches. Make sure to keep shelf flush to wall so that all the weight is held up against the screws.

public.jpeg

Wasn’t that an easy project! If you try this project, make sure to tag me @hellolovelyliving on Instagram so I can see!

I also have another hanging wood shelf project you may be interested in too. You can see that here!

What home decor projects have you been wanting to do lately?


Cute Cactus Crafts For the Cactus Obsessed

via The House That Lars Built

I have not been exempt from this cactus obsession that has swept the world of DIY and crafting. I don't know what it is about transforming something real into variations of utter cuteness, but I'm not complaining. I love anything that adds life and cheer to my world, so if cactus bring any sort of joy to my life, then so be it. I welcome them with open arms in any way, shape, or form! If you're of the same accord, I gathered some cute cactus crafts that are super easy to make and oh-so-adorbs. Check them out in my latest Mode story below!

What is your favorite cactus craft? I'd love to hear about it in the comments below!


DIY | Butterfly Shadow Box

Visiting the park is one of the things I really enjoy these days, but since it's getting a lot cooler now, those days are long gone for a while until the warmer months are back. So, I was so happy to create this spontaneous DIY to admire and to reminisce upon during the colder seasons.

DIY | Butterfly Shadow Box

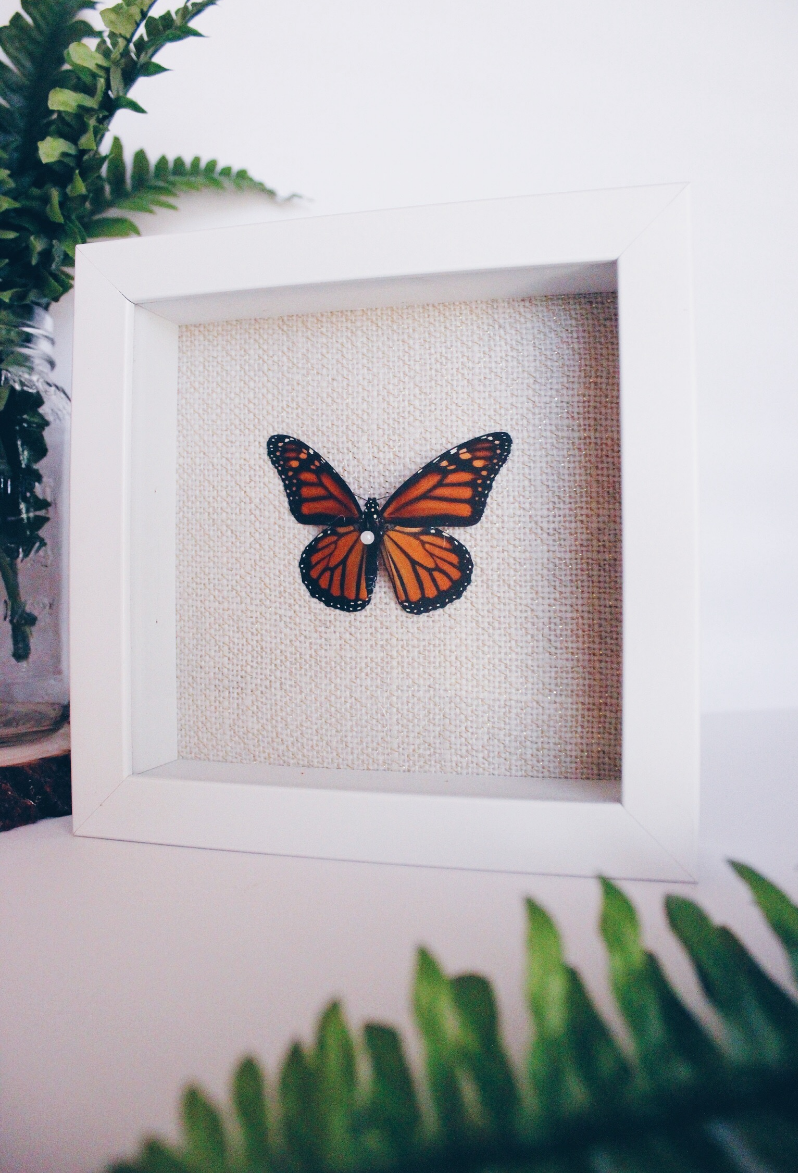
One of my favorite things to do at the park is to pick up little treasures, so when my oldest son found a butterfly that had gone to butterfly heaven, you know I wasn't going to pass it up. Having not preserved a butterfly before, I took to google and discovered that there's really not much to it than what I had thought. 

DIY | Butterfly Shadow Box

I am definitely not the butterfly-killing type, so this was one of those DIYs that was very spontaneous and out of the blue for me. How often do you stumble upon a butterfly that is completely intact and not already stiff and dry (or missing a wing, a leg...) ? Rarely, right! This is a monarch butterfly, and they are so so beautiful and plentiful here. I was so excited to see one up close, but also sad that the butterfly had died somehow.

DIY | Butterfly Shadow Box

So, here's how I did this really quick project. I didn't take step-by-step photos because I was rushing to put it together at the time, but it's really easy and straightforward.

What you'll need

  • Butterfly 
  • Shadow Box - Size: 7"w x 7" h (5 1/2" w x 5 1/2" h mounting area) 
  • Burlap with gold accents or any fabric - Size: 6 1/2 - 7" w x 6 1/2 - 7" h 
  • Tape
  • Pin

Instructions

You'll need a butterfly that is still fresh and that has not gone stiff yet. If your butterfly has gone stiff already, put it in a container with a wet napkin and let it sit until the butterfly is hydrated. If you don't plan to mount the butterfly immediately, just put it in a container and freeze it. Once ready to use, remove from the freezer and place a wet napkin in the container to get it hydrated again. Note: Since I didn't need to freeze or rehydrate my butterfly, I am not 100% sure if these steps are effective. I found this advice online.

Remove the frame backing and take your fabric and wrap it around tightly. Secure the fabric with tape to the back of the frame. Measure the center of your frame and mark it so you know where to place your butterfly. Take your butterfly and spread out the wings gently. Holding the thorax, insert the pin as pictured. The butterfly should be pushed up against the pin head so it appears to be floating when mounted. Push the pin into the frame where you marked the center. Reposition the butterfly's antennae and wings for its final resting position. Reassemble your frame and hang. 


I think that was one of the easiest DIYs in DIY history, and it literally only took a few minutes. Total cost: $5. I only had to purchase the shadow box, which was even on discount, so YAY for that. I love how it turned out, especially for a spontaneous project that will be enjoyed for years to come. 

Even if you're designing on a budget, you can still achieve something beautiful and authentic. I hope this project inspires you! Happy Fall!

Let me know what you think about this DIY in the comments!  


Create a Chill Vibe with Rustic Boho Modern Style Decor

via The Home

I love everything about boho design, and so I decided to put together a bunch of useful tips to getting that oh-so sought after look. No matter what season it is, you can always create the perfect little getaway in your home. At this moment, I'd have to go with a modern boho look because it is so me. I love the way you can mix and match colors, furniture, textures, and fabrics to create such an interesting and pretty space. I hope you love what I've put together, and hopefully it inspires you to go boho!

So, what did you think? Did you fall in love with any of these ideas? I think I fell in love with all of them. Yep, I basically did. I would love to incorporate all of these ideas into my home somehow. One day at a time, and I'm sure I will. Have an incredible and inspiring week ahead!

Which tip was your favorite? Share with me in the comments below!


7 Nightstand Decor Essentials

Believe it or not, there is a formula to designing the perfect nightstand. Explore my curated collection, and get inspired to take on your own space. Nightstands are a major part of the focal point of the room, with the bed being front and center, so you want it to be balanced and grab everyone's attention as soon as they enter the room. You also want your nightstand to speak something about you, so add your personal touches. Let's have a look at these inspiring spaces!

From simple, to elaborate, these nightstands all have on thing in common: I want them all! But really ... don't these spaces make you want to cozy on up in bed? It's amazing what a little thought can do for those small little tables to give each room character. Here's to helping you design your very own nightstands that will make your bedroom look as if it popped out of a Pinterest board! Read on for my 7 Decor Essentials.

7 Decor Essentials for the Perfect Nightstand

1. Nighstand: A stool gives this bedside a cheery, vintage vibe. The tables you choose will give your bedside character, so here are some points to help you decide what type of tables to go for. 

+ Decide what look you want to go for - perhaps a vintage and whimsical or polished and modern feel? For a vintage feel, try using a wood stump, an old chair, crates, or anything with a weathered appearance. For a more polished feel, opt for dressers with clean lines that are symmetrical. You may even combine the two and get an even more interesting outcome. Interesting alternatives: desk, stool, cabinet, dresser.                                               

7 Decor Essentials for the Perfect Nightstand

2.  Lighting: With so many lamp styles available, look for a pair that compliment your nightstands. Wall and pendant lamps are a break from the traditional table lamp and can free up some extra table space too. Try these unique firefly lights for a more ethereal feel. It'll make your bedroom feel all fairytale-like. 

7 Decor Essentials for the Perfect Nightstand

3. Art: Creating a gallery wall like this above your nightstand is so much fun. You may also extend it all the way around the wall above your bed if you've got the patience! If you don't think taking on a project that big is in your stars, try stacking frames on top of your nightstand instead - a very easy and casual way to display art. Incorporating some type of framed piece, whether it be a picture, art, a mirror, or another wall decor can really create a ton of visual interest in your room. 

(featured image via The Design Chaser)

(featured image via The Design Chaser)

Another way of adding art to the walls and giving a room some character and warmth is the stick on wood wall, which is higher now in play. With the help of this innovative solution, you can quickly turn any space into an inviting retreat without the cost of the old way of wood paneling.

Stick-on wood walls are quickly replacing the old as many interior designers and DIY enthusiasts turn to them for their easy application and realistic wood grain. They are not only eco-friendly and inexpensive, but they also provide a sense of rustic charm.

Minted is a great place to find tons of wall art from independent artists. Stay tuned for my upcoming post on how to create your very own gallery wall featuring beautiful art from Minted

7 Decor Essentials for the Perfect Nightstand

4. Plant: A leafy plant like this one is one of my favorite plants to use in the bedroom. Not only will it last you longer than flowers, but it is low maintenance and won't die if you lack a green thumb (like me). Flowers are great too, but fresh is always best. Want to be different? Succulents or cactus are perfect as well, because like leafy plants, they too last long and are low maintenance. You can even try a vase filled with eucalyptus and it'll fill your room with a wonderful scent too. Don't care for plants at all - an assortment of empty vases are just as pretty.

7 Decor Essentials for the Perfect Nightstand

5. Books: Here, a floral arrangement sits atop a few monochromatic books to add height. Not only is it nice visually, but having a few good reads nearby is always a good thing, especially before bedtime to help you get relaxed for the evening. Think of books as a pedestal for whatever you place on it.

7 Decor Essentials for the Perfect Nightstand

6. Storage: Having a jewelry dish or bowl on your nightstand is a pretty way to display some of your jewelry, and of course, prevent you from misplacing those studs as you take them off before bed. A glass shadow box is another pretty way to store and display valuables on your nightstand. 


7 Decor Essentials for the Perfect Nightstand

7. Objects: Choose one or two small objects to place on your nightstand to add a touch of personality. Decor ideas: Candle, mug, animal figurine, shell, vase, clock, etc. Place them atop your stack of books like the above picture. 

Tips:

  • Try incorporating a number of these decor essentials into your existing nightstand setup.

  • To create balance, try to design both nightstands with a unifying piece or pieces - identical tables, lamps, plants, etc.

  • You don't need to use all 7 decor items - choose a combination. Maybe you want to use a plant and some books - that works perfectly well. Get creative with your space and do what works for you. 

  • Look for items around the house. You usually have all of these items already.

Does this inspire you to update your nightstand or design one from scratch? Let me know in the comments. 

Share your nightstands with me on Instagram - tag @hellolovelyliving for me to see! <3

Featured image via The Every Girl


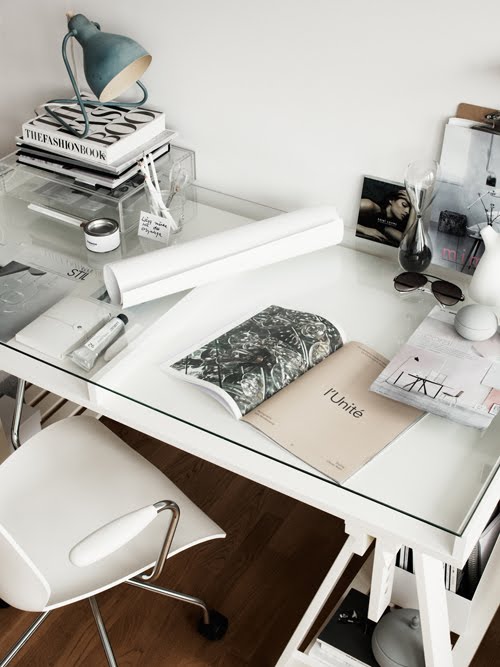
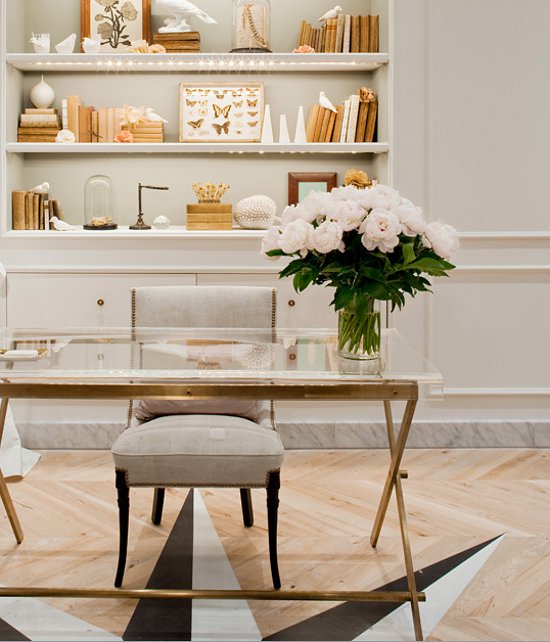
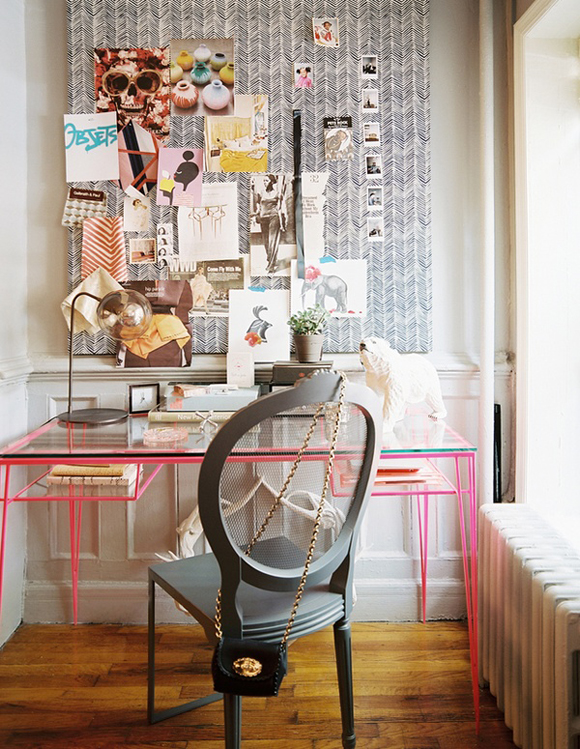
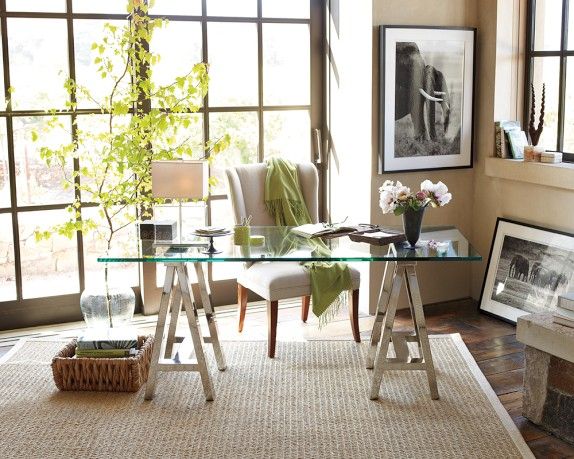
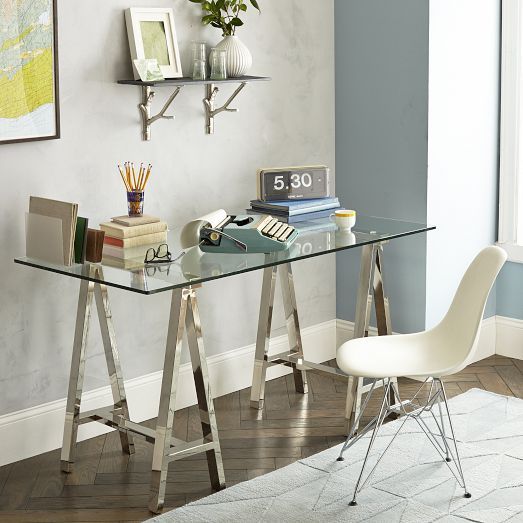
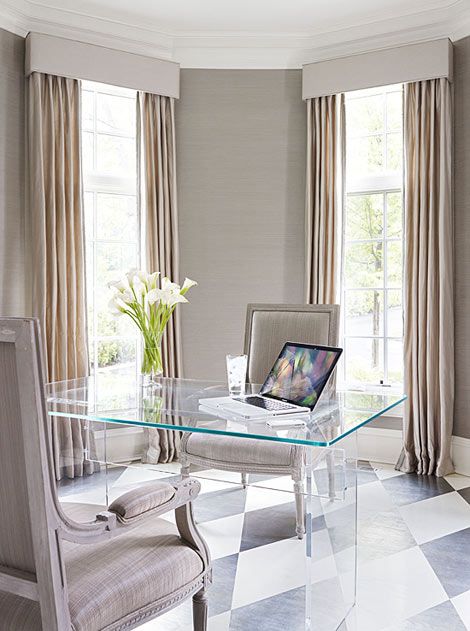
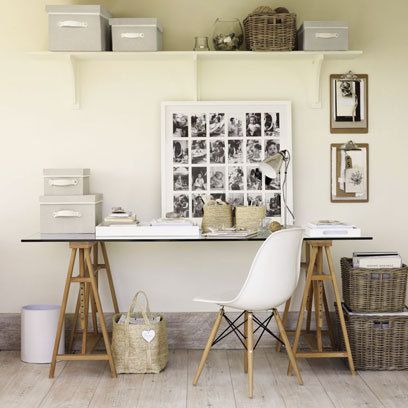
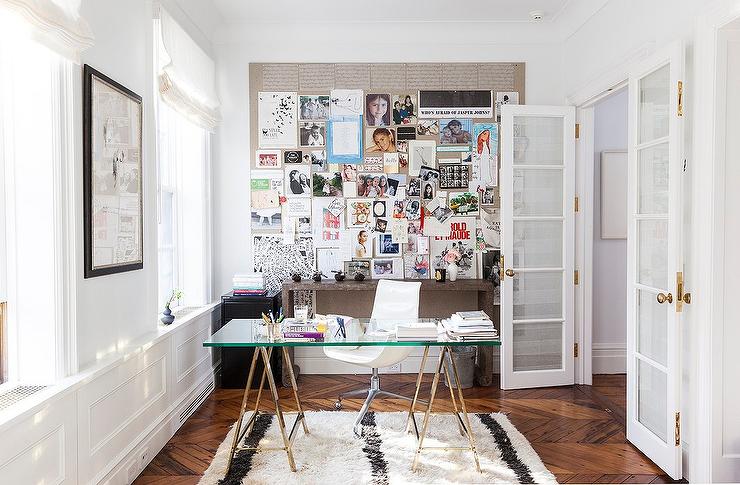
Small Home Office Design Ideas - Glass Desk

Having a home office is the perfect way to boost productivity and creativity. Create a space that expresses who you are, and you will feel more inspired to take on the day with passion and purpose. Inspiration comes from everywhere - including your office - so fill it with things that you love. You want it to be a place that inspires you and gets you away from any distractions that the other parts of the house are full of. 

Most of us would like to say that we have all of the space in the world to create the perfect home office, but that's not always the case; however, a lack of space doesn't mean you have to sacrifice style and functionality. There are so many solutions to creating a home office that is still inspiring and has all of the essentials that an office would need to function and work.

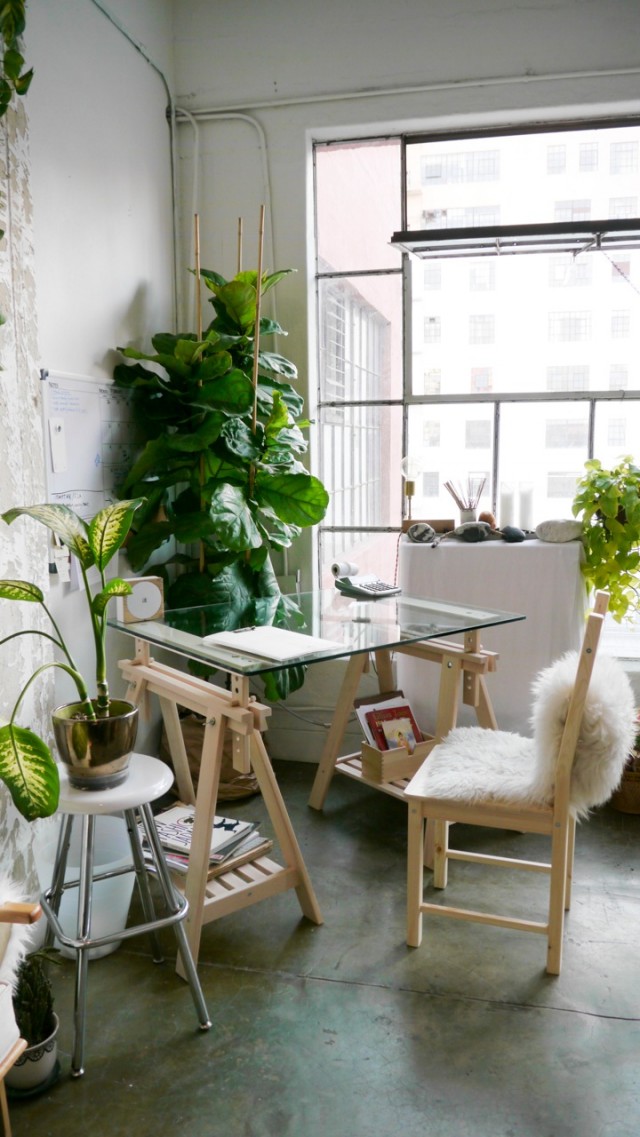
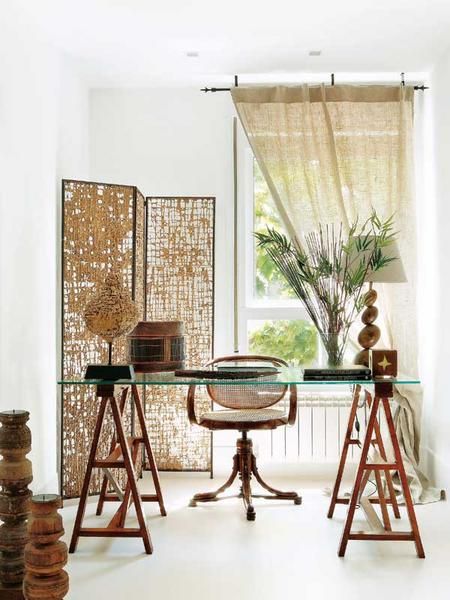
In this post, I focus on the use of glass desks to open up small spaces. Desks are the focal point of an office, so choose a desk that you're going to love for a very long time. The see through nature of glass desks give the illusion of more space and draw the eyes around the room, instead of getting stuck on a large piece of furniture that can be too overwhelming for a small space. 

Discover these inspiring home offices featuring glass desks. They are all so pretty, so I hope you find some inspiration here that you can apply to your space. 

Sources: 1 | 2 | 3, 4 | 5, 6, 7 | 8, 9 | 10 | 11 | 12 | 13 | 14 | 15 | 16 | 17 | 18 | 19 | 20 | 21 | 22 | 23 | 24 | 25 | 26 | 27 | 28 | 29 | 30 | 31 | 32 | 33 | 34 | 35 | 36


There were so many inspiring home offices that I almost couldn't stop posting photos. Thanks so much for hanging out and gathering some ideas. It's so fun looking at pretty spaces like these - I could do this for days!

Did you see any that inspired you? I'd love to hear in the comments!