Posts tagged minimal
Using a Garden Room for Business: What You Need to Consider

With the growing trend toward remote work and flexible lifestyles, utilizing a garden room for business purposes has become increasingly popular. Whether it's a home office, a creative studio, or a consulting space, garden rooms offer a versatile and customizable solution for entrepreneurs and professionals looking to convert under-utilized spaces into useful and inspiring workspaces.

HLL x Using a Garden Room for Business: What You Need to Consider

1, 2

Are you considering transforming your workspace into a serene and inspiring environment that fosters creativity and productivity? Consider creating a garden room for your business—a space that combines the tranquility of nature with the functionality of a professional setting. Converting a garden room into a business environment can create a harmonious balance between work and well-being, leading to more creativity, fulfillment, and motivation.

Should you decide to transform a garden room into a functional business space, a detailed plan is necessary. This article explores the key aspects to consider when setting up a garden room for business.

No. 1

Benefits of a Garden Room for Business

  1. Enhanced Creativity - Surrounded by greenery and natural elements, employees can experience a boost in creativity and innovation, leading to fresh ideas and solutions.

  2. Improved Well-being - The presence of plants and natural light can contribute to reduced stress levels and increased overall well-being.

  3. Increased Productivity - A garden room can serve as a refreshing change of scenery, helping you stay focused and energized throughout the workday.

No. 2

Legal and Zoning Regulations

Before embarking on any business endeavor in your garden room, it's crucial to research and understand the legal and zoning regulations governing your property. Check with local authorities to ensure compliance with building codes, permits, and zoning restrictions related to home-based businesses.

Some areas may have specific regulations concerning the size, use, and appearance of garden structures used for commercial purposes. Understanding these regulations upfront can prevent potential setbacks and ensure a smooth transition to operating your business from your garden room.

No. 3

Design and Layout

The design and layout of your garden room play a significant role in its functionality and productivity as a business space. Consider the specific requirements of your business, such as workspace layout, storage needs, and client interaction areas.

Head to ukgardenbuildings.co.uk to find a range of sizes and shapes to get inspired. You should optimize natural light and ventilation to create a conducive work environment, and incorporate ergonomic furniture and storage solutions to maximize space. Customizing the design to reflect your brand identity and business aesthetic adds a professional touch and enhances the overall ambiance of the space.

No. 5

Technology and Connectivity

Ensuring seamless technology and connectivity is essential for running a successful business from your garden room. Evaluate your internet connection and consider options for boosting signal strength, such as Wi-Fi extenders or wired connections. Invest in quality hardware, including computers, printers, and communication devices, that meet the demands of your business operations.

Additionally, incorporate adequate power outlets and charging stations to accommodate your electronic devices and peripherals. Implementing backup solutions, such as uninterruptible power supplies (UPS) and cloud storage, safeguards against potential disruptions and data loss.


No. 4

Comfort and Climate Control

Creating a comfortable and climate-controlled environment in your garden room is essential for productivity and well-being. Insulate the structure to regulate temperature and minimize energy consumption, especially in regions with extreme weather conditions. Install heating and cooling systems, such as air conditioning units or space heaters, to maintain comfortable temperatures year-round.

No. 4

Key Elements

  1. Plants - Incorporate a variety of indoor plants to add color and vitality to the space. Plants such as peace lilies, snake plants, and pothos are known for their air-purifying qualities.

  2. Windows - Consider natural ventilation options like windows and skylights to enhance airflow and indoor air quality.

  3. Natural Light - Maximize natural light exposure by positioning workstations near windows or skylights. Natural light can improve mood and alertness, reduce fatigue, and promote productivity during long work hours.

  4. Comfortable Seating - Provide ergonomic chairs and cozy seating options to ensure you are comfortable and supported while working.

  5. Greenery Wall - Consider installing a greenery wall filled with lush plants to bring the calming effects of nature indoors.

  6. Mindful Design - Opt for natural materials like wood and stone to enhance the organic feel of the space.

  7. Minimal Clutter - Keep the space clutter-free to promote a sense of calm and focus.

  8. Personal Touches - Personalize your workspace with items that bring you joy and inspiration.

No. 5

Security and Privacy

Protecting your business assets and sensitive information requires adequate security measures for your garden room. Install robust locks, security cameras, and alarm systems to deter unauthorized access and safeguard valuable equipment and documents. Implementing other digital security measures, such as encrypted networks and password-protected devices, adds an extra layer of protection against cyber threats and data breaches.

Consider additional privacy-enhancing features like frosted glass or window treatments to prevent prying eyes and create a secluded workspace.

Takeaways

Using a garden room for business presents a unique opportunity to blend work and lifestyle seamlessly while maximizing the potential of your outdoor space.

By considering legal regulations, designing a functional layout, ensuring technology connectivity, optimizing comfort and climate control, and prioritizing security and privacy, you can create a conducive and professional environment for your business endeavors.

With careful planning and attention to detail, your garden room can become a thriving hub of productivity and innovation, enhancing your work-life balance and well-being and empowering your entrepreneurial journey.

THE LIST

Business

At Hello Lovely Living, we understand the importance of empowering individuals on their journey toward independence. One essential aspect of this journey is establishing your presence and credibility in the ever-evolving world of business and entrepreneurship.

Free LLC

✔️

Inc Authority

This is where Inc Authority comes into play: Inc Authority is a reputable platform and #1 rated service on TrustPilot that specializes in helping individuals realize their dreams of business ownership by providing them with the necessary tools and resources to establish their companies. By guiding you through the process of forming your business entity with 100% FREE online LLC registration, Inc Authority empowers you to step into your true power as a business owner.

With Inc Authority's expertise and support, you can navigate the complexities of business formation with ease, allowing you to focus on what truly matters—bringing your unique vision to life. By taking the first steps towards establishing your business with Inc Authority, you are creating a strong foundation for your venture and embodying the confidence and determination needed to succeed.

Unlock your true power with Inc Authority and embark on a journey towards fulfilling your entrepreneurial aspirations. Let Inc Authority guide you as you navigate the path to business ownership.

Included with your Free LLC or Corporation:

  • Business Name Check - Inc Authority will check your business name within your state.

  • Registered Agent - Ensure you never miss a legal notice. Inc Authority will be your registered agent for 1yr.

  • Digital Storage & Delivery - A digital copy of your start-up documents is delivered and stored for easy online access.

  • Tax Planning Consultation - Receive a Tax Planning Consultation to help you save more of your business income.

  • Preparation & Filing - Inc Authority will prepare your entity formation documents and submit them to the state.

  • INC CARE Support - Expert support staff will help answer any questions you have, via email or phone.

  • Business Credit & Funding Analysis - A Business Credit and Funding Expert will review your business credit and financing needs and share solutions with you.

✔️

Register your free LLC online


A Guide To Creating A Minimalist Garden

If you want to spend more time outside to reduce stress, transforming your garden into an outdoor sanctuary is a fantastic place to start. However, you may find that some garden designs may be too cluttered, especially if you’re looking to create a peaceful environment to unwind.

One solution to this is to create a garden that matches your specific needs. In this case, something that is harmonious with creating a relaxing atmosphere may be more suitable. With this in mind, consider this helpful guide to creating a minimalist garden. 

No. 1

Create Privacy 

Privacy is crucial for relaxing in the yard, yet you may not be able to grow (or plant) huge hedges. Instead, you can use tall fences that can provide a secure and isolated environment, making it feel like you are alone—free from the prying eyes of neighbors. This approach is perfect for letting your mind wander or achieve calm as you also will not need to worry about various distractions from your neighbors. 

No. 2

Create Zones 

You can also create various zones and use glass fencing to segment your yard if it is large enough. These zones make it easier to designate an area and atmosphere within your garden—whether you have a space for people to hang out, a section for your swimming pool, or a zen area perfect for outdoor meditation on a crisp summer morning. By using these zones, you create order within your garden, which makes it easier to maintain and keep tidy. 

No. 3

Pick the Right Colors 

Choosing the best garden color schemes can make a huge difference to your outdoor space. Maximalist ideas include plenty of bright colors and bombastic plants that demand attention. However, a minimalist space should do the opposite.

You can still include splashes of color here and there, such as your favorite plants, but you should also remember that you don’t want to incorporate plants that improve mood and health. Neutral colors are ideal for a minimalist garden as they are better at reflecting light which makes your backyard brighter, enabling you to get the most from it throughout the year. 

No. 4

Include Levels

While you may still want to make your garden more functional, creating levels with DIY raised garden beds could be a good addition. Of course, there’s no need to fill every space with these flower beds. Instead, pick a section for one or two patches where you can grow plants or even fruit and vegetables. This option adds something more to your garden without causing too much hassle for you.

No. 5

Find Calm With Water Features 

There are two types of water features: the huge, elaborate fountains that neighbors can see for miles around and smaller, modest features that provide a calm trickling that almost acts as white noise when you’re outside relaxing. For a minimalist garden, you need the second type to add subtle and effective detail to your backyard. You can use this when meditating or simply as an extra feature that works as the finishing touches to your garden. 

No. 6

Less Is More 

While many people love the maximalist style of their backyards, some people find it too overwhelming to maintain. A minimalist garden is an excellent way to cultivate your garden in a relaxing setting—ensuring that you can relieve stress and enjoy every moment you spend outside with ease.

Takeaways

Achieving a well-planned and intentional garden starts with identifying specific solutions to achieve your desired outcome. By incorporating various design elements that promote peace and tranquility, you can easily achieve a calming and inviting atmosphere to enjoy for years to come. Start a minimalist home garden project, and allow yourself to be transported to a sanctuary any time of day throughout the changing seasons.


A Guide To Living Room Transformations

Your living room, often considered the heart of your home, is more than just a space—it's an expression of your individuality and a hub for relaxation and socializing. If the idea of breathing new life into your living area has crossed your mind, you're not alone.

Renovating this central space can invigorate your surroundings, elevating both the aesthetics and functionality. This article will provide you with a wealth of inspiring ideas and practical advice to guide you through the exciting journey of renovating your living room.

No. 1

Define Your Distinct Style

Every successful renovation project starts with a clear understanding of your personal style. Whether you're drawn to sleek modernism, the comfort of farmhouse chic, or an eclectic fusion, identifying your preferences will act as a compass in choosing colors, furniture, and decor, ensuring a harmonious and personalized design.

No. 2

Craft a Compelling Focal Point

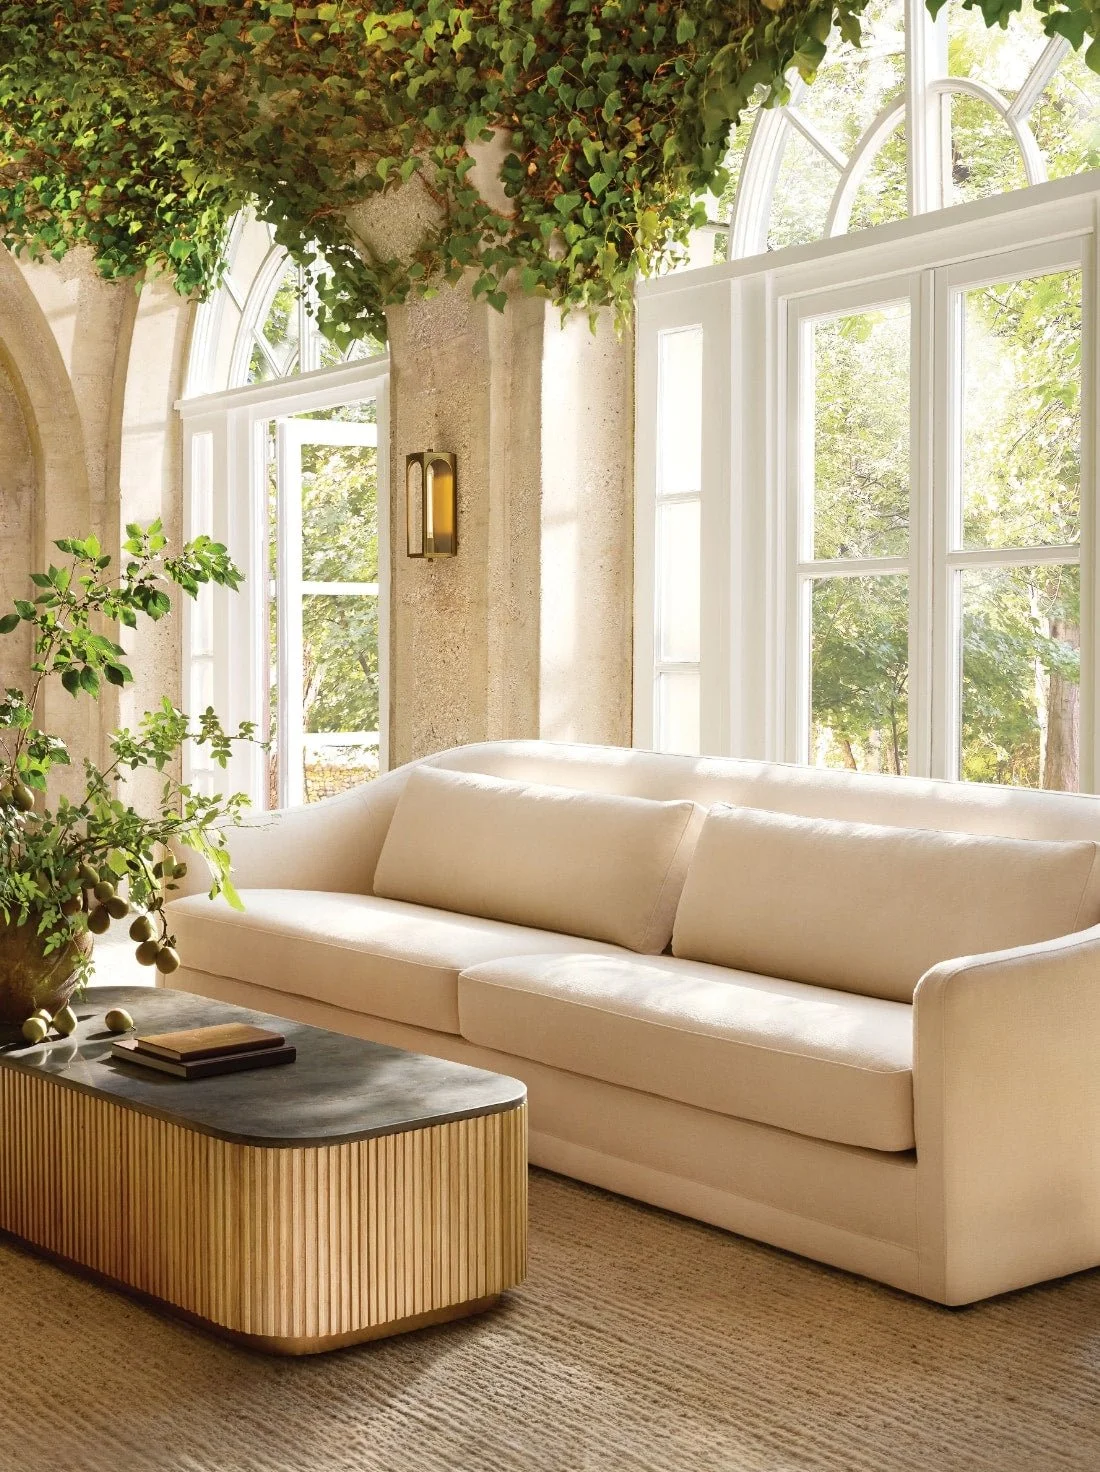
A well-crafted living room has a focal point that captivates attention and grounds the space. This could be an eye-catching fireplace (such as from stonewoods.co.uk), an accentuated wall, or a carefully chosen piece of art. Identifying or creating a focal point in line with your style sets the stage for a revitalized and cohesive living room aesthetic.
No. 3

Curate a Thoughtful Color Palette

The choice of colors profoundly influences the ambiance of a room. Opt for a palette that echoes your style and contributes to the desired mood. Neutrals exude timeless sophistication, while bold colors inject vibrancy and character. Consider the psychological impact of colors—blues for serenity, reds for warmth, and greens for balance.

No. 4

Functional Furniture Choices

Beyond aesthetics, your furniture should seamlessly blend style with functionality. Choose pieces that scale well with your room, offering ample seating for both family and guests. Embrace modular and multifunctional furniture, especially in compact spaces, and carefully plan the layout to encourage comfortable conversation and easy movement.

No. 5

Flooring Harmony

Flooring choices lay the groundwork for your living room's visual appeal. Hardwood floors radiate warmth and elegance, while tiles provide practicality and easy upkeep. Rugs can introduce texture and delineate various zones within the room. Opt for flooring materials that support your lifestyle and contribute to the desired overall atmosphere.

No. 6

Illuminate Intentionally

Effective lighting is instrumental in enhancing the atmosphere of your living room. Achieve a blend of natural and artificial lighting by incorporating pendant, floor, and table lamps. These fixtures serve more than just functional purposes; they act as chic decor elements, infusing the space with personality and style.

No. 7

Artful Accessorizing

Accessories add the finishing touches to your living room, infusing it with character. Experiment with cushions and throws, artwork, mirrors, and decorative items, exploring textures and patterns to introduce visual interest without overwhelming the room.

No. 8

Seamless Tech Integration

Integrating technology seamlessly into your living room is essential in an era dominated by technology. Explore smart home systems, concealed wiring, and discreet device placement to maintain a sleek and uncluttered appearance.

Takeaways

Embarking on a living room renovation is an exhilarating journey that allows you to infuse your home with fresh energy and style. By defining your style, creating a compelling focal point, and curating a thoughtful color palette, you can approach the design with intention and foresight—mirroring your unique vision of home.

Additionally, by investing in functional furniture, selecting harmonious flooring, illuminating intentionally, accessorizing artfully, and seamlessly integrating technology, you can transform your living room into a sanctuary that not only meets your practical needs but also your functional needs as well.

Let your creativity soar, and turn your living room into a space that authentically reflects your individuality.


DIY Minimalist Floating Wood Shelf

For a while now, I’ve been shopping for a minimal raw wood floating shelf, but to no success. Knowing that adding shelving to your walls will enhance your space, I always make it an effort to do so. I have always loved floating wood shelves in particular. So, I decided to take it into my own hands and design one that was not only pretty and the exact aesthetic I was going for, but inexpensive and easy to make.

This post is meant to provide the exact measurements and supplies that you will need. I also filmed a video of me making this exact shelf from start to finish so that you can easily visualize each step and refer back to it if you decide to make one for yourself.

Hello Lovely Living

All supplies besides the drill set (which was purchased at Ikea) where purchased at Home Depot, so this is an easy one-stop project. It is a very affordable project as well at under $15 for all supplies, and you could easily make multiple shelves for under $10 with leftover supplies.

Watch the video below for a quick tutorial on how to make this floating shelf!

SUPPLIES


• 1 - 0.75” depth x 5.5” width x 24” length piece of maple wood board

• 60 sandpaper for wood (comes in pack of 5 sheets)

• 2 - #10x3” phillips wood screws (comes in pack of 2)

• 2 - EZ Ancor drywall anchor that hangs up to 75lbs (comes in pack of 4)

• #12-24 Everbilt machine screw nuts (comes in pack of 10)

• 3/4” diameter x 48” length wooden dowel (cut down to 2 - 7” pieces.

• Drill bit and phillips screwdriver

INSTRUCTIONS


STEP 1

Cut dowels

Home Depot has a saw station that you can use to cut down your wooden dowels. Cut 2 - 7” pieces. With remaining wood, you could easily make 4 more pieces depending on if you are making multiple shelves. Of course, you’d need to adjust your amount of supplies if that is the case.


STEP 2

Sand dowels

Sand down the ends of the wooden dowels until smooth.


STEP 3

Drill dowels

Drill one side of each dowel 2” deep and at a circumference that allows for the head of the phillips screw to be completely inserted. I drilled my holes to a width of 1.25 cm since my screws had a lip that wide.


STEP 4

measure your wall

Measure the width of the wall you are planning to hang your shelf on. Since the piece of wood is 24” in length, you will need to leave an equal amount of space at each end in order to center it on the wall. This amount will depend on your individual space. Once you’ve identified how much space you need for each side, measure 3.25” from each edge of the piece of wood. This is where your wooden dowels will be placed and where you will place your holes in your wall. Use a leveler to make sure that everything is even before drilling your holes. I just downloaded a leveler in the app store and used my phone to do this.


STEP 5

Install drywall anchors and screws

With your drill bit, drill your holes into the wall and then screw the drywall anchors in place with a phillips screwdriver. Take your phillips screws and run a screw nut through each before you install them. Screw in until secured and tight (about 1”). Leave a 2” allowance to insert the wooden dowels into.

STEP 6

Insert wooden dowels and hang

Insert the wooden dowels into the screw and nut until secure. Hang shelf and then style with finishing touches. Make sure to keep shelf flush to wall so that all the weight is held up against the screws.

public.jpeg

Wasn’t that an easy project! If you try this project, make sure to tag me @hellolovelyliving on Instagram so I can see!

I also have another hanging wood shelf project you may be interested in too. You can see that here!

What home decor projects have you been wanting to do lately?


Photo Diary: My Stay At Ours Los Angeles
Hello Lovely Living | Design For A Better Sleep
 

hello lovely living

Discount Codes


Spring is here - Experiencing The Fullness of Every Moment + Jord giveaway
HelloLovelyLiving.com | Jord Wood Watches | Stina is wearing Fieldcrest in Maple
 

Life is just a bunch of moments packed all into one. At least, that's how I like to see it. At the end of the day, it's all about those tiny moments and being fully present in them to allow us to feel every emotion that they bring us. Now, I know that's not always easy to do, so I wanted to share one way that has helped me soak up each moment more fully. As the seasons come and go, it's easy to want to rush time and jump into the next season right away. Being conscious of this and learning to be more present in the current season is so important.

So, what is it? What do I do to experience the fulness of every moment? Observe. That's it. Think of yourself as an onlooker, experiencing each moment from the outside looking in. Quiet yourself, and let your senses soak up the experience, taking note of how you feel at that very moment. Learning to fully experience how each moment made you feel is so much more powerful and memorable. Once you begin to do this more often, you'll feel gratitude for every moment, and you'll also experience life in a deeper way.

Trust me, you will look at things so much more different if you are intentional in your observations. Ask yourself, how do I feel right now? What do I want to remember about this moment? I have found that what makes life so beautiful is being able to stop and being able to fully embrace how I feel in the moment. For example, when my kids bring me joy, I really do stop and try to feel every single piece of joy that that moment brings me. I know it won't last forever, so I want to enjoy it, fully.

 
HelloLovelyLiving.com | Jord Wood Watches | Stina is wearing Fieldcrest in Maple
 

While we're talking about experiencing the fulness of every moment, I wanted to  share a brand that I am personally loving and whose philosophy ties in with what I touched on above. I'm all about supporting companies who are not just selling a product, but who really care about the experience and how their product makes me feel.

If you know me, you know I love nature. You also probably know that I am crazy about being out in nature, and, well, taking a zillion + 1 photos in nature. If I could take a piece of nature around with me at all times, I so would. No second-thoughts about it. To my very amazement, JORD Wood Watches came into my life and made that a reality.

Let me begin by saying, I am a tough sell when it comes to watches. Reason being, I don't normally wear watches, and I don't necessarily care for watches. The last watch I wore held sentimental value to me because it was a gift from my mom. After it broke, I never replaced it. Translation: I keep and wear things that hold sentimental value to me, and I will not replace it unless it breaks, and even then, I don't go looking to replace it right away. So, owning a watch again was a huge deal for me.


Jord

Wood Watches

WEBSITE | INSTAGRAM | FACEBOOK | TWITTER


The thing that sold me on a JORD timepiece was the idea of combining something modern with something organic and timeless. After all, watches should be just that - a piece that will last you many, many years and be a representation of you.

After many years of going "watch-less", I decided that JORD would be my watch of choice. It's because I felt like it would be a type of reflection of me, in a watch. I would be able to carry a piece of nature with me wherever I go, and by wearing it, I can also stand behind a company whose values are aligned with some of the things I feel strongly about such as sustainability and experiential living.

When I first visited the JORD website, I was amazed at how many wood finishes they had available - 13 to be exact. I browsed around and selected my favorite styles, one of which was one of their men's watches. Here's the one I was eyeing. Since many of their styles are unisex, it still would have been perfect, but I chose to go with something a little more me. I chose the Fieldcrest series in Maple. I love the simplicity and minimalist vibe it has going on.


HelloLovelyLiving.com | Jord Wood Watches | Fieldcrest in Maple
 

Okay, did you just see how pretty it is! I love the light, airy color of the wood. It legit matches my desk, not even kidding! See it here. That's how much I've been loving light, raw wood finishes.

When I opened up my package, I was greeted with a beautiful wooden box with a magnetic lid. Upon removing the lid, the watch rested on a jute pillow, and once I set my sights on it, I was blown away at how gorgeous it was. The finish was exactly as I envisioned, and it was perfect. By far, the most beautiful presentation I've yet to experience with a watch company. It's nice to know that such care and attention to detail also went into the packaging because I'm all about the details. 

 
HelloLovelyLiving.com | Jord Wood Watches | Stina is wearing Fieldcrest in Maple
 

The fitting of my watch was perfect, and I truly feel like I'm wearing a piece of luxury - natural luxury. It's just so beautifully crafted and made for me in every sense. The face of the watch features scratch-resistant mineral glass, and the buckle has a push button, making it actually fun and easy to remove. Let's be honest, I always hated how hard it was to remove watches! It's also interesting to know that the wood is finished and pretreated with tung oils, and if I ever need to clean it, I can use lemon or orange oil extract. Au naturale, just how I like it.

 
HelloLovelyLiving.com | Jord Wood Watches | Fieldcrest in Maple
 

Needless to say, I was very impressed with the presentation of the watch, the quality, and craftsmanship, the look, and how it makes me feel when I wear it. Everything. I can't say enough good things about my JORD Wood Watch, so I wanted to share a little bit of the love with you all by hosting a giveaway for those of you that are interested in getting in on a piece of the action. So, here it is!


JORD x Hello Lovely Living 

Giveaway

All entrants will receive a $25 consolation code once the giveaway ends. 

Open internationally. Giveaway ends on 4/23/17 at 11:59 pm CT.


I hope you enjoyed this post and that it offered a little bit of inspiration on how you can live out each moment more intentionally. For even more, catch me over on Instagram where I post on the daily! Keep on the lookout for more exciting giveaways like this in the future!

How do you experience the fulness of every moment? I'd love to hear about it in the comments below!

Disclosure: JORD reached out to me for this post and was so kind to send me a watch for honest review. As always, all thoughts and opinions are purely mine.


DIY | Minimalist Blush Pink + Foil Nails

Have you seen minimalist nail designs yet? A quick search on Pinterest, and your eyes will thank me. I've been gravitating toward them lately and decided to recreate a look that is so simple, yet so classy. Read on for more details!

 
HelloLovelyLiving.com | DIY Minimalist Blush Pink + Foil Nails | Essie Between The Seats Nail Polish
 

I always do my nails at home and love gel nails, so I've been using the Sensational Gel Kit for a while now. Since there are usually limited colors available, I switched to using the polish to gel transformer so that I can use any nail polish that I want. It's really simple and easy to use, and I get salon-quality results at home while saving so much money. I've linked some of the products that I use at the end of this post for your convenience.

You will need to purchase the kit at first because it does come with the LED light and other essentials that you will need for each application. After that, all you have to worry about repurchasing is the polish to gel transformer when you run out + any of the other items in the kit, which is a minimal expense. For a more detailed description of the Sensationail Gel Kit, click here to read my first impression review.


For this nail design, I used deco foil, which is basically foil that can be transferred to different surfaces. Here's the one I purchased. All I did was cut a strip of it and stick it to my nails, rub, then remove, and it created this very antique application. I just seal it with a coat of the polish to gel transformer. I am in love with how it turned out, and I can't wait to test out other nail designs using it. 

My gel nails do last for 2-3 weeks (or longer if I'm pushing it), so I have been pleased with the Sensational gel system for a long time. I honestly don't see myself really ever going to the salon any time soon! It does take me roughly 2 hours from start to finish to do my nails, which includes the removal time, filing, and all of that good stuff. However, I think it is so worth it, and I actually find it to be a therapeutic and relaxing process.


I hope you try this out! If you don't want to go with the Sensational system, you can always opt for the regular polish application, and I'm sure it would give you beautiful results as well. I just thought I'd share my process with you! 

If you need more inspiration on the daily, I post every day on Instagram + keep you motivated and inspired with uplifting content. I'd love to see you over there!

Did you enjoy this post? Any questions? Let's chat in the comments below!

 
HelloLovelyLiving.com | DIY Minimal Blush Pink + Foil Nails


A Little Spring Encouragement + Free Digital Print

Spring has sprung! Seeing the sight of trees in bloom not only gets me excited for warmer months, but it refreshes my perspective and it reminds me that there is beauty in the wait. There are so many subtle reminders in nature that provide the lessons that we need, and I believe that nothing happens by accident. There is a reason for everything. However, like my quote illustrates below, although everything happens for a reason, some things happen for a season.

 
HelloLovelyLiving.com | A Little Spring Encouragement + Free Digital Print
 

Yes, we'd all like to believe that everything lasts, but the reality is that life is transient by nature. Things happen that shake up our very existence only to challenge our ability to stand strong in the midst of it. What happens on that testing ground determines the outcome of our circumstances.  

I was having a talk with my son, Kodi, and he made a statement that was so profound. "Thoughts are fluid." I mean, coming from a 14-year-old, that simply blew me away. What he meant by this statement was that you can't control people's thoughts. They change. People change. I mean! Proud mama moment right there.

If thoughts are fluid, we as human beings are, too. We were not meant to be in a solid, permanent state. We were meant to move and adapt. Just like every living thing adapts to the changing seasons, we must do the same. We must also learn to recognize unhealthy patterns in our life and initiate change. 


Sometimes we grow
in a twisted, sideways manner
rather than straight up

but in the end,
our branches
always seek the light

and the trees
that bear
the sweetest fruit
endure
the longest winters.
— April Green


As the new season approaches, I just want to encourage those of you in particular that may be going through a difficult season. Know that it is not meant to destroy you, but to build you. It will not last forever, it will pass. 

Get excited when there is a time of resistance in life because that is the very time when your strength will come out. You don't know how much you have within you until you are tested. Take this time as an opportunity to bring out the best in yourself and develop areas that you haven't really paid attention to. Shed the old, welcome the new.


HelloLovelyLiving.com | Free Printable


In my personal experience, I've learned how to recognize the different seasons of my life for what they are and not be resistant to whatever lessons that I am supposed to learn in those moments. I actually get really excited when things get hard and difficult because I know that just by going through those experiences, I am growing through them. I welcome every opportunity that requires me to take a deeper look at my life and myself because I don't ever want to be comfortable in my ways or lead a comfortable life where I am never challenged or never challenge myself.

I created the free digital print that you see above for you to frame and keep up as a reminder for those times when it's hard to see things for what they are. Rest in the idea that everything happens for a reason, but know that some things happen for a season. Your seasons do not necessarily define you, you define how your seasons will impact you - either positively or negatively.

Cheers to experiencing the fulness of life through every season!


I hope you enjoyed this little reminder and that it encouraged you through whatever season you are currently facing today. If you need more inspiration on the daily, I post every day on Instagram + keep you motivated and inspired with uplifting content. I'd love to see you over there!

Do you enjoy these types of posts? Let's chat in the comments below!


DIY Furniture | Kids Scandinavian Tripod Table
HelloLovelyLiving.com | DIY Furniture - Kids Scandinavian Tripod Table

Please tell me why I would decide to make a table instead of going the simple route and just buy one like normal people do. I'm adding that question to the list of others that seem to escape me because this is one of those projects where I had to stop (on several occasions) to scratch my head and ask myself, what have I gotten myself into!? At the end of the day, it was totally worth it, but let's be honest, getting there was far from a walk in the park.

I now probably have a degree in painting from all of the articles that I devoured and the troubleshooting I went through to complete this project. Little did I know that painting a table is not as basic as it sounds. All I know is that I'm happy to share everything I learned and then some so that this project will be a breeze for you. In other words, I'm happy to have been your guinea pig! That's what DIYs are for, right.

In the mayhem that was this project, I decided that by taking photos, I would probably sabotage myself even more, so I opted not to do so. I do, however have the process down in my memory, so hopefully you don't mind that I don't have any photos of the process to share. 

For starters, it is very very very - and I mean VERY - important to sand down the wood before you proceed with anything. Call me dumb, but I decided that I could just skip that process. Soooo ... long story short, let's just say that I was kicking myself in the butt for it. Another important step is to use primer, then sand, then primer, then sand, and repeat that process until you have a smooth base for your paint. For me, it took several times to achieve a flat surface because I did run into problems with my wood having cracks in it, which I was supposed to fill in with wood putty, but thought I could skip that step as well. 

Since we're on the topic of wood having cracks in it, I also learned (after the fact) that all wood isn't created equal and that certain wood is better for painting and attaining a smooth finish. I did not know this, so I had to deal with the pine that I had already purchased. I don't have anything against pine, but if I had known that there were better options, I probably would have went with those instead so that I didn't have to deal with so many knots and cracks in my wood. Since pine wood has so many knots, you will have to use a primer that will be able to hide them and keep them from peeking through in the future. You may also have to apply wood putty to fill in holes or uneven spots. It was an easy option considering it was pre-cut, but if you want to explore other options, I encourage you to do so.

For the most crucial step - the paint - this is where things got really complicated at first. I decided to use an oil-based paint instead of a water-based paint, in other words, latex paint. An article I read suggested that it was the best choice for tables that receive a lot of use because it stands up to wear very well. What I did not know at the time was that oil-based paint takes longer to dry, can not be washed off of brushes (unless you use turpentine), smells really really bad, can be harmful, and is not eco-friendly! *yikes* So, I learned after the fact that maybe I should've just went with a latex paint, and my life would've probably been way easier and less stressful. 

Seeing that I was able to complete this project (finally) after several weeks due in major part to roadblocks and troubleshooting, I am still so pleased with the outcome, and I'm so proud of it. It was so worth every headache because I learned so much from this project. It's actually a really easy project once you know what you're doing. #notetoself

I just wanted to be completely transparent and honest with you guys beforehand about my experience. If you decide to do this project, here's the step by step of what you need to do to achieve the exact same thing. It'll be way easier for you now that I have all of the techniques figured out and outlined. I do recommend you decide on what type of paint will work best for you, though. If you decide to use latex paint, please do some research first as to how to use it since that's not the paint that I will be using for this project. You'll be surprised as to what a difference a little technique or Google search will do for you and the outcome of your project. 

HelloLovelyLiving.com | DIY Furniture - Kids Scandinavian Tripod Table

supplies


HelloLovelyLiving.com | DIY Furniture - Kids Scandinavian Tripod Table

Instructions


I recommend you do this project in an area without a lot of wind, but with good ventilation like a garage. 

Sand

The first thing you'll need to do is to sand the pine wood round to get a smooth base. I would recommend using the 120 grit for rougher areas (the edges of the table), then go over it with the 220 grit paper. For the top of the table, I used the 220 as it is a lot smoother. Remove excess dust with a tac cloth.

Prime & FILL

Spray a thin layer of primer in long strokes with the grain of the wood. Let dry for an hour, then sand with 220 or 120 grit sand paper. Remove excess dust with tac cloth, then repeat steps until you feel like you have a smooth finish. I primed and sanded my table 3 times, but it just depends on your individual results. After the first coat of primer, you will notice that the imperfections will start to show, like scratches, dings, and cracks. If they are not that bad, the primer will fill them in, but if they are deep, you will need to fill them in with wood putty or filler. If you do use wood putty or filler, all you would do is apply it according to the package directions, let it dry, sand smooth, wipe with tac cloth, then add another layer of primer and continue with the process that I've mentioned beforehand.

Paint

The key to getting a smooth finish is to have a smooth base to work with, so I can't stress enough about the importance of sanding as well as removing all dust particles and impurities before you paint. Once you have that covered, you are ready to roll - literally! Working with oil-based paint is a little tricky, but the key to applying it is to not apply it too thick because it will take longer to dry and it will run - oh it will RUN - and you don't want to be like me, stuck sanding it all down again. I learned the hard way.

To apply, use long strokes along the grain of the wood and try not to go over the same spot you painted too many times or it will drag. Since oil-based paint takes longer to dry, it will smooth out, so don't worry too much about getting it completely perfect. I recommend applying paint to the top of the table first, then to the sides of the table (remember, thin coats). Allow your paint to dry completely; dry time will vary by climate. This can take anywhere from 24-72 hrs to weeks, so patience is a virtue here. 

Before you apply your second coat, look for any areas where dust or particles may have entered and sand those areas down with 220 grit sand paper. Completely wipe your table down with a tac cloth to make sure you have a clean surface. To apply the second coat, apply as you did the first. Two coats should be all that you need, but it really depends on your preference. I had to do 3 coats, but that's because I messed up and had to sand down the drips from the second coat I did.

Allow your table to dry for several weeks because the fumes will be strong for a while. Oil-based paint also takes a while to cure, but you can still use it. In the meantime, just be careful not to bang it or it will dent. Once it is fully dry, the finish will cure and harden. 

Legs

For the legs, I do recommend installing them to your table before you apply the polycrylic gloss. To do this, you will need to first measure your table's circumference with string, which will roughly be 75", then cut the string into thirds (25" each). Using the string that you just cut, lay it out along the circumference of the table. At each end, this is where you will mark your spots for where your legs will be installed. Mark your spots at a 4" depth from the edge of the table. Now you can place your top plates on and get to drilling. Make sure that your top plates are angled outward first. It's a simple step that can be overlooked. Mark all four holes on each top plate as a guide, then drill in place. Once that's all done, you can now screw on your legs. 

Now it's time to paint your legs with the polycrylic gloss. I didn't sand mine, but I do recommend you do so to get a smoother finish before you paint. Mine turned out just fine, so it's up to you. Since the polycrylic base is water-based, the wood grain will raise a bit, which you'll either want to sand smooth or you can leave be (which I did). I just used one coat to maintain that natural finish. Let the legs dry for an hour and they're good to go!


HelloLovelyLiving.com | DIY Furniture - Kids Scandinavian Tripod Table

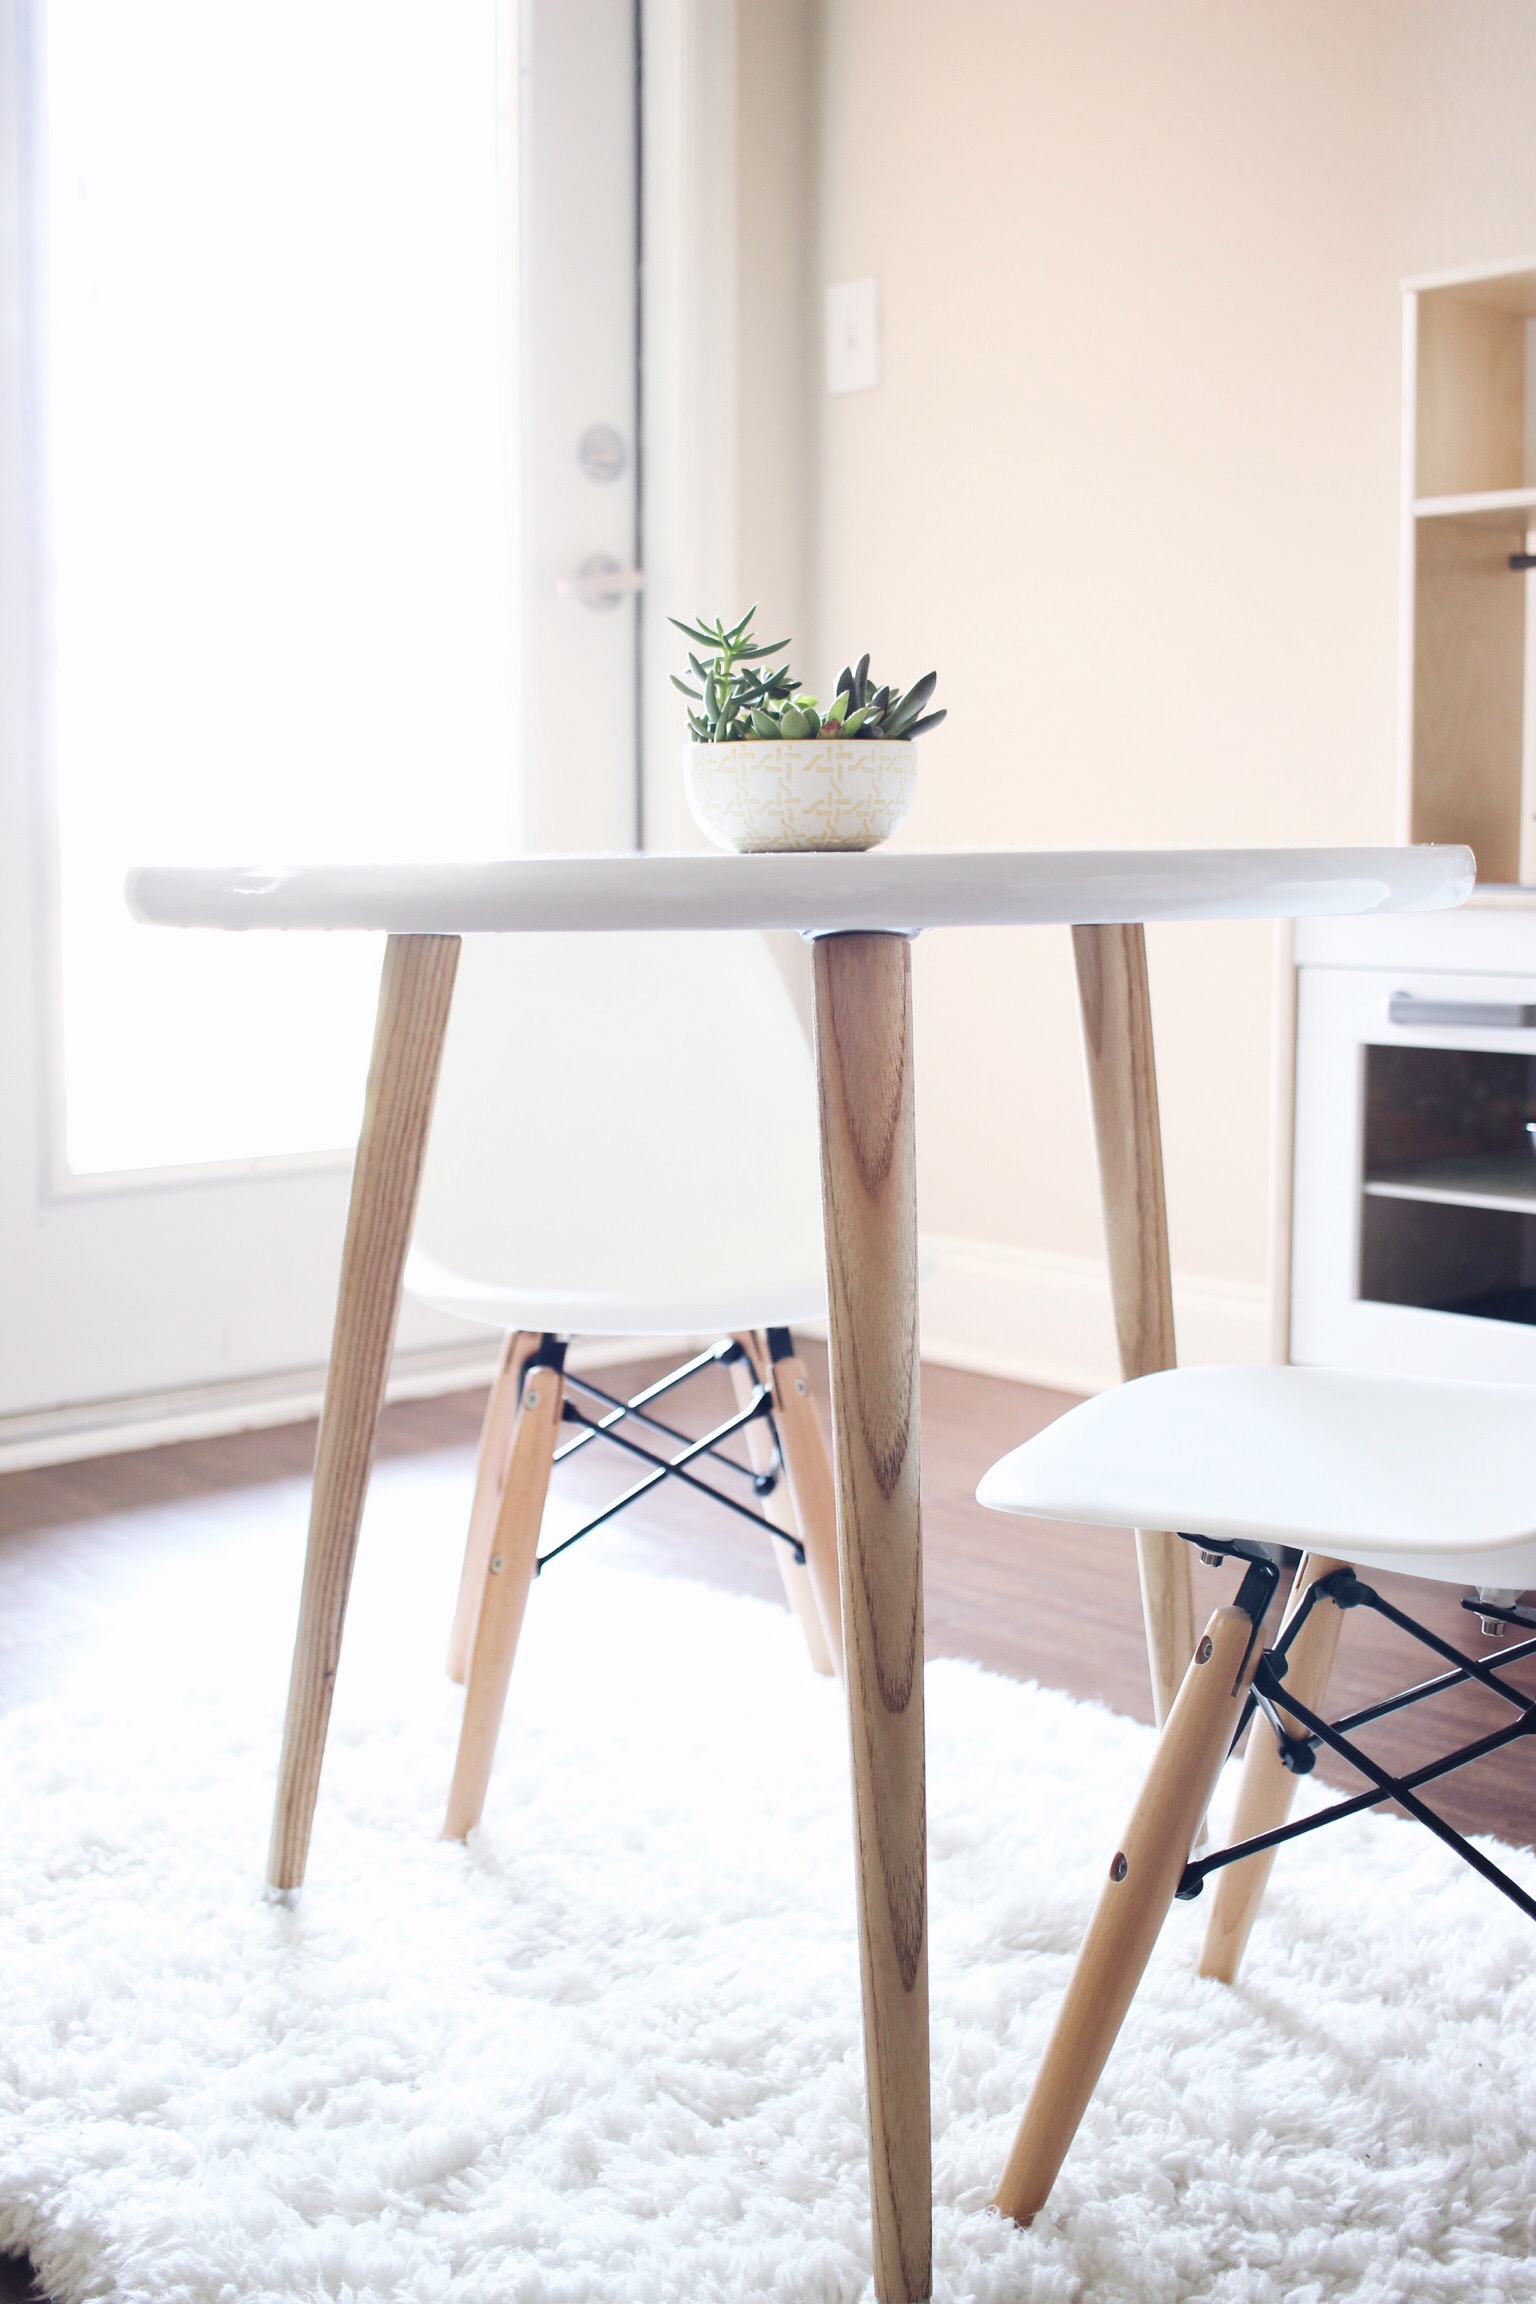
That's a wrap for this project! The play kitchen from Ikea was a nice surprise that I ran into while on my trip to the Dallas location, so I had to snatch it up. I think it looks amazing alongside the table! I am going for a Scandinavian look for his play area and for our home, so it's coming together very nicely. I did have a moment where I was considering going for a Scandinavian whitewashed finish, which also would've been pretty. I was able to find the plastic Eames chairs at Hobby Lobby - and they were on SALE! Big win for me. My small succulent arrangement is perfect for this small-sized table, and Uriah doesn't even mess with it. Don't be scared to use white. These are all materials that are easy to clean up and maintain. Uriah has already drawn on the chairs, and it was a cinch to remove.

HelloLovelyLiving.com | DIY Furniture - Kids Scandinavian Tripod Table

This project was so worth it. I mean, look at this space! I'm in LOVE. Uriah has been enjoying his little setup, and he can finally have his own kitchen to play in. He's all about being in the kitchen with me, so I just had to do this for him.

Do let me know if you try this project out and if you have any questions, I'd love to help. It will be 100% worth every ounce of love and sweat you put into it! 

Did you enjoy this DIY? I'd love to hear your thoughts in the comments below!

HelloLovelyLiving.com | Sharing Is Caring


DIY Modern Plant Stand Projects Because #PlantLady
DIY Modern Plant Stand Projects Because #PlantLady | HelloLovelyLiving.com

via The House That Lars Built

Being a plant lady these days bring me great, great joy. Never in my wildest dreams would I have imagined how happy plants could make me, but they do.

Could I survive alone in a jungle? Probably.

Yes - that's how happy they make me, and maybe some of you can relate to my obsession.

Lately, I've been wanting to get my hands on every known modern plant stand out there at the moment.

Of course, not one of those has made its way into my home (YET), which makes me very sad.

So, in the meantime, I decided to compile a roundup of DIY Plant Stand Projects that makes waiting one more second that more bearable until my hubby lets me start on another DIY project.

Let's just say, I have a lot of projects that he'd like to see completed before I start on a new one!

Hopefully, I can start on another project soon enough once I share my latest project with you all, which I have nearly given up on but keep faith that it will soon come together. The struggle is real! #PrayForStina

I hope you find a project you like below in my latest Mode story and try your hand at it. Most of them are super easy to make. Have fun my fellow plant chicas!

Sharing Is Caring | HelloLovelyLiving.com


You'll Never Look At A Paper Bag The Same Way Again
You'll Never Look At A Paper Bag The Same Way Again | HelloLovelyLiving.com

via My White Obsession

How many times have you collected a million and one paper bags and asked yourself, now what am I going to do with all of these things? Well, now, I've got the perfect solution for you that'll actually improve your quality of life. Read on in my latest Mode story below - and don't mind the silliness that is my writing. It's 2:25 in the morning and your girl is lacking sleep! :)

Sharing Is Caring | HelloLovelyLiving.com


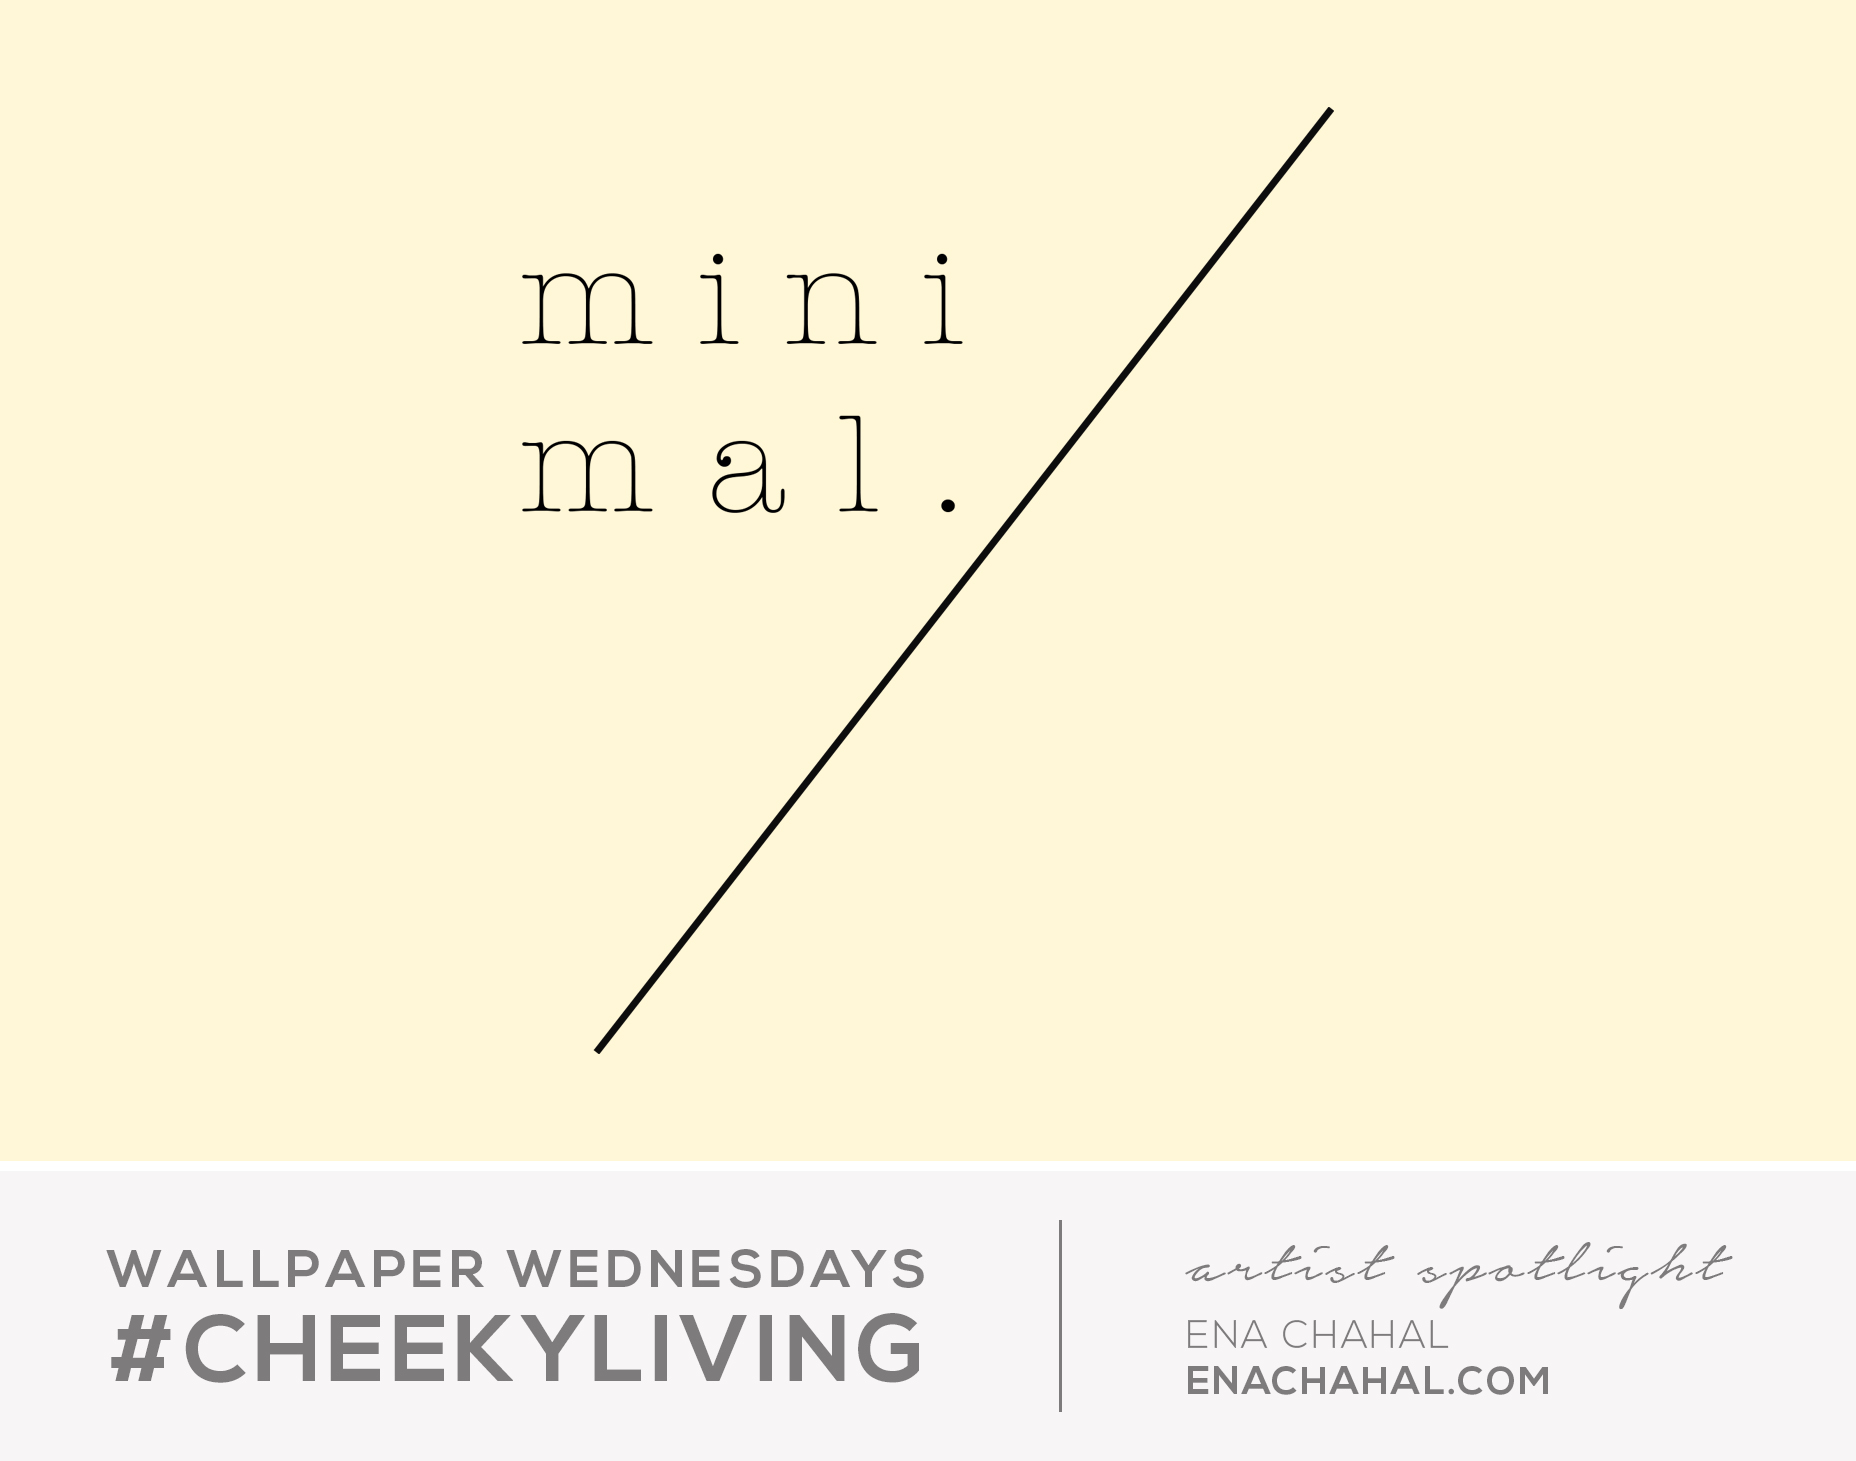
Wallpaper Wednesdays 11 | Minimal Geometric

Happy Hump Day guys! Today, we have some minimal geometric designs up for grabs. I love how Ena and I can come up with something on the fly. Thanks to our night owlish tendencies, we have successfully not skipped a week! Just FYI, our feature artist is postponed until next week, so stick around for that!

On another note, I wanted to find out what other free resources you guys are interested in. I've been brainstorming projects, but your input would be great. That's one of the great things about the internet - and with so many resources available out there - it's hard not to want to jump on the bandwagon and give. That is actually a guiding force for this blog, so there is definitely more to come.

Hope you likey, and don't forget to tag us on Instagram with #cheekyliving and show us which wallpaper(s) you picked. Happy downloading!

Wallpaper Wednesdays 11 | Minimal Geometric

There ya have it! I hope you snagged one - if not all - of these beautiful wallpapers!

For wallpaper updates, sign up for my newsletter in my sidebar or simply follow @hlovelyliving and @cheekybillo on Instagram. Search #cheekyliving where we will be posting when new designs are up and tag your wallpapers in use to be featured. 

My Wallpaper Wednesday partner in crime - the lovely, Ena Chahal - can be stalked over here:  Blog | Etsy | Society 6

What designs would you like to see next? Share with me in the comments! 

Disclosure: All designs are original and for personal use. Artists retain rights to all designs and they may not be copied or reproduced in any form or likeness. We love when you share, but please link back to the original post. Enjoy!