Brighten Your Dark Apartment Without Adding Windows
Your apartment gets maybe two good hours of daylight, and that usually only happens on a perfectly clear day. The main living room window might face a narrow airshaft, or perhaps a new building went up across the street and took your afternoon sun with it. Either way, you find yourself switching on lamps at two in the afternoon during July, and the place still feels like a gloomy cave.
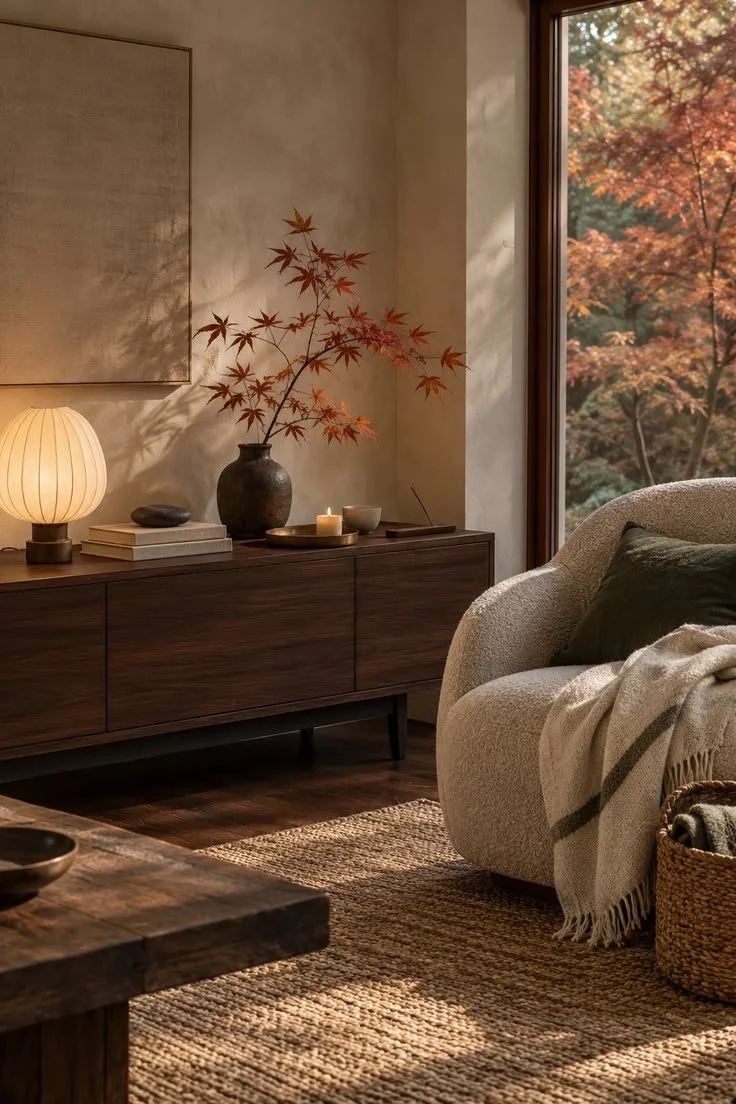
You obviously cannot move the windows to a better location. However, you can completely change what happens to the natural light once it actually gets inside your living space. In this article, we will explore the most effective methods to transform a dim apartment into a bright, welcoming home.
This comprehensive guide covers a lot more ground than most people realize when trying to fix a dark room. We will look at wall color, ceiling paint, light bulbs, curtains, and even the rugs on your floor. These changes are organized roughly in order of their overall impact, starting with the foundational steps that people often get wrong.
No. 1
Figure Out Why Your Apartment Is Dark
Assessing Your Unique Light Situation
Dark apartments are not all dark in the exact same way. A north-facing unit gets steady, cool, indirect light throughout the entire day. It is undeniably dim, but the lighting remains incredibly consistent from morning until evening.
Conversely, a unit facing an airshaft or a brick wall fifteen feet away receives light that has already bounced off masonry. This means the light arrives weak, scattered, and often slightly gray in tone. A unit with big south-facing windows blocked by a taller building might be bright at ten in the morning but completely gloomy by noon.
Essential Steps for Tracking Light
Spend at least one full day paying close attention to how the sun moves through your space. You can easily track this by following a few simple steps to understand your baseline.
Check your main living room in the early morning.
Evaluate the shadows during the early afternoon.
Take final measurements around five in the evening.
Using Technology to Measure Brightness
A free light meter application on your smartphone can give you rough lux readings. These digital measurements are plenty accurate for comparing different rooms in your home. If you are reading under one hundred lux near midday, you are living on artificial light far more than you probably think.
This step matters immensely because the necessary design fixes will change depending on your specific lighting problem. Cool, flat north light heavily calls for warmer interior finishes to balance the room. Light that swings hard over the day needs versatile decor choices that look perfectly fine at both ends of the spectrum.
No. 2
Why the Brightest White Can Make a Room Gray
The Flaw in Standard Painting Advice
The standard interior design advice is to paint everything the whitest white you can possibly find. It sounds entirely logical to most homeowners and renters looking for a quick fix. White naturally reflects light, so a whiter shade of white should theoretically reflect more light into the room.
The main problem is that wall paint does not magically create light out of nowhere. It only has the capacity to reflect the light that actually reaches its surface. A white paint with a Light Reflectance Value above ninety looks incredibly crisp when direct sunlight hits it.
Choosing Warmer Paint Undertones
In a room that never gets direct sun, that same brilliant white has absolutely nothing to work with. It simply picks up the cool cast of indirect light and ends up looking flat, dingy, and slightly blue. Benjamin Moore Chantilly Lace is a beautiful paint color, but it is a common victim of this exact phenomenon.
A white paint with a touch of warmth and a Light Reflectance Value in the low to mid-eighties usually reads much brighter in a dim room. This happens because the subtle warmth offsets the cool indirect light instead of doubling down on it. Benjamin Moore White Dove and Sherwin-Williams Alabaster both hold up exceptionally well in low-light conditions.
Testing Your Paint Samples Properly
The same critical thinking that goes into choosing a white paint for a small city apartment applies to any dim unit. You must match the paint undertone to the actual light you get, and only then should you worry about the overall brightness. Whatever color you ultimately pick, you must sample it first.
Put two large peel-and-stick paint samples on the wall farthest from the window. Look at them carefully at night under your own artificial light bulbs. That is the specific lighting condition you will live with for most of the year.
No. 3
Paint the Ceiling and Trim Strategically
Maximizing Ceiling Reflection
Your ceiling is the biggest unbroken surface in the entire room. It is also the surface that your floor lamps and table lamps hit most directly. You should paint it a flat white that is exactly one step brighter than your chosen wall color.
A flat finish beautifully hides the uneven patches and hairline cracks that almost every old ceiling has. Furthermore, the brighter white color effectively sends more artificial light back down into the living space where you actually need it.
Selecting the Right Wall and Trim Sheen
Wall sheen matters significantly less than most people tend to think. An eggshell finish reflects slightly more light than a matte finish and wipes clean much more easily. This practical feature helps immensely in a high-traffic hallway or a busy kitchen.
You should entirely skip using high-gloss paint on your primary walls. In a dim room, high gloss creates distracting glare spots near lamps and makes every single bump in old plaster stand out terribly. Semi-gloss paint on trim and doors gives you crisp, elegant edges that catch whatever ambient light is floating around.
Navigating Landlord Approvals
If you currently rent your apartment, most landlords will approve white or off-white walls without much pushback. This is especially true if you pick something very close to what is already on the walls. Always get the official approval in writing before you open a single can of paint.
Even a simple text message from your property manager counts as written permission. Taking this quick precaution saves you from losing your security deposit when you eventually move out.
No. 4
Calculating the Lumens a Dark Room Needs
Understanding Lumen Requirements
Most dark apartments simply do not have enough artificial light sources in them. A standard ceiling fixture with two sixty-watt equivalent LED bulbs puts out about sixteen hundred lumens. A common lighting guideline for living areas is ten to twenty lumens per square foot of space.
Therefore, a two-hundred-square-foot living room wants somewhere between two thousand and four thousand total lumens. Kitchens and designated desk areas need significantly more light to function properly. These task-heavy zones require closer to thirty or forty lumens per square foot.
Filling the Lighting Gap
Start your lighting upgrade by doing the basic math required for your space. The exact lumen count is clearly printed on every single light bulb box available at the hardware store. Add up what is currently in the room, compare it to the square footage, and you will probably find you are short by a thousand lumens or more.
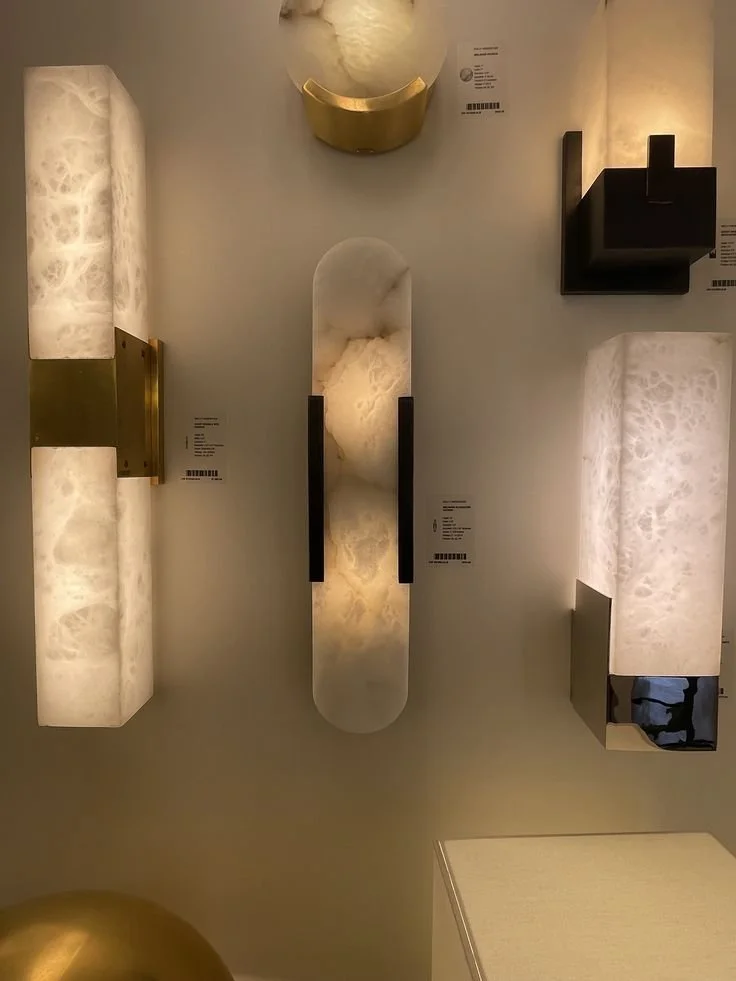
You must then fill that lighting gap from several different heights within the room. A torchiere floor lamp, which points directly upward, bounces light off the ceiling and spreads it evenly across the entire space. In a dark apartment, that upward glow often does more than a brighter overhead fixture ever could.
Perfecting Color Temperature and CRI
Brightness is certainly not the only important specification listed on the bulb box. Color temperature ultimately decides the overall mood of the room. A bulb rated at 2700K reads very warm, 3000K reads clean without feeling clinical, and anything at 4000K or above starts to look like a sterile office.
Pick one specific color temperature and use it consistently throughout the entire room. Mixed temperatures make a space look incredibly patchy and visually confusing. Also, check the color rendering index to ensure wood floors and skin tones look natural instead of slightly green.
No. 5
Put Mirrors and Pale Surfaces in the Right Spots
Strategic Mirror Placement
A mirror does not actually brighten anything on its own. It merely moves the light that is already present in the room. Therefore, exactly where you hang it decides whether it helps the situation or does absolutely nothing.
A mirror placed directly across from a window reflects daylight straight back toward the glass, which is not very helpful. A mirror on the wall beside the window, positioned at a right angle to it, throws light much deeper into the room. In a long, narrow apartment layout, this second position usually does significantly more heavy lifting.
Faking Additional Light Sources
If a specific room has no usable window whatsoever, you have to get a bit more creative. Hang a large, decorative mirror directly behind or beside a bright table lamp. A moderately sized mirror behind a lamp can instantly make a dead corner look like it has a second light source.
This simple optical illusion adds immense depth and brightness to otherwise dreary spaces. It is a favorite trick among professional interior designers working in cramped city apartments.
Lightening Floors and Furniture
You must remember to look down at your floors as well. The floor is often the largest dark surface in an entire apartment, especially with espresso-stained hardwood or old parquet. A pale, low-pile rug in cream or light gray under the main seating area completely changes how the whole room reads.
After upgrading your light bulbs, adding a light-colored rug is the cheapest fix available. Furniture works in the exact same way regarding light absorption. A dark sectional parked across from the window soaks up precious light at exactly the spot where it lands.
No. 6
Stop Your Windows From Blocking the Light
Maintaining Clean Glass and Screens
Clean the window glass thoroughly, both inside and out, if your building management allows it. City soot and environmental pollution build up much faster than you would ever expect. A gray, dusty film on the pane cuts incoming light significantly more than you would guess just from looking at it.
Standard window screens block a surprising amount of natural light as well. If you do not actively need them over the winter months, pull them out and store them away. This simple removal can increase your ambient daylight by a noticeable margin.
Hanging Curtains Correctly
Next, take a close look at what is hanging directly in front of the window. Mount the curtain rod eight to twelve inches past the window frame on each side. You should also mount the rod as close to the ceiling as you can possibly get it.
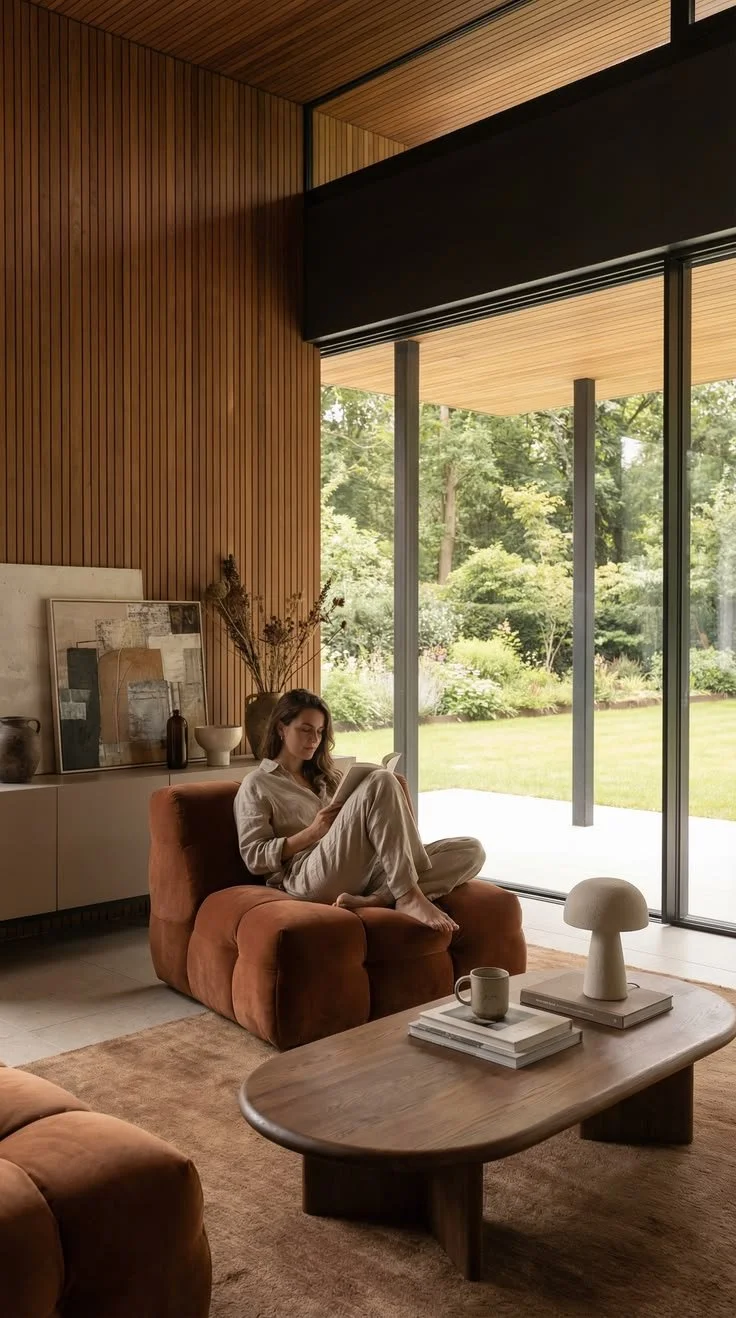
When the curtains are fully open, the fabric panels will stack neatly against the wall instead of covering the glass. Unlined linen or cotton curtains in white or off-white let beautiful, diffused light through even when they are completely closed.
Utilizing Frosted Window Film
If basic privacy is the main reason your blinds stay half-shut all day, you need a better solution. Try applying frosted window film on the lower half of the glass panes. This brilliant material keeps people from seeing inside your home at eye level.
At the same time, it lets full, unobstructed daylight pour through the top half of the window. It is an inexpensive, renter-friendly upgrade that completely transforms how a ground-floor apartment feels.
Takeaways
If you only have time to do one thing this weekend, count your lumens and replace your bulbs. Upgrading your artificial lighting and choosing fixtures carefully is the cheapest change and usually the one you will notice the most.
You should always sample a warmer white paint before you commit to repainting the entire room. Choosing the wrong shade of white can easily cancel out a lot of your good lighting adjustments.
Mirrors, pale rugs, and new curtains should come last because they build upon all the other foundational changes. These decorative elements are much easier to get right once you have seen the room with better light and better walls.
Looking for Home resources?
Looking to enhance your living space and create a sanctuary that supports your well-being? Explore our home partners who offer a wide range of resources to elevate your home environment.