The Ultimate Bathroom Renovation Guide: Plumbing And Layouts
Many bathroom renovations do not fail immediately after the final coat of paint dries. The new design seems absolutely perfect, and all the freshly installed equipment appears to function exactly as intended. However, after about a year and a half, you might notice a mysterious wet spot along the hallway ceiling or hear a drain making strange gurgling noises.
The aesthetic foundation of the room was never the actual problem in these frustrating scenarios. The true issue almost always lies hidden underneath the drywall and beneath the pristine floor tiles. In this article, we will explore the critical plumbing choices that ultimately determine whether your bathroom stands the test of time or becomes a recurring property maintenance annoyance.
This comprehensive manual intentionally excludes the typical inspiring design content you can easily find elsewhere. While there is plenty of aesthetic inspiration available online, most renovation guidelines fail to provide a clear summary of the mechanical requirements. We will focus entirely on the foundational elements that keep your home safe, dry, and functioning perfectly for decades.
No. 1
Prioritize the Pipes Over the Pinterest Board
Every renovation conversation seemingly starts with exciting tile samples and beautiful faucet finishes. However, the planning process should actually begin with evaluating the toilet flange, the main waste stack, and the existing vent path. These three crucial components are incredibly expensive to relocate but relatively cheap to work around if you keep them in place.
If your new layout keeps the toilet and shower roughly where they already are, you are working efficiently with the existing drainage slope and vent configuration. Shifting the toilet to the opposite side of the room simply because it flows better visually creates a massive drainage problem. This mechanical issue must be completely solved before a single decorative tile goes down on the floor.
Moving a primary waste stack is certainly not impossible, but it often requires highly invasive and costly structural work. This process frequently means breaking into a concrete slab or painstakingly re-routing large pipes through solid floor joists. These hidden structural modifications add immense costs that rarely show up in those glossy, idealized renovation budget estimates.
Essential Layout Considerations
Evaluate the current location of your main soil stack before finalizing any new floor plans.
Keep major fixtures within a few feet of their original locations to minimize costly pipe routing.
Design the aesthetic elements around the existing plumbing infrastructure rather than forcing the plumbing to adapt.
No. 2
The Rough-In Stage Determines Your Success
Rough-in plumbing is the critical behind-the-scenes stage where water supply and waste lines get positioned before the walls are closed up. Nobody ever takes glamorous photos during the rough-in plumbing phase because it looks messy and chaotic. However, it is undeniably the single least forgiving part of the entire renovation project.
A mistake in pipe slope, drain entry point, or line diameter remains completely invisible once the drywall goes up. It stays hidden through the waterproofing process, through the tiling phase, and straight through the big final reveal. Unfortunately, it usually becomes visible six months later as a slow drain, a foul smell, or a destructive leak tracking through a ceiling two rooms away.
By the time these symptoms appear, fixing the underlying issue means ripping out beautiful finished work to access the broken pipe. What would have been a simple twenty-minute fix during the rough-in phase suddenly becomes a multi-day, multi-trade repair nightmare. This is the exact point in the renovation where it genuinely pays dividends to overpay for a highly experienced professional.
Rough-In Best Practices
Double-check all pipe diameters to ensure they meet modern building codes for high-flow fixtures.
Verify the exact placement of shower valves and drain assemblies before the drywall is installed.
Hire a seasoned professional who thoroughly understands the venting implications of a reconfigured bathroom layout.
No. 3
Drainage Slope Is Absolutely Non-Negotiable
Sanitary drainage slope is strictly defined by building codes for very good and practical reasons. Waste lines generally need a precise gradient of about one-quarter inch per foot to move solids and water properly. If the pipe is laid too flat, the waste simply sits in the line, builds up over time, and eventually causes a massive blockage.
Conversely, if the slope is too steep, the water outpaces the solid waste and leaves the debris behind in the pipe. Either way, you end up with a sluggish drain that smells terrible and clogs on a regular basis. No amount of expensive, high-end faucets will ever fix a fundamentally flawed drainage slope.
Drainage Fundamentals
Ensure your contractor uses a precise level to verify the pitch of every horizontal waste line.
Avoid using excessive fittings or sharp turns that can disrupt the natural flow of wastewater.
Test the drainage system thoroughly with large volumes of water before closing up the floor.
No. 4
Waterproofing Is a Strict Standard
In the United States, wet-area waterproofing is governed by strict industry standards that specify the exact required application of protective membranes. These guidelines dictate exactly how high the waterproofing must go up the walls in a shower zone and how to treat floor-to-wall junctions. This is never a casual situation where you can simply assume the installer generally does a good job.
Waterproofing is a prescribed, inspectable standard that must be treated as a mandatory sign-off step in your renovation journey. Your bathroom renovation should absolutely not proceed past this critical stage until the waterproofing has been formally inspected and approved. Once the beautiful tiles are laid down, the protective membrane underneath is out of sight and out of mind until something inevitably fails.
A waterproofing failure generally means ripping out the entire shower recess to fix the underlying water damage. The five minutes this visual inspection should take is easily the cheapest insurance policy you will buy for the entire project. Skipping this step is a massive gamble that frequently results in catastrophic structural rot.
Waterproofing Requirements
Apply a continuous waterproof membrane across the entire shower pan and up the walls to a minimum specified height.
Pay special attention to the corners, niches, and seams where water is most likely to penetrate.
Conduct a 24-hour flood test on the shower pan to verify there are absolutely no hidden leaks.
No. 5
Old Houses Hide Expensive Plumbing Surprises
If your home is more than a few decades old, the plumbing hidden behind that wall probably is not what your renovation plan assumes it is. Older galvanized supply lines corrode heavily from the inside out over the decades. They will severely restrict your water flow long before they completely block the line and cause a total failure.
Furthermore, old drains are often drastically undersized by modern standards or were laid with a slope that has degraded as the house settled. These structural problems remain entirely invisible until the initial demolition opens up the wall or floor cavities. That is exactly why a rational, well-funded contingency budget must exist for every single renovation project.
Nobody possesses x-ray vision to see through plaster, so these unexpected discoveries are the most common route to a blown budget. The better and more thorough a project is, the more underlying issues you will inevitably find when the structure is finally opened. Acknowledging this reality early on will save you from immense financial stress later in the build.
Handling Hidden Surprises
Allocate a minimum of twenty percent of your total budget specifically for unforeseen plumbing and structural repairs.
Plan to completely replace any galvanized steel or polybutylene pipes you uncover during the demolition phase.
Update all undersized drainage pipes to meet current codes and handle modern, high-capacity fixtures.
No. 6
Venting Is the Pitfall Nobody Explains Properly
Out of all the mechanical items mentioned, proper venting is the one concept that most homeowners are completely unaware of. Consequently, it is also the area where most amateur renovations fail to execute the plumbing correctly. The water trap of every single fixture is entirely dependent on a properly vented drainage system to uphold its protective water seal.
If you move fixtures around without reconsidering the venting path, you may end up siphoning the trap seal dry. The result of this error is incredibly subtle because there is no overflowing water or visible leak to warn you. Instead, a slight sewer smell will emerge weeks or months after the renovation is finished.
The drain usually takes the blame for this odor, although it is actually caused by a trap that lost its water seal. Air admittance valves can effectively do the job in many tricky scenarios if they are factored into the initial planning phase. Dealing with this oversight during a frustrating call-back is always much harder than planning for it initially.
Venting Solutions
Ensure every single plumbing fixture has a dedicated vent pipe connecting to the main atmospheric vent.
Utilize mechanical air admittance valves only where local building codes explicitly permit their installation.
Consult with a venting specialist if you are moving a toilet or shower more than a few feet from the main stack.
No. 7
Licensed Trades Are Never Optional
In virtually every jurisdiction, water supply and sanitary drainage work legally must be performed or certified by a licensed plumber. This requirement is not just annoying bureaucracy; it is actually your primary legal protection if something goes terribly wrong later. Furthermore, it is exactly what a prospective buyer's agent or an insurance adjuster will ask for if there is ever a dispute.
Unlicensed drainage work can easily result in a massive resale headache or an insurance claim that gets denied entirely. When homeowners tackle major renovations, they often look for trusted local experts, much like how one might hire a specialized professional like Bondi Plumber with FXD Plumbing, to handle the complex rough-in. Booking a licensed plumber early in the process tends to make for a much smoother job.
Bringing a professional in for compliance inspections before the tilers arrive ensures a perfectly clean paper trail. Waiting until the layout is already fixed in place severely limits what a licensed plumber can actually do to help you. Professional certification guarantees your home remains safe, compliant, and fully insured against future water damage.
Hiring Professionals
Always verify the active license and insurance status of any plumbing contractor before allowing them to start work.
Require your plumber to pull all necessary municipal permits and schedule the mandatory rough-in inspections.
Keep all signed compliance certificates and inspection reports in a safe place for future property sales.
No. 8
Match Your Fixtures to Your Actual Water Pressure
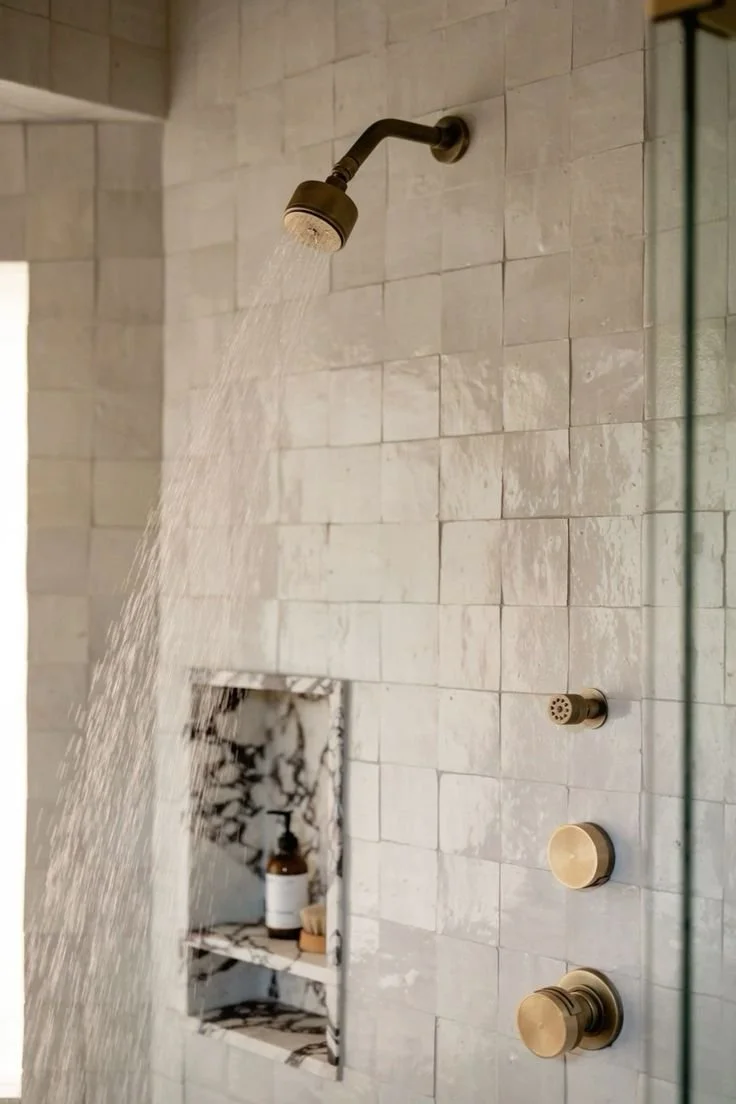
A massive, luxurious rain shower head always looks absolutely incredible when displayed in a high-end plumbing showroom. However, when attached to forty-year-old supply lines with reduced flow from internal corrosion, it delivers a deeply disappointing trickle. This scenario is easily one of the most common and most avoidable letdowns in modern bathroom renovations.
People frequently fall in love with a specific fixture before checking whether their existing pipework can actually feed it properly. Flow rate and water pressure should be accurately measured, not blindly assumed, long before any expensive fixtures get ordered. If the numbers do not support your dream shower, you must either upgrade the supply lines or choose a more suitable fixture.
Thermostatic or pressure-balanced shower valves are incredibly important in this context as well. They are often a strict safety requirement because they prevent severe scalding if someone flushes a toilet while the shower is running. Retrofitting one of these complex valves after the tiling is finished is a massive demolition job, not a quick afternoon swap.
Pressure and Flow Considerations
Test your home's static water pressure using a simple gauge attached to an exterior hose bib.
Calculate the total gallons per minute required by your desired shower system to ensure your pipes can deliver.
Install high-quality thermostatic valves during the rough-in phase to guarantee safe and consistent water temperatures.
No. 9
Design for Future Maintenance
One specific mechanical detail that not everyone asks for is the inclusion of strategic maintenance access panels. However, almost all homeowners desperately wish they had installed them when a problem arises five years later. A small, well-placed access panel behind valves and traps makes future repairs incredibly simple.
With an access panel, a future repair becomes a basic home maintenance task where you simply unscrew a cover and fix the part. Without one, that exact same repair transforms into a messy demolition project requiring you to smash through finished tile. This thoughtful feature costs very little to include during the initial build phase.
Planning for maintenance saves real money and prevents immense stress when inevitable plumbing wear and tear occurs. It is the exact kind of detail that separates a truly professional renovation from one planned purely around aesthetic reveal photos. Thinking fifteen years ahead ensures your beautiful new bathroom remains highly functional and easy to service.
Maintenance Planning
Install discreet access panels behind the shower valve wall, especially if it backs up to a closet or hallway.
Ensure the P-trap for a freestanding bathtub is accessible from the floor below or an adjacent wall cavity.
Use high-quality quarter-turn isolation valves on all water supply lines to make future fixture replacements effortless.
No. 10
Keep the Sequence and Do Not Improvise
A successful bathroom renovation must strictly follow a very specific sequence of events to ensure lasting quality. This sequence includes demolition, rough-in plumbing, municipal inspection, waterproofing, tiling, and finally the fixture installation. Each of these critical steps is entirely reliant on the preceding step satisfying all technical requirements.
If you are running behind schedule, you might be tempted to skip the inspection or have the tiler start early. However, having the tiler come in before the waterproofing has properly cured and been signed off does not actually save time. You are merely burying a fatal defect under finished work, and it will remain hidden until it catastrophically fails.
Changing the sequence of work completion is one of the easiest ways to completely void the warranty on the labor. Builders and plumbers have to sign off for a very specific reason regarding liability and quality control. This strict sequence leaves a vital paper trail proving the work was completed correctly and by the right people.
Proper Project Sequencing
Never allow drywall installation to begin until the rough-in plumbing has passed a formal pressure test.
Ensure the waterproofing membrane is fully cured according to the manufacturer's exact specifications before mixing thinset.
Wait until all messy construction tasks are completely finished before installing delicate plumbing fixtures and glass enclosures.
No. 11
Treat the Renovation as a Value Decision
It is highly beneficial to reframe how you view a bathroom renovation before you start spending money. Industry reports consistently show that a midrange bathroom remodel recovers roughly sixty percent of its total cost at resale. That widely cited benchmark implies that a bathroom is not just a pure luxury spend, but a vital infrastructure upgrade.
The bathroom is undeniably one of the hardest-working rooms in the entire house due to constant moisture and daily use. Treating the renovation as a long-term maintenance and value decision completely changes what you should prioritize in the budget. You must spend the money where it actively protects the house from devastating water damage.
Correct drainage slope, signed-off waterproofing, properly sized supply lines, and sensible venting are where your budget should go first. The beautiful tile and shiny faucets are simply the superficial parts that everyone sees upon entering the room. The hidden plumbing behind the walls is the part that actually decides whether the renovation was worth doing at all.
Value-Driven Priorities
Invest heavily in premium waterproofing materials and highly skilled labor rather than blowing the budget on exotic tiles.
Upgrade aging cast iron or galvanized pipes to modern PEX or copper while the walls are conveniently open.
Choose timeless, durable fixtures from reputable brands that offer readily available replacement parts for future repairs.
Takeaways
A successful bathroom renovation relies entirely on the invisible plumbing infrastructure rather than the superficial aesthetic choices you make. Prioritizing proper rough-in work, correct drainage slopes, and strict waterproofing standards will protect your home from devastating water damage.
Hiring licensed professionals and securing the necessary municipal inspections ensures your project remains legally compliant and fully insured. Taking the time to plan for adequate venting and future maintenance access will save you from incredibly expensive repairs down the road.
Ultimately, treating your remodel as a long-term structural investment rather than a quick visual upgrade guarantees lasting value. By focusing your budget on the mechanics behind the walls, you ensure your beautiful new bathroom functions flawlessly for decades.
Looking for Home resources?
Looking to enhance your living space and create a sanctuary that supports your well-being? Explore our home partners who offer a wide range of resources to elevate your home environment.