Plate Compactor Mistakes Homeowners Should Avoid
Many homeowners assume a plate compactor is a “quick pass” tool: run it over gravel, and the base is ready for pavers, a shed pad, or a small concrete pour. In reality, plate compacting is a method, not a moment, and a few common DIY oversights can lead to uneven patios, wobbly walkway stones, or a slab that cracks after the first freeze-thaw season.
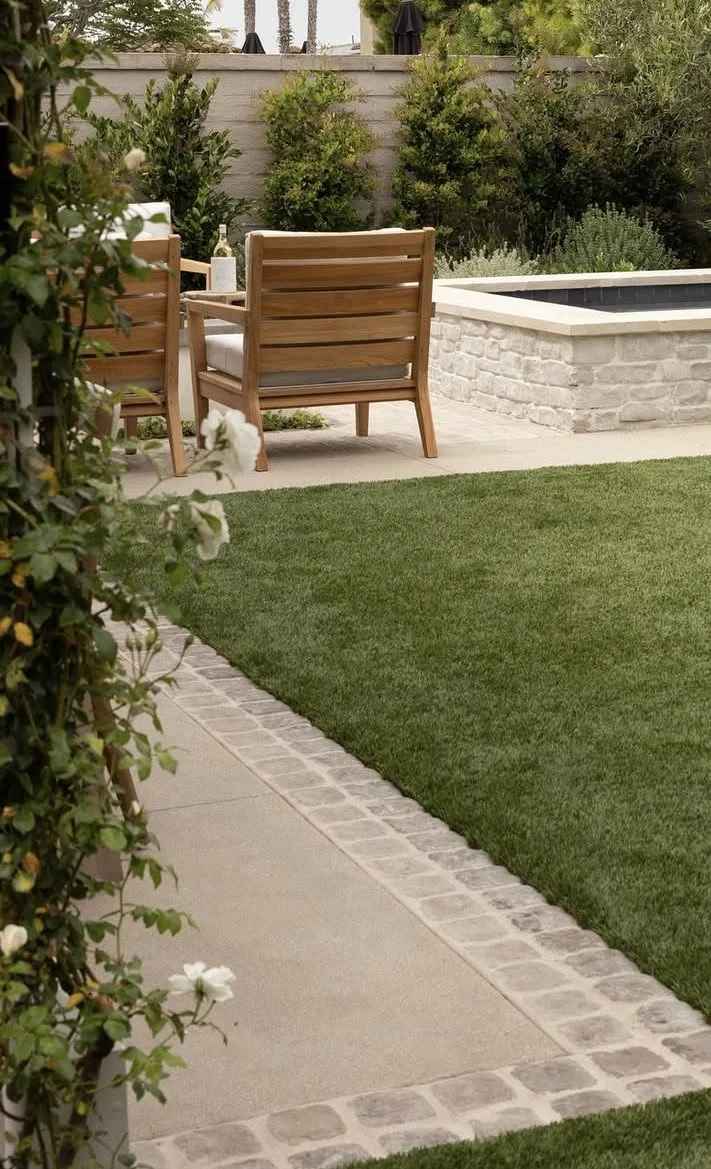
In this article, we will explore the most common plate compactor mistakes homeowners make, how to spot them early, and what to do instead so your weekend project stays level and stable for years.
No. 1
Skipping a Basic Site and Soil Check
A plate compactor is great for granular materials such as gravel, sand, and crushed stone, which is exactly what many homeowners use under pavers, stepping stones, and shed bases. But the compactor’s performance depends heavily on what is already in your yard, including soil type, moisture, and hidden obstructions.
It also helps to choose a tool appropriate for DIY work; the plate compactor from VEVOR or similar options from other retailers are all worth comparing before committing to one. That said, even the best compactor cannot overcome poor prep.
Homeowner-Friendly Checks to Do First
Before you compact anything, take 10 minutes to confirm:
Soil type and condition
If you are dealing with clay-heavy soil, compaction behaves very differently than it does in sandy soil.Moisture level
Soil that is too dry will not bind well; soil that is too wet can trap water and later shift.Hidden obstacles
Rocks, construction debris, old landscape fabric, and thick roots can create voids or cause the machine to bounce.Underground utilities
Call your local utility-locate service before digging, even for “small” projects like a short paver path.
A Simple DIY Moisture Test
Use the squeeze test:
Grab a handful of soil from the excavated area and squeeze it.
If it holds its shape but breaks apart with a light tap, it is usually in a workable range.
If it crumbles immediately, it may be too dry.
If it smears on your hand or feels like putty, it is likely too wet.
For homeowners, the goal is not lab accuracy. It is avoiding the two extremes that cause the most trouble: bone-dry material that will not settle properly, and overly wet material that later moves with water.
No. 2
Trying to Compact a Lift That’s Too Thick
One of the most common DIY mistakes is dumping a deep layer of gravel, running the compactor over the top, and assuming the whole depth is tight. Plate compactors only compact effectively to a certain depth per pass, and the deeper the layer, the less energy reaches the bottom.
For many common patio and walkway materials, homeowners get better results compacting in thin lifts, often around 3 to 4 inches of loose material at a time (check your compactor’s manual and the material you’re using). If you place 8 to 10 inches at once, the surface can look firm while the bottom stays loose. That is how pavers sink and shed corners settle.
DIY Projects Where This Mistake Shows Up
You see thick-lift problems in:
Paver patios and walkways that develop low spots
Shed pads where doors start sticking because the base tilts
Driveway extensions where the edge settles first
Small concrete pads that crack because support is uneven
A Better Homeowner Method
If you need a deeper base:
Spread the first lift evenly.
Compact it thoroughly.
Add the next lift.
Repeat until you reach the full depth.
This approach takes more time, but it is the difference between “looks good today” and “stays flat after winter.”
No. 3
Not Overlapping Passes (Creating Soft Stripes)
Homeowners often make one neat lane down the project area, then another lane beside it, with little overlap. The problem is that the plate compactor delivers less compaction energy at the edges of each pass than at the center. Without overlap, you can end up with alternating stripes of well-compacted and under-compacted material.
Those stripes may not show up immediately. They usually appear after rain, after the first heavy load, or after freeze-thaw cycles.
A Simple Overlap Routine for DIY Work
To get more uniform compaction:
Overlap each pass by about 6 to 8 inches
Use a cross-pattern when possible
After compacting in one direction, compact again at a 90-degree angleMark your lanes on larger areas
Chalk lines or a light spray paint mark makes it easier to keep your overlap consistent
Signs You Missed Coverage
Look for:
Slight ridges between compactor lanes
Areas that feel “spongier” underfoot
Pavers that later rock along a line
A patio that drains oddly because one band settles more than another
Overlap is one of the easiest fixes homeowners can make, and it pays off quickly.
No. 4
Compaction Without the Right Amount of Moisture
Dry gravel or sand does not always settle as tightly as slightly damp material. A small amount of water helps particles rearrange and lock together. Too little moisture can produce inconsistent results; too much can create a mushy layer that shifts.
How Homeowners Should Add Water
Use a controlled approach:
Mist the surface lightly with a hose nozzle
Wait a few minutes for absorption
Compact
Repeat as you add new lifts
What “Too Wet” Looks Like
Stop and let things dry if:
Water pools on the surface
Water is pushed ahead of the plate
The material pumps or feels like it is squishing rather than tightening
For many homeowner projects, the sweet spot is material that feels slightly damp but does not glisten or run.
No. 5
Getting Too Close to Foundations, Walls, and Edges
A plate compactor can transmit vibration through the ground. Near your home’s foundation, retaining walls, or the edge of a trench, that vibration can cause shifting you will not notice right away. The other risk is control: compactors can lurch if the plate catches an edge, especially near a drop-off.
Safer DIY Practices Near Structures
Keep a buffer when possible
Many people use roughly 3 to 4 feet as a cautious distance from foundations and structural edges, depending on the situation.Use a different tool in tight areas
A hand tamper, rubber mallet, or smaller compactor is often safer along edges and tight corners.Avoid compacting right up to a trench edge with the plate
Finish the last section carefully with hand tools rather than risking the machine slipping.
If your project is close to a foundation and you are unsure, it may be worth consulting a local contractor for guidance on backfill and compaction strategy.
No. 6
Forgetting Basic Maintenance (Especially on Rentals)
Many homeowners rent plate compactors. Rental units can be perfectly fine, but you should still do a quick check before you start because a poorly maintained machine can deliver weak vibration and uneven results.
Quick Checks Before You Start
Confirm engine oil level (if accessible and permitted by the rental shop)
Check the air filter area for excessive dust buildup
Inspect for loose bolts and obvious damage
Make sure the baseplate is reasonably clean, not caked with hardened mud
Listen for irregular vibration or surging during operation
Simple Habits That Improve Results
Keep the baseplate clean as you work
If wet soil cakes on, you lose consistent contact.Follow the rental shop’s operating guidance
Use the correct fuel, and do not run the unit on steep slopes if it is not designed for it.
For homeowners, maintenance is less about “tuning” and more about avoiding a weekend of work built on inconsistent compaction.
No. 7
Rushing the Job Because It “Feels Hard”
A base can feel firm at the surface and still be under-compacted below, especially with thick lifts or dry material. Homeowners often rely on feel alone, then discover problems when pavers settle or when rain reveals soft spots.
Better Ways to Judge DIY Compaction
You do not need professional density testing to improve confidence. Use practical indicators:
Footprint test
After compaction, walking on the base should not leave noticeable impressions.Surface uniformity
The base should look even and tight, not rippled or rutted.Consistency across the area
If one side feels softer, keep compacting and check moisture.Edge stability
Edges should not crumble when you kneel or place a straight board down.
If you are installing pavers, remember that small base inconsistencies become very visible after the pavers lock together and you start using the space.
Takeaways
Homeowner projects succeed when you treat compaction as a process: assess the soil, control moisture, build the base in thin lifts, and overlap passes so you do not create weak stripes. Most long-term issues with patios, walkways, and shed pads trace back to shortcuts that leave hidden soft layers.
Work more slowly near foundations, retaining walls, and edges, and use hand tools when the plate compactor is not the right fit for tight spaces. A careful approach protects your property and reduces the chance of settlement that forces you to redo the project.
Finally, do not let “it feels hard” be the only standard. With simple checks and consistent technique, you can build a base that stays level through weather changes, foot traffic, and the normal wear that comes with homeownership.
Looking for Home resources?
Looking to enhance your living space and create a sanctuary that supports your well-being? Explore our home partners who offer a wide range of resources to elevate your home environment.