Building Your Own Sunroom Addition: Essential Planning, Permits, And Construction Tips
A sunroom addition is one of the most rewarding home improvement projects you can undertake. It seamlessly blends the serenity of the outdoors with the comfort of your interior living space, creating a bright, inviting area for relaxation, entertaining, or even working from home. Whether you envision a cozy reading nook bathed in morning sunlight or a vibrant space for plants and gatherings, a well-designed sunroom can significantly enhance your home's value and livability.

In this article, we’ll guide you through the essential steps of building your own sunroom—from the initial planning and permitting process to construction best practices and expert tips. Whether you're a seasoned DIYer or tackling your first major home addition, this comprehensive guide will help you navigate the journey with confidence and clarity.
No. 1
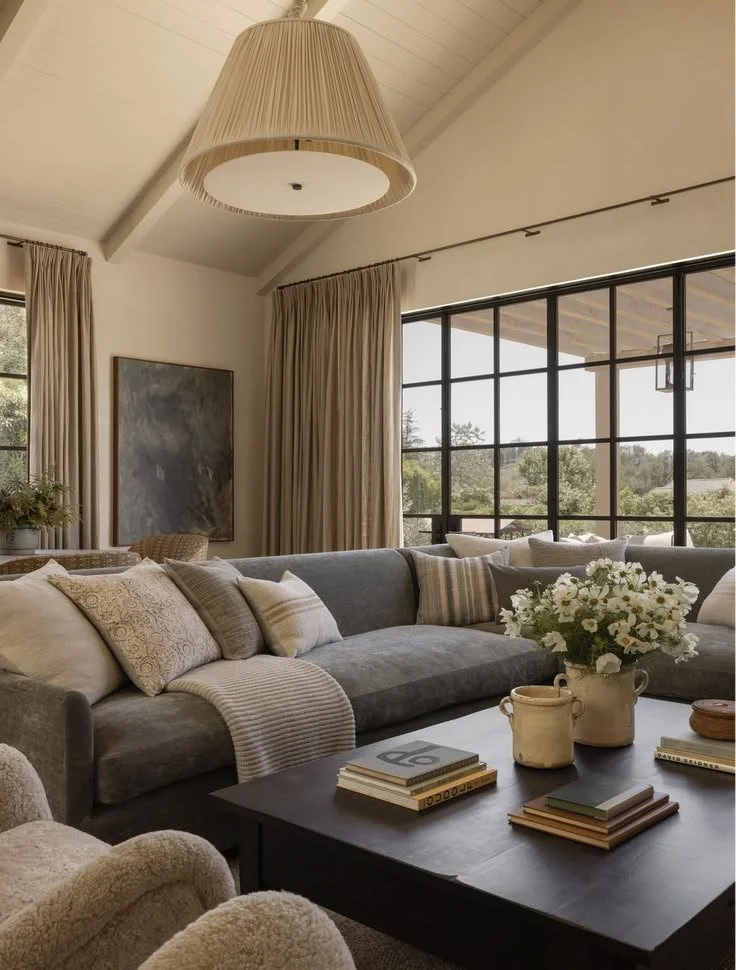
Initial Planning and Design Considerations
Before you pick up a hammer or pour concrete, it’s crucial to spend time thoughtfully planning your sunroom’s design and functionality within your home's existing layout. A successful sunroom addition begins with a clear vision.
Key Design Factors to Consider:
Orientation: The direction your sunroom faces will dramatically affect its lighting and temperature.
South-facing: Maximizes natural light throughout the day.
North-facing: Offers consistent, indirect light—ideal for reading or office use.
East-facing: Captures gentle morning sun.
West-facing: Provides strong afternoon light, which may require shading solutions in summer.
Intended Use: Will your sunroom serve as a lounge, dining area, home office, or indoor garden? Your answer will influence decisions about:
Flooring materials
Insulation and HVAC needs
Window-to-wall ratios
Electrical outlet placement
Connection to Existing Structure: Sketch out how the sunroom will integrate with your home. Consider doorways, open archways, or even sliding glass doors to maintain a cohesive flow.
A detailed plan will not only help you stay organized but also streamline the permitting and construction phases.
No. 2
Understanding Permit Requirements
Skipping permits is a costly mistake that can lead to fines, forced demolition, or complications when selling your home. Most municipalities require permits for structural additions, including sunrooms.
Steps to Secure Proper Permits:
Contact your local building department: Inquire about specific requirements for sunroom additions in your area.
Prepare detailed plans: These typically include foundation specs, framing diagrams, electrical layouts, and how the addition ties into your existing structure.
Understand zoning laws: These may limit how close you can build to property lines, the total square footage allowed, and the height of your addition.
Check HOA rules: If you live in a community with a homeowners’ association, you may need architectural review board approval.
Tip: Permit fees can range from a few hundred to several thousand dollars depending on your location and project size—budget accordingly.
No. 3
Foundation and Framing Fundamentals
The foundation is the backbone of your sunroom. Choosing the right type depends on your region’s climate, soil conditions, and budget.
Common Foundation Types:
Concrete slab: Popular for its simplicity and affordability. Requires proper site prep and leveling.
Pier and beam: Ideal for uneven terrain or areas with high water tables.
Frost-wall foundation: Necessary in colder climates to prevent shifting due to freeze-thaw cycles.
Once your foundation is in place and fully cured, framing begins. This step creates the structural skeleton of your sunroom.
Framing Essentials:
Use 2x4 or 2x6 lumber depending on insulation needs and local code.
Roof framing must be engineered to handle snow loads and wind forces in your area.
Ensure all framing is square, level, and securely fastened to the foundation and existing structure.

Houzz
Make your home project a reality. Find inspiration, products, and the pros to make it happen - all in one place.
No. 4
Sourcing Quality Lumber
Lumber is a major investment in your sunroom project, and quality matters. Warped or knotty boards can compromise structural integrity and make construction more difficult.
Empire Lumber, which operates several lumber yards in Syracuse, NY, advises:
“Visit multiple lumber yards and home improvement stores to compare prices and quality. Big box retailers offer convenience and competitive pricing, but local lumber yards often provide better grade materials and knowledgeable staff who can answer technical questions.”
Lumber Buying Tips:
Inspect boards for straightness, minimal knots, and dryness.
Look for kiln-dried lumber with proper grade stamps.
Consider ordering in phases to avoid weather exposure and reduce waste.
Store wood elevated and covered until use to prevent warping or mold.
No. 5
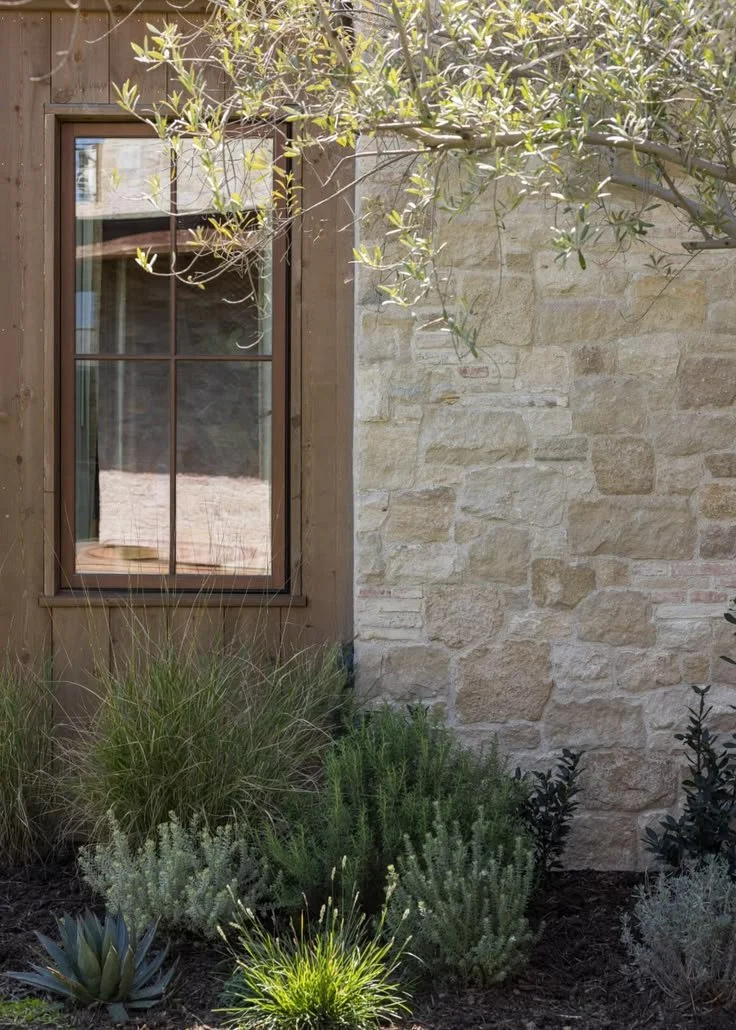
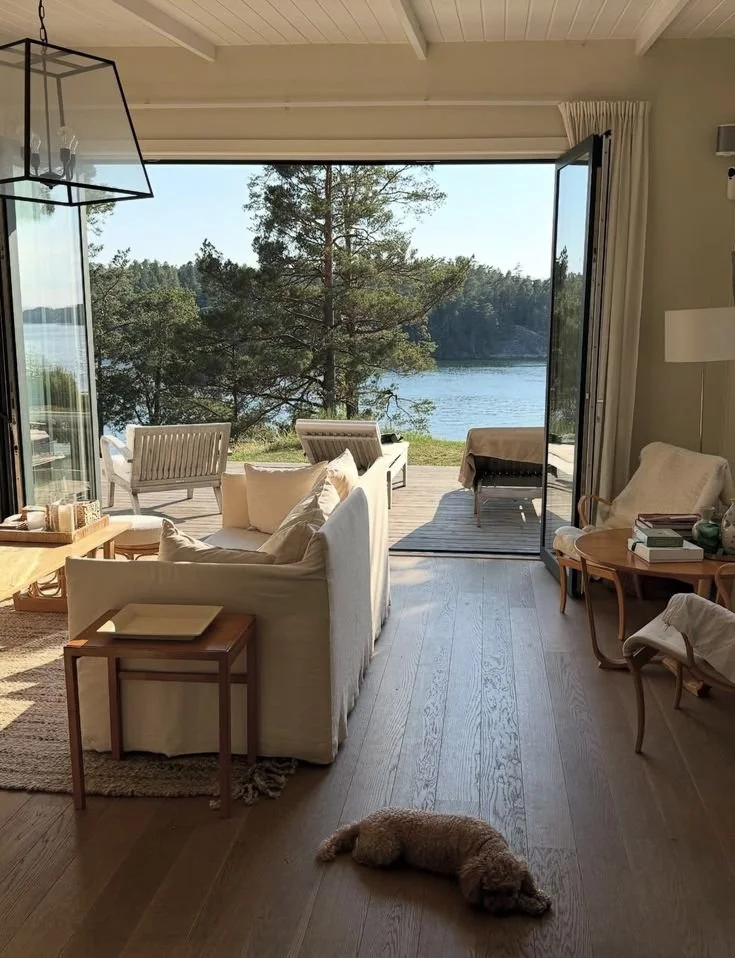
Windows, Doors, and Weatherproofing
The hallmark of any sunroom is its abundance of natural light, which means windows play a starring role. However, they must also be energy-efficient and properly installed to prevent future issues.
Window and Door Considerations:
Choose double or triple-pane glass for insulation and energy savings.
Consider low-E coatings to reduce UV exposure and heat gain.
Ensure proper flashing and sealing around all openings to prevent water intrusion.
Weatherproofing Tips:
Pay special attention to where the sunroom meets your existing home.
Use high-quality flashing, caulking, and diverters to direct water away from vulnerable seams.
Install a cricket or roof diverter if the addition is built against a vertical wall to prevent pooling.
Many sunroom issues stem from poor sealing at the connection point with the main house—don’t cut corners here.
No. 6
Electrical and HVAC Considerations
Adding electrical and climate control systems to your sunroom enhances comfort and usability, especially if you plan to use the space year-round.
Electrical Planning:
Hire a licensed electrician to ensure code compliance and safety.
Plan for ample outlets, lighting fixtures, and possibly dedicated circuits for HVAC equipment.
Consider smart lighting or ceiling fans for added convenience.
homClimate Control Options:
Extend your existing HVAC system if feasible.
Install a mini-split system for efficient heating and cooling.
Use radiant floor heating for consistent warmth in colder climates.
Add ceiling fans or operable windows for natural ventilation.
Your climate and how you intend to use the space will dictate the best approach.
Takeaways
Building your own sunroom is a rewarding endeavor that combines creativity, craftsmanship, and a touch of engineering. With thoughtful planning, attention to detail, and a commitment to quality, you can create a stunning space that enhances your home’s functionality and aesthetic appeal.
In this article, we’ve explored the essential elements of a successful DIY sunroom addition—from initial design and securing permits to sourcing materials and ensuring proper weatherproofing. By following these guidelines, you’ll not only avoid common pitfalls but also enjoy the satisfaction of building a space that brings light, warmth, and beauty into your daily life.
So, take your time, plan thoroughly, and build with care. Your future self—and your home—will thank you.
Looking for Home resources?
Looking to enhance your living space and create a sanctuary that supports your well-being? Explore our home partners who offer a wide range of resources to elevate your home environment.