Luxury Home Staging Timeline: How Long Does It Take?
Staging a luxury home is a project management exercise as much as it is a design one. The goal is not simply to make rooms look attractive, but to create a cohesive, elevated experience that matches the property’s price point and helps qualified buyers understand how the home lives. In this article, we will explore how long luxury home staging typically takes, what happens at each stage of the process, and the variables that can shorten or extend the timeline.
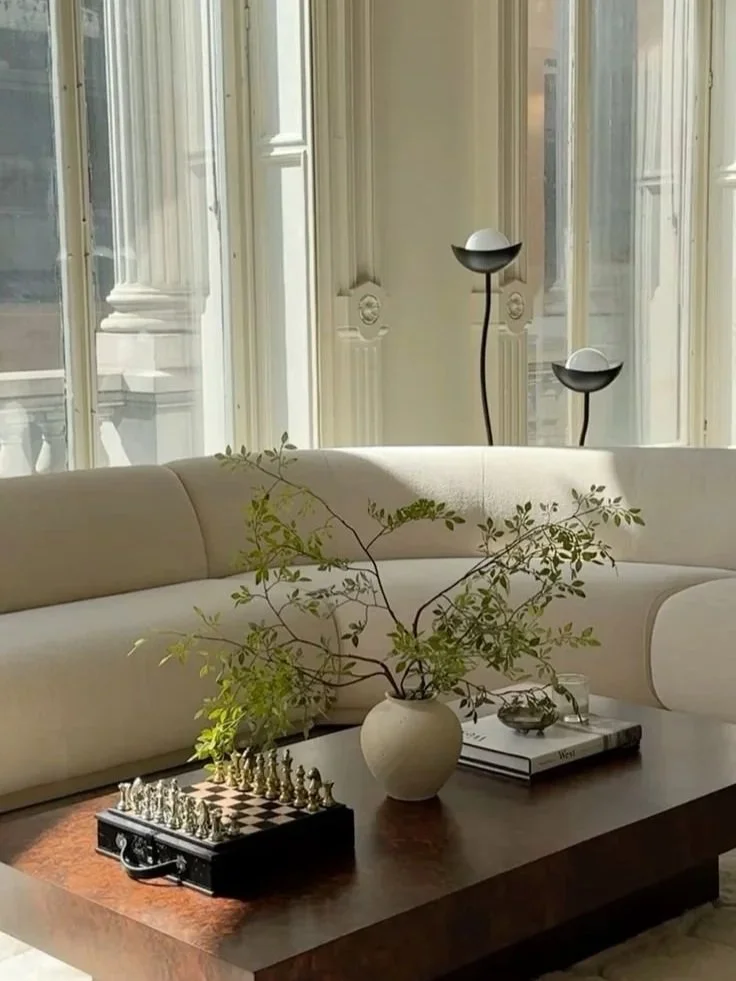
In most cases, staging a luxury home takes one to three weeks from the first consultation to final styling, with larger or more complex homes occasionally requiring additional time. The difference between a smooth seven-day turnaround and a three-week schedule is usually determined by preparation, access, and decision speed.
No. 1
Typical Timeline for Luxury Home Staging
A straightforward project can often be completed in seven to ten days, particularly when the home is vacant, in excellent condition, and the staging firm has inventory readily available. Larger residences, partial remodel situations, properties requiring repairs, or homes needing custom selections commonly require two to three weeks or more.
A professional luxury staging timeline generally includes:
Consultation and assessment
Planning and design direction
Sourcing and selection
Scheduling and logistics
Property preparation
Installation and styling
Final walkthrough and photo readiness review
Each step is interdependent. If preparation runs late, installation moves. If access is limited, deliveries stretch across multiple days. If key decisions are delayed, sourcing takes longer.
A simple planning benchmark
7 to 10 days
Best-case scenario for smaller luxury homes, condos, and well-maintained properties with easy access
10 to 21 days
Most common for high-end homes where planning, editing, prep work, and installation require coordination
21 days and beyond
Large estates, extensive prep needs, custom design concepts, or complex building rules and delivery windows
No. 2
What Happens During the First Few Days
The process usually begins with a property assessment. This is where a stager evaluates the architectural strengths, layout flow, buyer expectations for the neighborhood and price band, and the practical needs of the listing timeline.
In luxury homes, early decisions matter because the standard is higher. A room that is “fine” in a mid-market listing can feel underwhelming in a premium one, where buyers expect intentionality in scale, materials, and function.
Key factors reviewed in the assessment
Room dimensions and furniture scale
Natural light and sightlines
Existing finishes and architectural features
Outdoor spaces and entertaining areas
Storage, traffic flow, and focal points
Ceiling heights, hallway widths, and entry impact
Any dated elements that may photograph poorly
What the assessment produces
A shortlist of priority rooms
Typically the entry, living room, kitchen, primary suite, and key entertaining spaces
A staging strategy
Whether the home needs full furnishing, partial staging, or a redesign using existing pieces
A preparation checklist
Cleaning, repairs, paint touch-ups, lighting corrections, landscaping, and decluttering recommendations
No. 3
Design Planning and Selection
After the assessment, the staging plan is refined into a design direction. Furnishings, art, rugs, lighting, accessories, bedding, and textiles are chosen to support the architecture rather than compete with it. This stage may take a few days, and for larger homes it can take longer, particularly when the plan includes custom rentals, specialty pieces, or multiple aesthetic zones within the same residence.
Luxury real estate staging typically aims for an edited, polished look. It should feel aspirational but not overly personalized, allowing buyers to imagine themselves in the home.
What luxury staging design is trying to achieve
Clear function in every room
A sitting room reads as a sitting room, a loft nook reads as an office, and a guest room reads as a suite
Balanced proportions
Oversized rooms require appropriately scaled pieces to avoid looking empty or awkward
A consistent visual story
Materials, tones, and finishes should feel related from one room to the next
A lifestyle narrative
Not “decor,” but a believable high-end lifestyle that matches the property’s features
Common planning deliverables
Room-by-room plan
Furniture and accessory list
Color and material direction
Notes for repairs and improvements that will elevate perceived value in photos and showings
No. 4
Preparation Before Installation
Preparation is often the biggest timeline variable. Staging works best when the underlying property looks maintained, bright, and move-in ready. If the home needs deep cleaning, paint correction, flooring fixes, window washing, landscaping, or lighting improvements, those tasks should happen before furnishings arrive.
Vacant homes may require less prep, but they are not always “ready” by default. Dust, scuffed baseboards, odor issues, and inconsistent lighting become more visible once a home is staged and photographed.
Common preparation items that affect the schedule
Painting and patchwork
Floor refinishing, carpet replacement, or tile repair
Fixture updates, hardware tightening, and bulb consistency
Window cleaning to maximize light
Landscaping and exterior pressure washing
Professional cleaning and odor remediation
Editing or packing personal belongings in occupied homes
How to reduce delays during preparation
Confirm vendors early
Painters, cleaners, handymen, and landscapers book quickly, especially in peak selling seasons
Sequence work logically
Painting and dusty work first, deep cleaning second, staging last
Use a single checklist owner
One person should be responsible for confirming that prep tasks are complete before installation is scheduled
No. 5
Installation Day and Final Styling
Installation for a luxury home can take one full day for a smaller property, or several days for a large residence. Crews coordinate delivery, furniture placement, rug layout, art hanging, lighting, bedding, accessories, and final adjustments.
Luxury installation is not only about placing furniture. It is about aligning sightlines, balancing symmetry and asymmetry, and controlling what the camera will see from the strongest angles.
What happens during installation
Delivery and placement
Large pieces go in first, then rugs, then lighting, then art and accessories
Art hanging and alignment
High-end listings benefit from precise positioning because buyers notice proportion and spacing
Bedding and bath staging
Crisp styling signals hospitality and reinforces the “move-in ready” impression
Final edits
Removing excess accessories can be just as important as adding the right ones
Photo readiness as the final benchmark
Many staging projects treat “photography-ready” as the real finish line, not simply “installed.” Before photos, the staging team typically checks:
Reflections in mirrors and glossy surfaces
Window treatments and natural light control
Night lighting temperature consistency
The view from the entry and main living areas
Clutter risk zones such as kitchen counters and bathroom vanities
No. 6
How NYC Staging Timelines Can Differ
In dense urban environments, logistics can be the deciding factor even when the design plan is straightforward. Building rules, elevator reservations, delivery windows, parking limitations, and access requirements can all add time.
NYC staging often requires additional coordination in advance, and that coordination needs to be built into the timeline rather than treated as a last-minute detail.
Common NYC-specific constraints
Freight elevator bookings
Certificate of insurance requirements
Limited delivery windows and weekend restrictions
Doorman and building management sign-offs
Street parking constraints and loading dock rules
Quiet hours and move-in procedures
How to avoid common NYC staging delays
Confirm building requirements immediately after consultation
Reserve elevators early, even before the full inventory list is finalized
Coordinate delivery teams to arrive within approved windows
Ask for written confirmation of move-in rules to prevent surprises on install day
No. 7
Occupied Versus Vacant Luxury Homes
Vacant homes are usually faster to stage because the stager works with a clean slate. Furniture and art are brought in to define the rooms, create warmth, and help buyers understand scale. This is especially important in large luxury spaces, where emptiness can make rooms feel cold or hard to interpret.
Occupied luxury homes can take longer because the project becomes a combination of editing, rearranging, and supplementing. The staging team must reduce personal elements while still making the home feel comfortable and lived-in in the right way.
Vacant homes: advantages and watch-outs
Advantages
Faster installation, fewer decisions about what to keep, and a consistent style story
Watch-outs
Vacant homes often need stronger lighting plans and more texture to avoid feeling sterile
Occupied homes: advantages and watch-outs
Advantages
Existing high-end furniture can reduce rental needs and preserve authenticity
Watch-outs
Decluttering, storage, and depersonalizing can take time and require homeowner cooperation
No. 8
What Can Speed Up the Process
When timelines are tight, staging can still be efficient, but it requires decisive coordination. Most delays come from preventable issues: incomplete prep work, unclear access rules, or slow approvals.
Practical ways to shorten the staging timeline
Complete cleaning before furniture delivery
Handle painting and repairs in advance
Confirm building access requirements early
Remove excess personal items before staging
Keep priority rooms available for setup
Approve the design direction quickly so sourcing can begin immediately
Provide clear access to parking, gates, keys, and alarm codes on install day
A helpful “priority room” strategy
If time is severely constrained, focus first on the rooms that drive buyer perception and photography performance:
Entry and main living area
Kitchen and breakfast space
Primary bedroom
Primary bathroom
Outdoor entertaining area, if applicable
Secondary rooms can be staged more lightly if needed, but the hero spaces must look complete.
No. 9
A Realistic Planning Window
For most luxury listings, allowing at least two weeks is a sensible planning window. This gives adequate time for design decisions, scheduling, preparation, and installation without unnecessary pressure or rushed choices.
If the listing date is fixed, it is still possible to stage quickly, but expectations should remain practical. Luxury buyers notice details, and the best outcomes come from aligning design quality with logistics, property condition, and the level of refinement expected in the high-end market.
Takeaways
Luxury home staging typically takes one to three weeks, with seven to ten days achievable for simpler projects in excellent condition. The most reliable timelines account for consultation, planning, preparation, installation, and final photo readiness.
Preparation is usually the biggest variable, especially when painting, repairs, cleaning, or decluttering are needed. Early vendor scheduling and a clear checklist can prevent small tasks from becoming major delays.
Logistics matter as much as design, particularly in markets with strict building rules and limited access windows. When decisions are made promptly and priority rooms are staged first, the process becomes faster, smoother, and far more predictable
Looking for Home resources?
Looking to enhance your living space and create a sanctuary that supports your well-being? Explore our home partners who offer a wide range of resources to elevate your home environment.