How To Keep Camping Knives Sharp: Outdoor Cooking Guide
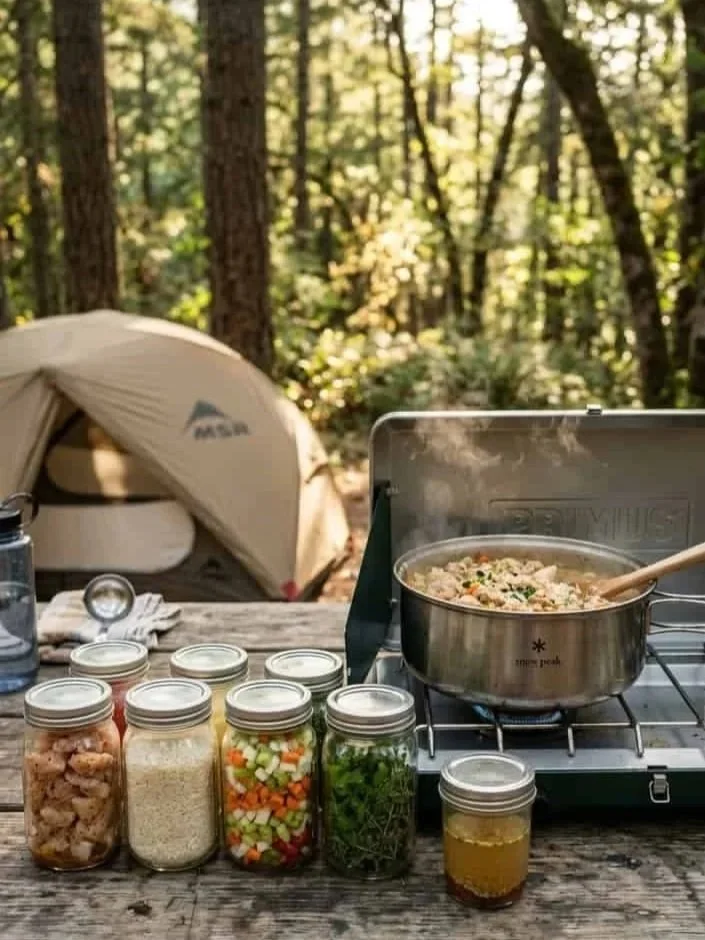
Some campsite frustrations only show up when you're three hours from the nearest store. You're trying to slice a tomato for the burgers, the light is fading, and the kids are hungry. Your knife saws back and forth, mashing the tomato into pulp instead of cutting it.

You press harder, and the blade slips. Suddenly, a simple dinner prep has become the most dangerous moment of the whole trip.
A dull knife quietly causes trouble in outdoor cooking, and a sharp one is some of the most underrated camp gear you can bring. Preparing your blades before you leave and keeping them sharp on the trail makes camp meals faster, safer, and more pleasant.
In this article, we will explore why a sharp blade is a safer blade and how to prepare your knives at home before the trip. We'll also cover what to pack for touch-ups on the trail and the everyday habits that keep your edge sharp from the first night to the last.
No. 1
Why a Sharp Blade Is the Safer Blade
It sounds backward, but a sharp knife is far safer than a dull one. A sharp blade bites in exactly where you place it and cuts with gentle, controlled pressure.
A dull blade skates across surfaces and needs force to cut. Add a slip to that force, and you have a recipe for a nasty cut far from the nearest first-aid kit.
How Dull Knives Cause Injuries
Most kitchen knife injuries share a few common causes, and dull blades make all of them worse:
Extra force: Pushing harder means less control when the blade finally gives way.
Slipping: A dull edge glides off smooth or round foods like tomatoes, onions, and peppers.
Awkward angles: People often tilt or twist a dull knife to get it to cut, which puts their fingers in harm's way.
Fatigue: Struggling with a poor edge tires your hand and wrist, which reduces precision over time.
Why the Risk Is Higher in the Backcountry
Out in the backcountry, that safety gap matters even more than it does at home. You can't make a quick trip to urgent care from a remote campsite, so avoiding the injury in the first place is what counts.
Plenty of people face this risk. The Outdoor Foundation's American Camper Report found that tens of millions of Americans go camping each year, and nearly all of them end up facing a meal, a cutting board, and a blade.
Camp conditions also add their own challenges:
Uneven or wobbly prep surfaces
Poor lighting at dawn and dusk
Cold or wet hands that grip less securely
Distractions from kids, pets, and campfire activity
A knife you can trust to cut cleanly keeps the fun from turning into an emergency.
No. 2
Get Your Knives Ready Before You Leave
The best place to sharpen your camp knives is your own kitchen counter, not a log in the dark. Sharpen everything before the trip, when you have good light, a steady surface, and no hungry crowd waiting.
Arriving with blades that are already sharp means the hard part is done before the adventure even starts. It also gives you time to fix any chips or damage you might otherwise discover at the worst possible moment.
Learn the Basics of Sharpening
Sharpening is easier to learn than most people think, especially when someone walks you through it. A clear guide, like CRKT's step-by-step knife sharpening resource, breaks the process into manageable stages so you aren't guessing.
A good knife sharpening guide focuses on a few core principles:
Angle: Hold a steady, consistent angle against the stone, often somewhere between 15 and 20 degrees depending on the knife.
Pressure: Use light, even pressure rather than forcing the blade.
Technique: Work the entire length of the edge, from heel to tip, with smooth strokes.
Progression: Move from a coarser grit to a finer grit for a refined, lasting edge.
Test Your Edge Before Packing
Once you've finished sharpening, check your work before the knife goes into your pack. A few simple tests can confirm the edge is ready:
Slice a sheet of paper to see whether the blade cuts cleanly without snagging.
Cut a ripe tomato and check whether the knife pierces the skin without pressure.
Look at the edge under bright light, where dull spots often show up as reflective glints.
Learn the skill once at home, and you'll use it on every trip afterward. Over time, sharpening becomes a quick, almost relaxing pre-trip ritual.
No. 3
What to Pack for On-the-Trail Touch-Ups
Even a perfectly sharpened knife dulls with use, so a few compact tools will keep your edge going once you're out there. You don't need a full workshop in your pack, just a small, trail-friendly kit that fits in a side pocket.
Your Compact Knife Care Kit
Consider packing these essentials:
A pocket sharpener or compact sharpening stone for quick touch-ups
A honing rod to realign the edge between full sharpenings
A small cloth to keep blades clean and dry before storing
A protective sheath or blade guard so nothing dulls or nicks in your pack
Understanding Honing vs. Sharpening
Honing and sharpening aren't the same thing, and knowing the difference helps you use your kit wisely. Honing straightens an edge that has rolled or bent with use, while sharpening actually removes metal to create a new edge.
On a typical camping trip, honing will handle most of your maintenance needs. Save the sharpening stone for times when honing no longer brings the edge back.
Make Maintenance a Nightly Habit
A couple of quick passes each evening does far more good than one big sharpening session at the end of the trip. Think of it as maintenance, not repair.
Many campers like to fit this into their wind-down routine after dinner. With steady care, your knife will cut as well on the last night as it did on the first.
No. 4
Keep Your Edge Alive While You Camp
Good habits on the trail can keep an edge sharp for an entire trip. Small choices about where and how you cut make a noticeable difference over several days.
Cut on the Right Surface
Always cut on a proper surface rather than a rock or a metal plate, since both wear down an edge fast. A lightweight cutting board is one of the best investments for your camp kitchen.
Good options include:
Thin, flexible plastic cutting mats that roll up easily
Compact bamboo or wooden boards for car camping
Folding boards that pack flat and double as serving trays
Avoid cutting directly on glass, stone, ceramic, or metal surfaces. These hard materials can roll or chip an edge in just a few strokes.
Clean and Dry After Every Use
Wipe the blade down and dry it after each use. Moisture and acidic food residue are quietly hard on steel over a few days outdoors.
Foods like citrus, tomatoes, onions, and pickles are especially acidic. If you're carrying a carbon steel knife, which rusts more easily than stainless steel, a light coat of food-safe mineral oil can add protection.
When washing at camp, follow Leave No Trace principles. Use a small amount of biodegradable soap, and scatter strained wash water well away from lakes, streams, and campsites.
Store Your Knife Properly
Storage matters just as much as use. Tossing a bare knife loose into a pack full of gear is a reliable way to dull or damage it before you even reach camp.
A sheath or guard protects both the blade and everything around it. Storing your knife properly means:
Keeping it in a sheath or guard at all times when not in use
Making sure the blade is fully dry before covering it
Storing it in a consistent, easy-to-reach spot in your pack or camp kitchen bin
Keeping it out of reach of young children
The knife you packed sharp should still be sharp when you actually need it.
No. 5
The Bottom Line
A sharp knife is one of the simplest upgrades for any camping trip. It makes every meal faster, safer, and less frustrating.
Your Simple Action Plan
Keep your knife care routine easy with these steps:
Sharpen your blades at home before you go.
Pack a small touch-up kit with a sharpener, honing rod, cloth, and sheath.
Hone your knife briefly each evening.
Cut only on proper surfaces.
Clean, dry, and store your knife carefully after every use.
Follow these steps, and the knife stops being the weak link in your camp kitchen. It becomes a tool you barely think about, which is exactly how it should be.
Then you can spend your energy on the fire, the food, and the view. You won't be wrestling a tomato into submission while everyone waits.
Takeaways
A sharp knife is safer than a dull one because it cuts with control and doesn't need force. That matters even more at a remote campsite where medical help may be hours away.
The best time to sharpen your knives is at home, before the trip, with good light and a steady surface. A compact kit with a sharpener, honing rod, cloth, and sheath keeps your edge ready on the trail.
Cutting on proper surfaces, cleaning and drying blades after each use, and storing them in a sheath all help an edge last. With these simple habits, your knife will stay sharp and reliable from the first meal to the last.
Looking for Travel resources?
Looking to embark on a transformative journey to discover new cultures, expand your horizons, and reconnect with yourself? Explore, learn, and awaken your wanderlust with our travel partners designed to support you on your next getaway.